

Introduction: Take Apart an Optical Mouse


Dr Destruct-o takes apart a couple of Microsoft Explorer Optical "IntelleMice", to see if there are any useful goodies inside.
Step 1: Here We Have a Couple of Still-together Mice

These seem to show up with some regularity in the E-waste bins at work. I don't know if the Microsoft mice are more prone to failure than other mice, but they're certainly more recognizable in the waste bin.
One of these says "version 3" on the bottom sticker, and the other doesn't. They're USB mice, although apparently they'll talk PS2 as well, using a merely physical adapter (these adapters don't actually translate between PS2 and USB protocols, they just connect the wires differently. The processor inside the mouse detects which kind of connection is in use, and reconfigures its pins as appropriate.)
Step 2: Find and Remove the Screws.

A lot of "consumer" products with "no user serviceable parts inside" will hide their screws, both to discourage dis-assembly, and to make the product look better. In this case, there are four screws hidden underneath the little teflon "slider" pads on the bottom of the mouse. The pads can be pried off with a knife or small screwdriver, exposing normal philips head screws.
Step 3: Remove Mouse Guts


Once the screws are removed, the top and bottom of the mouse separate relatively easily. Since I wasn't planning on putting them back together, I didn't pay a lot of attention; sometimes there are interlocking plastic bits that you wouldn't want to break if you WERE attempting a repair rather than a salvage...
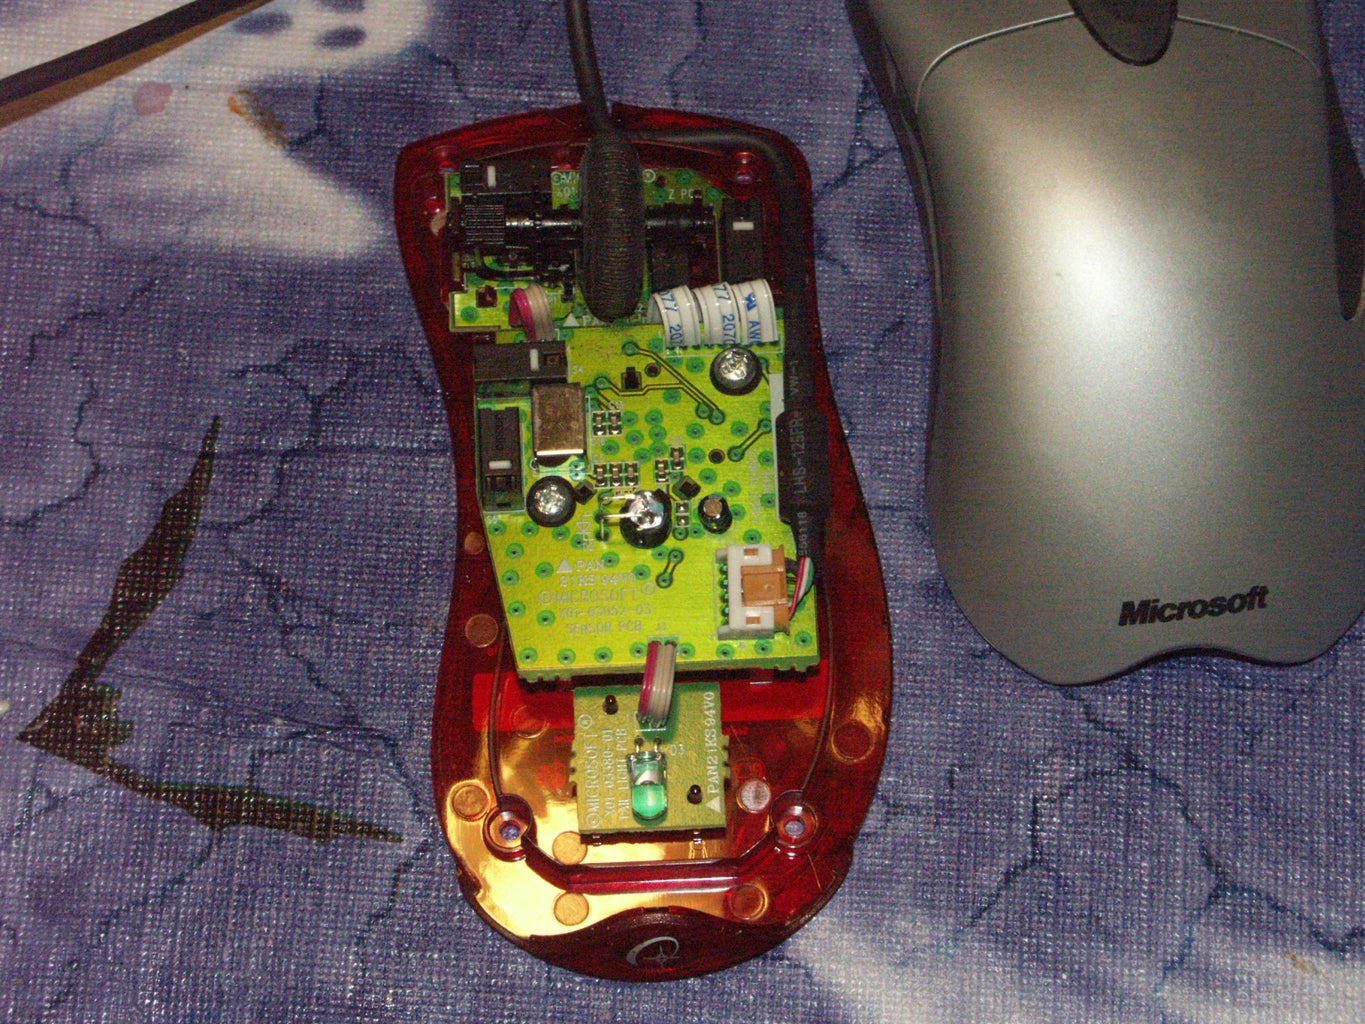
The two mice, despite being outwardly "identical", had significantly different internals. The one in the photos here had three circuit boards, and some additional screws to remove. The other (older?) mouse only had two boards, and was had its internals held together entirely by plastic tabs and slots.
Step 4: So What Have We Got? Clippable and Unpluggable: LEDs and Cables.
So is there anything inside that we can use? And how about hacking the mouse to make it do something unexpected? To start with, there are the LEDs.
1) Two ultrabright red LEDs, with pretty long leads. One of these is the "tail" LED, which has no purpose other than "art." The tail LED could be replaced with other color LEDs, or LEDs that blink. Or you can take it out and the mouse should continue to work fine without it. These LEDs have long enough leads that you can probably just clip them off with wire cutters and use them elsewhere; no de-soldering required.
2) It's a bit sad, but true, that sometimes the most useful bit you can get out of a piece of modern electronics is a bit of wire. In this case, the mouse has a nice cable with a USB connector at one end and a little PCB connector at the other. USB plugs are a useful source of power for custom electronics, so this cable, with little modification, may be one of the more useful bits in the mouse. Stripped of its outer insulation and separated into individual wires, we have a source of particularly flexible stranded insulated wire, potentially useful for all sorts of "wearable" electronics.
Step 5: Easily Desolderable

Some components are more easily de-soldered from a PCB than others. Through-hole parts with three pins or less are pretty easy to remove using solder-wick, for example.
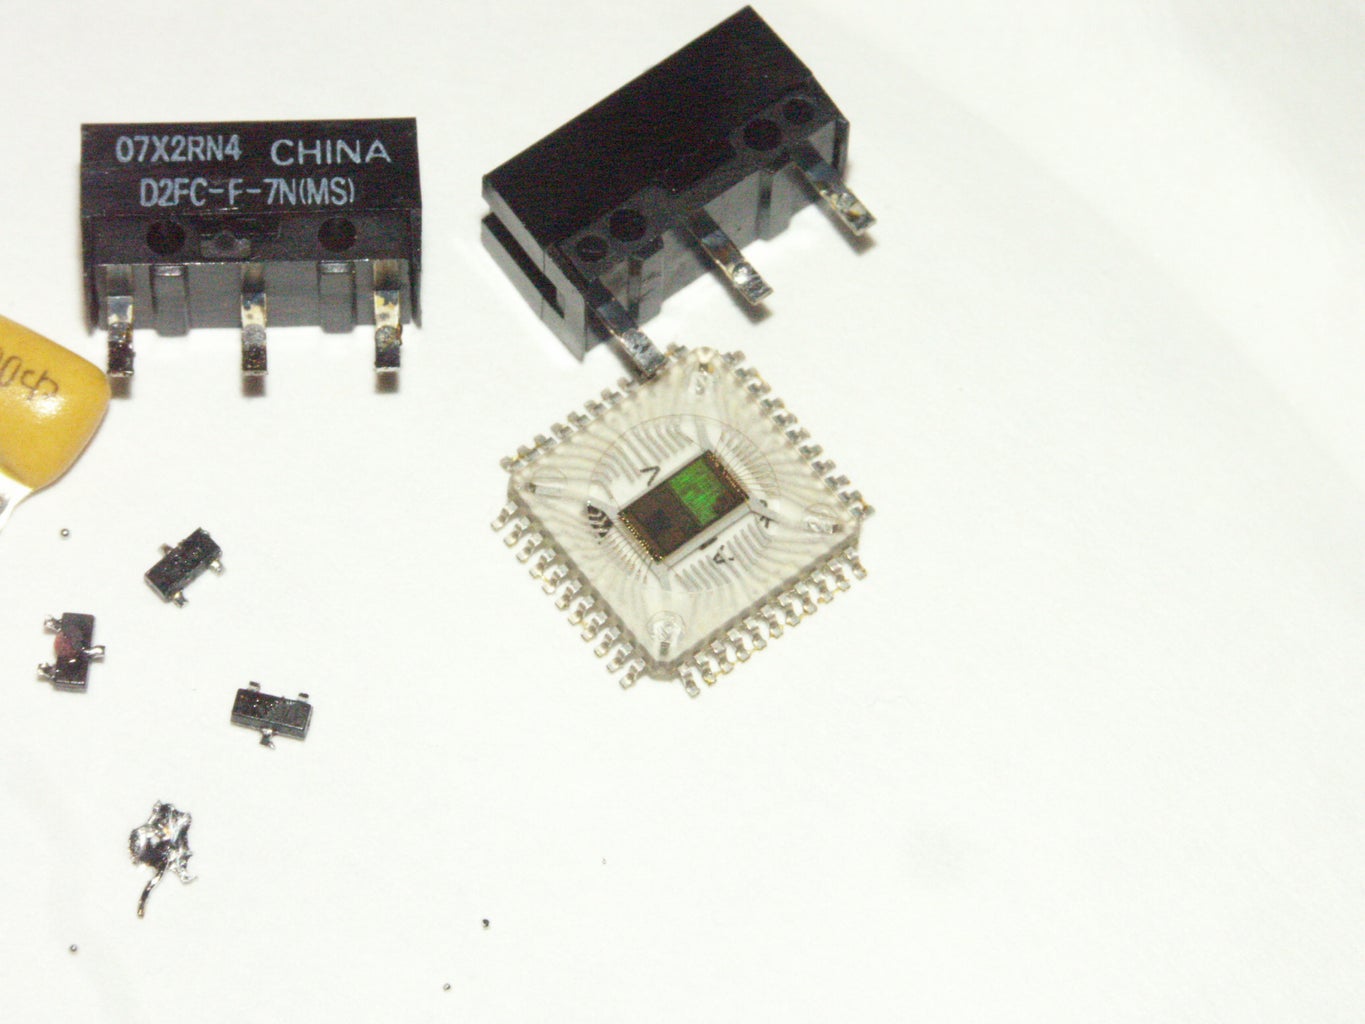
1) Each of these mice has five micro-swicthes; relatively nice SPDT ones that might be useful
2) Infrared emitter and "direction detector" as part of the mouse wheel. In the mouse wheel, which is also optical, there's a two lead part that is an infrared LED, and a four-lead part that is dual photo-transistor or (perhaps) more complex circuit that outputs signals sufficiently complex for the microcontroller to tell which way a slotted wheel (turned with the mouse wheel) is turning. This is all on a nice separate board; with a bit of mechanical skill you might be able to use the wheel separately from the rest of the mouse.
3) The new version of the mouse has a three-pin 6MHz (a common speed for USB things) ceramic resonator hiding under that metal can. (A three pin resonator replaces a crystal and two caps in most microcontroller circuits.) The older version has two 2-pin resonators (somewhat less useful IMO.)
Step 6: More Difficult to Get At: Chips and SMT Components?


That leaves the more difficult components to remove. SMT components and things with lots of pins. You can stop at this point, unless there's something you really want.
There are some interesting chips, but they're PROBABLY not useful as chips for the hobbyist. The optical sensor is rumored to be usable as a low resolution camera (32x32 pixels?), but in the newer version of the mouse, the camera and microprocessor are put together on the same "mouse on a chip", so perhaps the camera is no longer accessible. The USB microcontroller on the older mouse looks to be a somewhat standard Cypress part, but is probably not reprogrammable.
The clear-packaged "Mouse on a Chip" is rather pretty as chips go. It might make interesting jewelery. I managed to get it off the board by heating the whole thing over a gas flame on the
reverse side of the board till the whole thing was smoldering and the solder was melted, and then THWACKing on a moderately hard surface. The house smelled bad for a week, in spite the exhaust fan; this sort of thing should probably be done outside if you're going to do it.
Step 7: Conclusion...
Done! Wish I could think of something more profound to say.


