

Introduction: @TechShop MP: Add RAM to a Laptop


The more I get into creating designs in Autodesk Inventor the more I feel like I need a new computer. Recently I decided that instead of buying a new system I would upgrade the memory and see if there was an improvement. Following is what I did:
Step 1: Open the Case

For most laptops you will be able to access the RAM from the bottom of the machine. Others may require that you open the top of the machine by removing the keyboard. It is important to look up the steps for how to open the case. You should be able to find the directions on your laptop manufacturer's website.
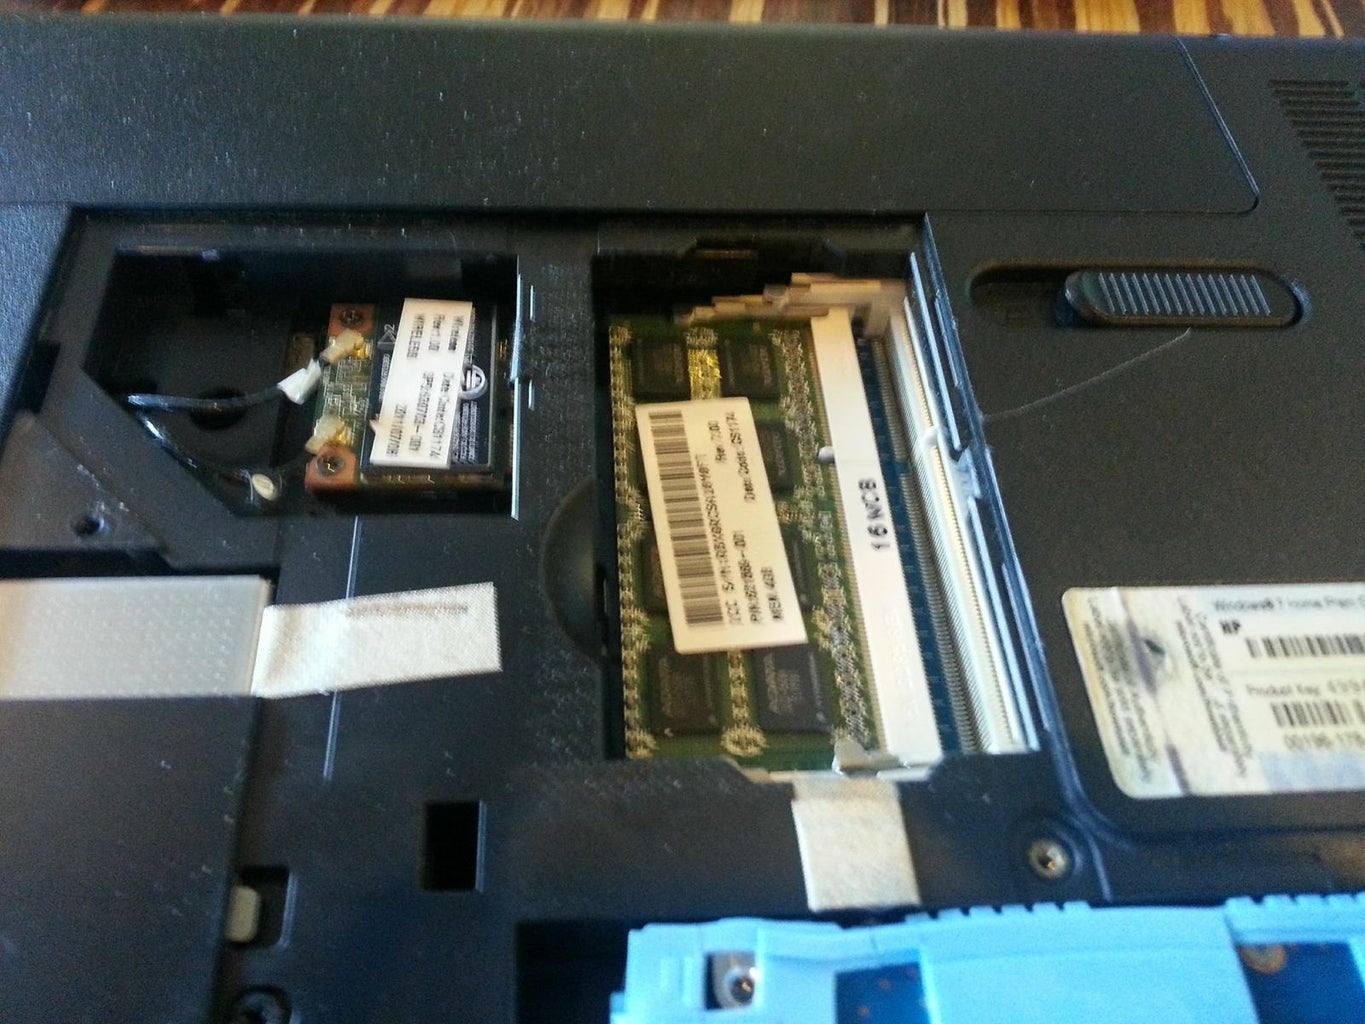
For my HP laptop I had to loosen a few screws and then pry the case open with a flat tool. Once I had the case open I could see the memory module.
it's a good idea to look up your machine ahead of time so that you know how much memory you can add and what type of memory modules you need. My machine started with 4GB of a possible 8GB maximum.
Step 2: Insert the Memory Module


Sometimes it is important which module goes where. If the module you are adding is not identical to the existing module then you may want to put the larger module into the first memory slot. To insert the module align the notch in the chip with the memory module slot, push the module into the slot to fully seat it, then push down on the module to lock it into place.
Step 3: Verify

once you have closed everything up you can boot up the system and verify that the correct amount of memory is shown. if the system does not display the amount of memory that you have installed it may be installed incorrectly. In Windows you can click the Start button, then Right click on Computer, and then choose Properties to see how much RAM you have.


