

Introduction: How to Draw an Amur Leopard on Pastel Paper


"The Last Amur" Graphite Drawing on Pastel Paper
Pencils:
.5mm 2B mechanical pencil
.5mm HB mechanical pencil
HB artist's pencil
Other tools:
Indenting Tools (a knitting needle or empty pen will work, too)
One of these: Chamois, Blending Stump, or Tortillon
Eraser Guard (optional)
Paper: Acid-free 80lb. 9"x 12" White pastel paper. ( I recommend using Bristol, though)
Hello everyone! This instructable was requested by kookycreations about two months ago, and I've FINALLY gotten around to finishing it (sorry about the wait, kooky). Yes, I know, I'm using pastel paper for a pencil drawing, but I don't have any Bristol paper at the moment, just some flimsy sketch paper.
I was browsing Flickr for some creative commons-ed wolf photos for a painting when I came across a gorgeous photo of an extremely endangered Amur leopard standing on a rock, taken by Chad Horwedel. The background photo is mine (taken in the Appalachian Mountains, they have a similar look to the mountains of Southern Korea where the leopards are native to). As soon as I saw the Amur leopard photo, I knew it would make an incredible graphite drawing!
Some things look better in color, but some things do better in black and white. A drawing I did of a relative's dog is a great example of this. The reference photo I'd used, when in color, distracted the eye from the subject, but after converting the photo to grey-scale, it drew the attention directly to his eyes and provided a great contrast with the background. Incredible, huh!?
Lee Hammond gave me a jumpstart in graphite drawing and taught me how to use a grid when sketching. Her books are great for new artists, but advanced artists probobly will not get too much out of her work as it is not that detailed. Don't just try to get as good as her and stop as some people would say. Try to go past her and get as good as you can get. Keep pushing until you can produce something even you are proud of! I have yet to get to this point. Another great artist is Nolon Stacy. He is the Harrison or Baer of the graphite pencil world! His drawings look like black and white photos! Cindy Smith is a similarly awe-inspiring artist.
Books to look up:
"Dogs and Puppies" by Nolon Stacy
"The Art of Drawing Animals" by Patricia Getha, Cindy Smith, Nolon Stacy, Linda Weil, and Debra Kauffman Yaun
"Draw Real Animals" by Lee Hammond
Note: Sorry if I am a bit spontaneous or unclear in the following instructions. I will try my best to answer any questions you may have.
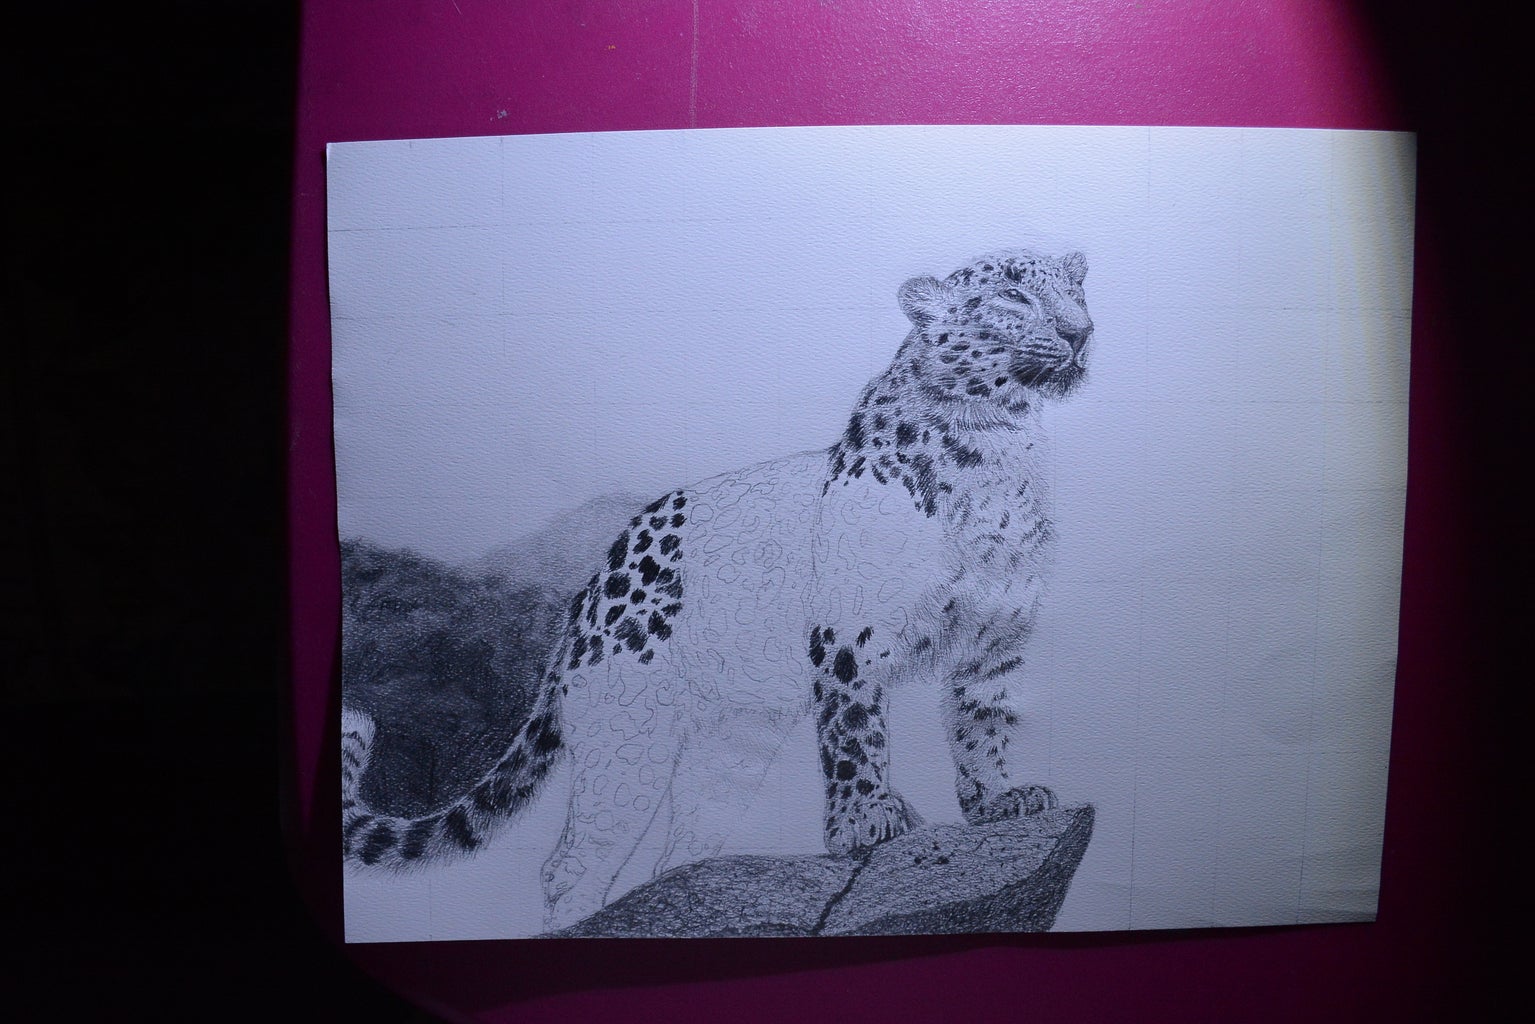
Step 1: Graphing, Sketching, and the Head/tail


Before you begin, I just want you to know, I did not intend to finish or even start the head or tail before I finished the sketch, but sometimes I get carried away or ahead of myself, especially when I draw or paint.
Start by using a ruler to mark off the inches on each side of your paper (it should be a 9" x 12"). Connect these markers with straight, light lines (use your ruler) until you have a faint, 9 by 12 grid on your sheet (if you need a smaller grid, just use centimeters). With your grid in place, begin the sketch, starting with the rock, then the basic outline of the body. Once you finish this, sketch the spots on the head and tail (and, preferably, the rest of the body). After the sketch is kind of in place, use a 2B .5mm mechanical pencil to fill in the darks with quick, short strokes. Using your medium indenting tool, indent the white hairs on the edges of the tail, neck, and head, also indent the whiskers and eye highlights. Use stippling (making little dots with the tip of your pencil) for the fur on the head. Shade in the eyes.
For the rock, make semi-random dots and scribbles, varying the pressure applied while you go.
Step 2: Seeing Spots (and Mountains Too)


Once the sketch is in place, we will add more spots to the front legs and neck with our 2B pencil and begin working on the lighter fur with our HB pencil. We can also start working on the background, starting with the closest mountain and moving back. Use a blending stump or chamois to blur them and push them back.
Step 3: Finishing the Leopard
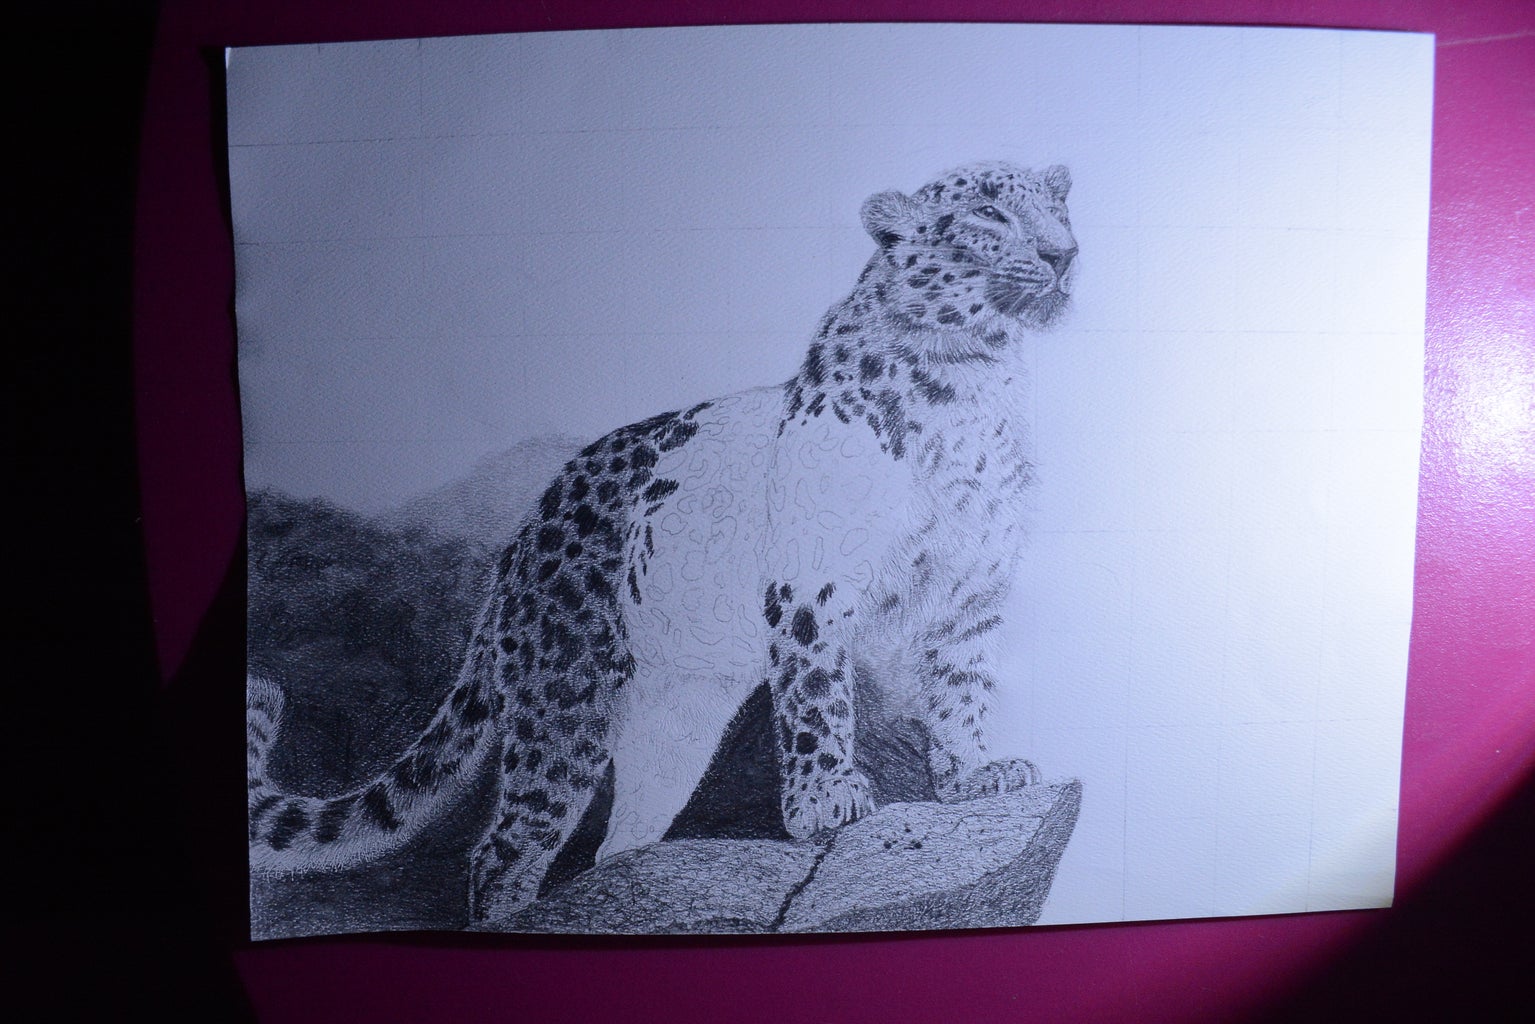


Add more spots to the leopard with your 2B and render the lighter fur with your HB.
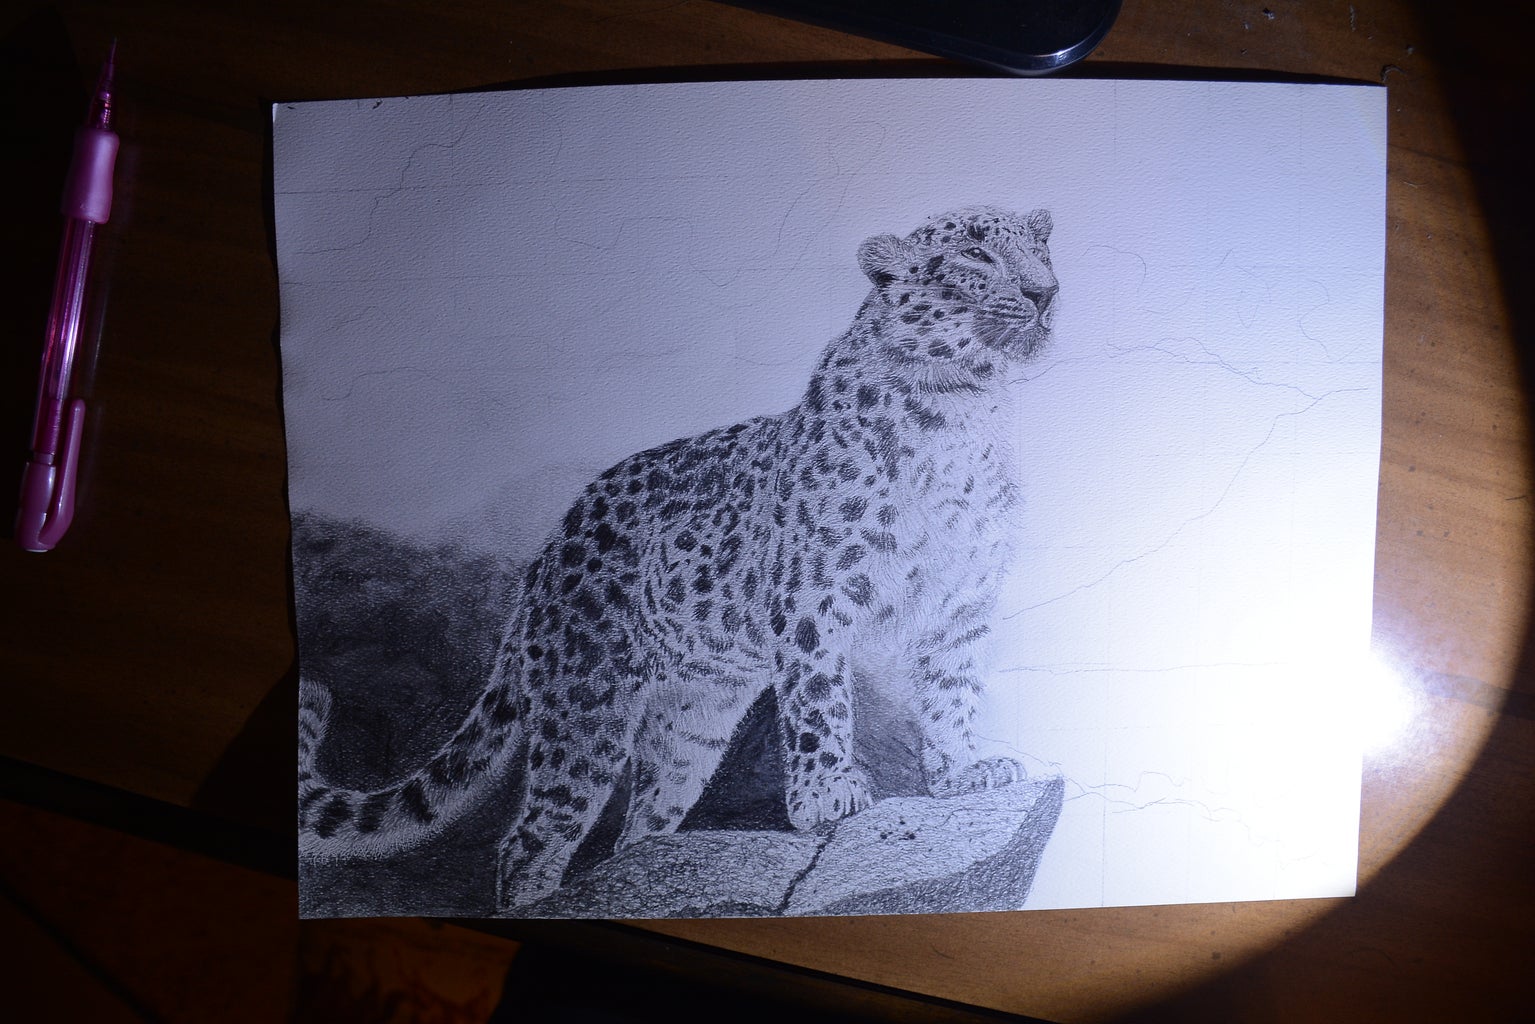
Step 4: Background

Use your 2B mechanical pencil to finish the closest mountain, then use a H or HB traditional pencil on it's side to shade in the other mountains. Blend them into the background with a tortillon, blending stump, or chamois cloth. Use the 'dirty' blending tool of your choice to fill in the sky. Don't forget to erase some clouds!
Step 5: Ta-da!

We're done! I hope you enjoyed it!
Please comment and let me know what you'd like to see next: A House cat pastel painting tutorial, 'General Art Tips', 'Drawing Dragons and other Scaley Creatures', 'Old Fashioned Hard Candy Recipe', 'Triple Chocolate Brownie Cookies', or 'Training Your Cat the Constructive Way'.


