

Introduction: The RFID Door Access System


This is an Arduino based project which uses RFID tags to gain access of a door!...This project is rather a prototype as i have built the whole system onto a small door which i managed to make!
This project was just an idea which popped into my mind during the vacation and turned out to be a very secure and successful method of accessing a door!
Step 1: Gathering the Parts...


- Arduino UNO
- Arduino RFID Reader (rc552 Module)
- Servo Motor (Tower PRO SG-5010)
- 9v battery or 7.2v LI-ion Battery (two 18650 battries in series)
- Acrylic Pieces to make a small hinge to move the lock
- Arduino Jumper Wires
- Two LEDs (Green and Red)
- Two 100 ohm resistor
In Case you'll want to make a small door like me you would need...
- Door Lock
- Door Knob
- Door Hinge
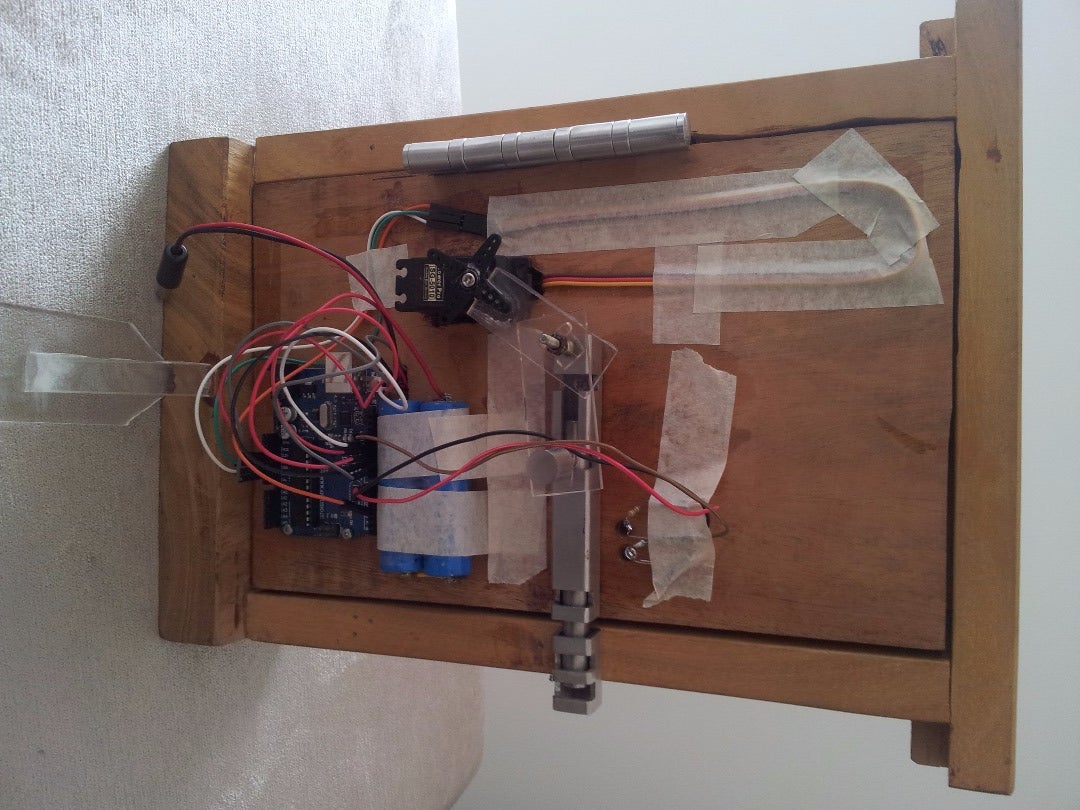
Step 2: Connecting the Wires...
Initially we can start with the connection to the Arduino UNO from the RFID module:
- SDA Pin Digital Pin 10
- SCK Pin Digital Pin 13
- MOSI Pin Digital Pin 11
- MISO Pin Digital Pin 12
- RST/Reset Pin Digital Pin 9
- VCC Pin 5V Pin
- GND Pin GND Pin
Next We connect the Servo Pins to the Arduino:
- GND Pin GND pin
- VCC Pin 5v Pin
- Signal Pin Digital Pin 3
Next is connecting the LEDs
The Red LEDs Anode is connected to Digital Pin 7 via a 100ohm resistor and the Green LEDs Anode is connected to Digital Pin 6 via a 100 ohm resistor whereas the Cathode is to a common GND Pin of the Arduino!
Step 3: Uploading the Code and Testing the System!!!


I have attached the code and the library above,so you'll should copy the library to the Arduino destination folder and then upload the code!!!
Next you open the serial monitor of the COM port the Arduino is currently attached to and place an RFID Tag (the tag you wish to gain access for the door) on the reader, and you should get an error message like in the pic above!
Immediately copy the code No. in it and paste it in the original Arduino program i attached (as marked "xxxxx" in the pic)
Then Re-upload the new code into the Arduino and test the system!
It should work!

Step 4: Finalising the Project...


I used the acrylic pieces to make rather a hinge to move the lock on my door!
Finally after testing the project i fixed the system into the small door i had made!
So hope you'll like it and feel free to ask any doubts regarding this project..and do give your suggestions or improvements on this project!
Thank you!

Participated in the
Digital Life 101 Challenge


