

Introduction: The Smallest and Cutest Arduino Obstacle Avoidance Robot Ever


Tired of big clumsy robots that take half a shelf in your room? Are you willing to take your robot with you but it just does not fit in your pocket? Here you go! I present to you Minibot, the cutest and tiniest obstacle avoidance robot you could ever (ever ever ever) put together!
Step 1: Bits and Pieces You'll Need


Small breadboard (4.5 cm by 3.5 cm), 17 holes long and 2 rows of 5 holes wide. You con build the robot without it, but it is a nice thing to have if you plan modifying the robot.
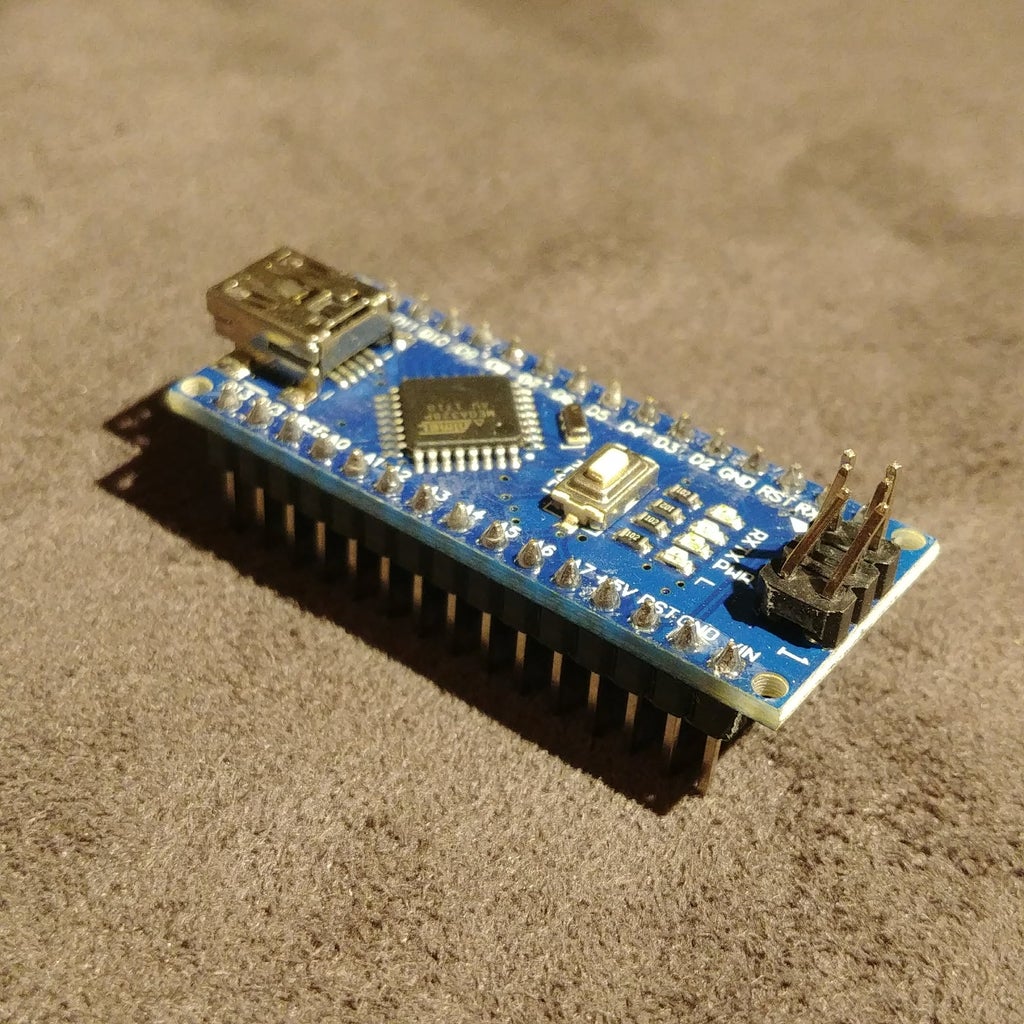
Arduino Nano. I use the one that comes with the pins already soldered to the board, but you can also use the pinless arduino nano and solder the cables directly to the board
9V battery. Yep, a good ol"battery.
9V battery holder. (got it from an old toy)
2 continuous rotation servos (they look like SG() servos, but they are actually continuous rotation servos. I bought them HERE
2 rubber wheels. Just look around. There is certainly an old toy somewhere that does not need its wheels.
Cables. A bunch of them. There is no such thing as too many cables.
Ultrasonic sensor. The 4 pin model. Ebay, Amazon or any other place. They are all the same.
3D printed chassis. You can find the 3D files HERE
Step 2: And the Code!
No rocket science here. Just a super simple code that makes the robot go forward if there is nothing to be seen in 15 cm, and makes a sharp turn if something is closer than 15 cm.
Just download the txt file, and copy-pasta the code in your Arduino interface.
Attachments

Step 3: Putting the Bits in the Right Place


The breadboard, Arduino, ultrasound sensor and battery goes in the upper part of the chassis, but DO NOT PUT the components in YET. You need to wire the whole thing first. (yes, I did this mistake) (twice)
The 2 servos are just snapped in the lower part of the chassis. Yes, you can put these 2 in now.
The wheels are attached to the servo shafts with a bit of wire, some hot glue, or with a magic spell. Your choice.
Step 4: And Those Wires... Oh Boy!
Here comes the ugly part. the wiring. SO many wires, and SO little space.
Lets Start by the ultrasonic sensor.
- Vcc -> +5V of the Arduino
- Trig -> D11 of the Arduino
- Echo -> D12 of the Arduino
- GND -> GND of the Arduino (any of the 2 GND pins of the Arduino)
Servo 1:
- Orange wire ->D9 of the Arduino
- Red wire -> +5V of the Arduino
- Brown wire -> GND of the Arduino (any of the 2 GND pins of the Arduino)
Servo 2:
- Orange wire ->D10 of the Arduino
- Red wire -> +5V of the Arduino
- Brown wire -> GND of the Arduino (any of the 2 GND pins of the Arduino)
Battery:
- Red wire -> Vin pin of the Arduino
- Black wire -> GND of the Arduino (any of the 2 GND pins of the Arduino)
Now you only need to carefully stuff all the wires inside the chassis and clse both halves. My robot is so full that needs a rubber band to keep it from spilling it's guts.
Step 5: In Action
Your robot will go forward till it finds something at less than 15 cm.
You can change the distance in this code line:
if(distance<=15)
You can also change the forward and backwards speed by modifying these lines:
myservo1.write(XXX);
myservo2.write(XXX);
where XXX=0 is full speed forward for myservo1 and XXX=180 is full speed forward for myservo2
and XXX=90 will be full stop for both servos.

Participated in the
Pocket-Sized Contest

Participated in the
Microcontroller Contest


