

Introduction: The Ultimate Resistor Earrings


This is a fun project, completed at Hack42, to make as a gift for yourself or someone else. These earrings are geeky, stylish and shiny, and they can be as colourful as you like. The hoops are made from the rings that keep the platters in harddisks apart, so you may need to slaughter an old computer to get some, or ask a friend for an old, broken hard disk they may have lying about. If you need some help taking the hard disk apart, here's a good start.
While it's a cool (and environmentally friendly) idea to reuse the resistors, this will usually not work for this project, because the legs are usually too short on resistors that have been used before. So you will probably need unused ones.
If you have never soldered before, this project is a pretty good place to start. And in that case, you may find these instructions (PDF) useful.
In any case, think of your safety:
- Solder may contain lead. Lead is poisonous. Wash your hands after soldering.
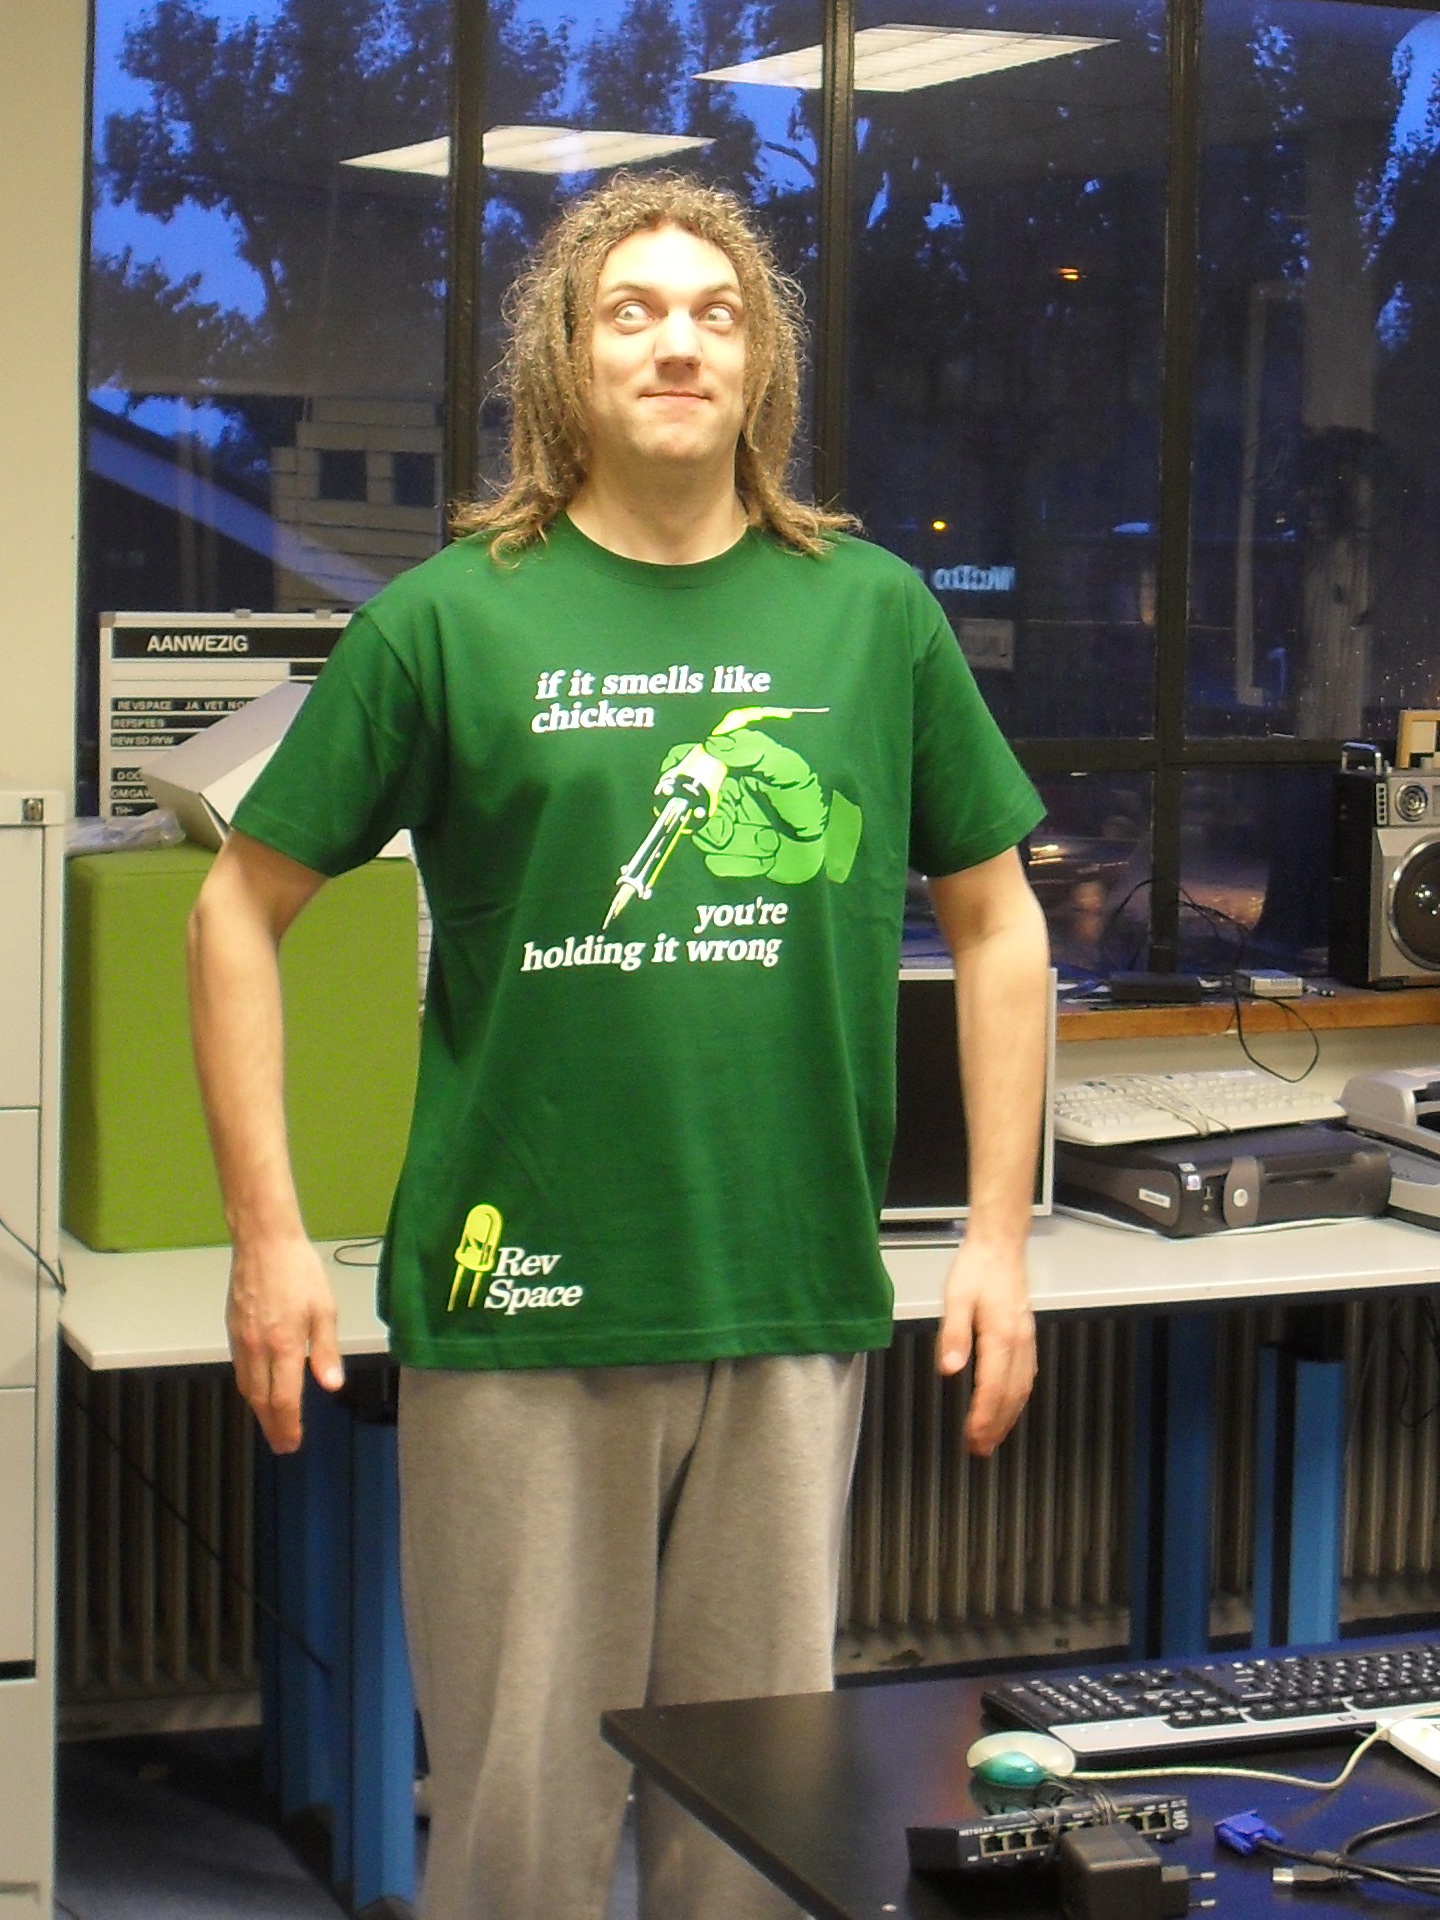
- Soldering irons get hot. The general rule here is that if it smells like chicken, you're holding it wrong.
Step 1: Gather Your Materials and Tools


What are you going to need? Here's a list:
- two of the aluminium rings that can be found inside a desktop computer harddrive, keeping the platters apart
- six resistors, can be different colours or all the same, depending on your preferences and resources
- two ear hooks
- some chain with a suitable link size, or two rings, or any other way you can think of to fasten the hoops to the ear hooks
In the tool department, you'll need:
- pliers for bending and cutting wire. It's nice to have two pairs of bending pliers.
- a soldering station
- solder
Step 2: Get Started!


Now it's a simple step-by-step process. Just follow the pictures.
1) Bend the legs of the first resistor around the ring in an off-center position.
2) Bend them further so they come out on the other side.
3) Bend the wire in a U-turn around itself. Make it lie against the inside of the ring.
4) Use your pliers to tighten and tidy up the bends.
5) Cut off any ends that stick out.
6) Heat up your soldering iron and solder the U-turn shut.
7) That's it!
Step 3: Get Your Wires Crossed


Good job! Now keep it up. After soldering both ends of the first resistor, add a second one. The steps are just the same except that things get a little more finicky.
Once you have all three resistors in place, solder the wires together in the three places where they cross. This will make your earring sturdy.
Make sure there are no pointy bits that can snag on someone's hair or clothing. Clip or file them off.
If you are worried about lead in the solder, or you just want to keep
things shiny for longer, you can add a coating of blank varnish at this point.
Then it's time to add something to attach the ear hook to. I used chain links, as shown, but you may have something else that works just as well.
Step 4: Repeat for the Other Earring

And then it's time to go out on the town and turn some heads.
Who could resist such charm? (BaDUMM-tssh!)


