

Introduction: Transforming Nitro RC Car Into Electric


This project was for 'Creative Electronics', a Beng Electronics Engineering 4th year module at the University of Málaga, School of Telecommunications. www.etsit.uma.es
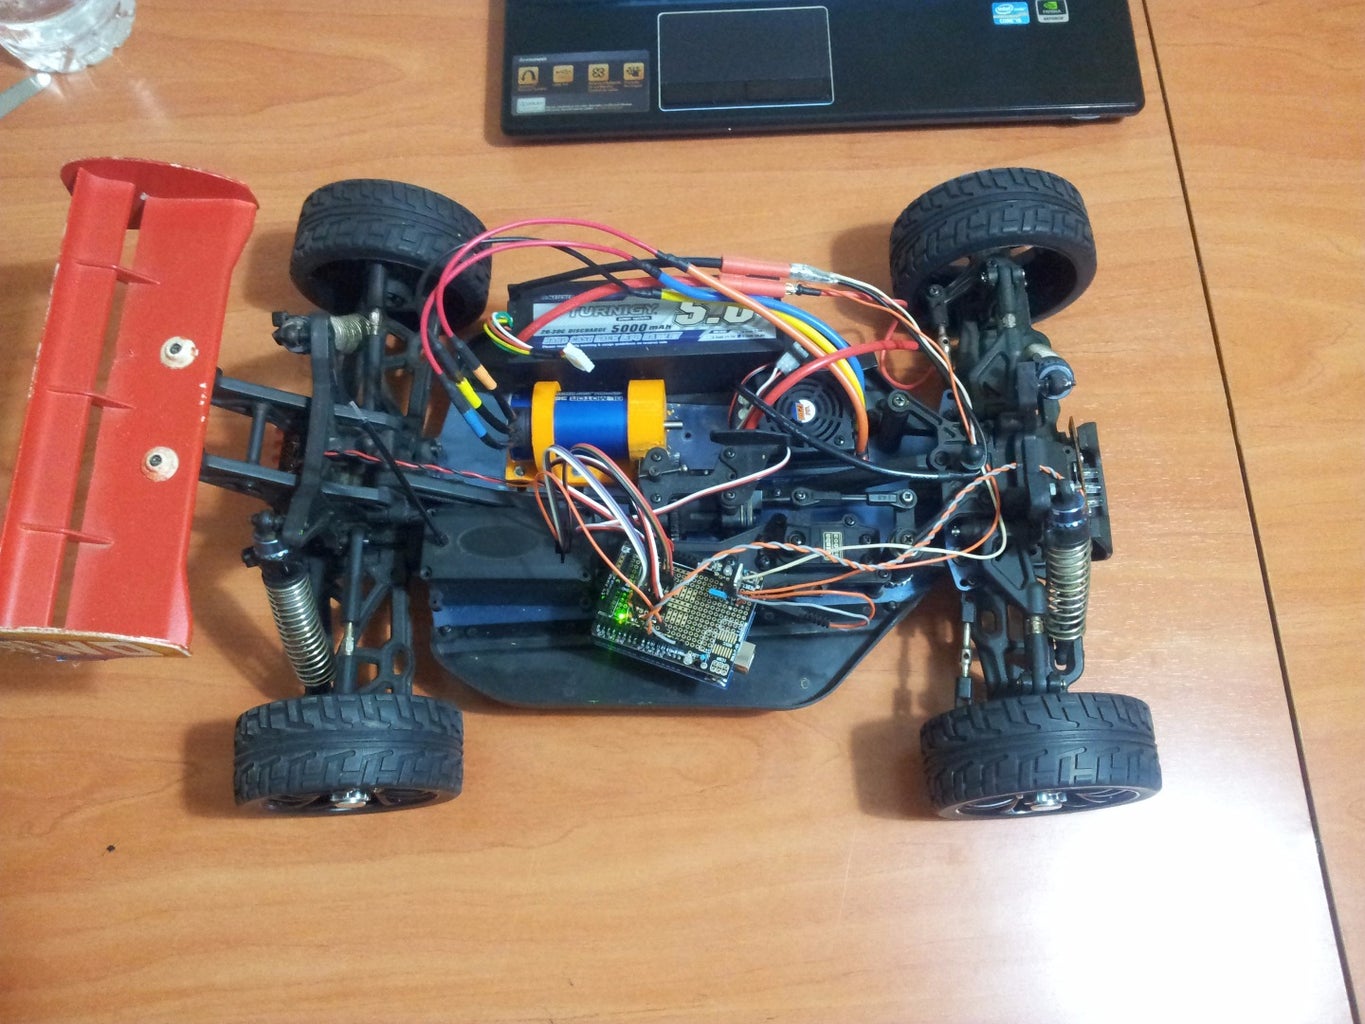
The proyect is based on a RC racing nitro chassis a little old to use it with an electric motor.
Step 1: Tools, Equipment and Material


We need:
- A RC buggy chassis 1/8 scale.
- RC transmissor and receiver.
- Arduino Uno.
- Servo (Futaba S3003)
- Welder.
- Soldering tin.
- Prototyping PCB.
- Empty Arduino shield.
- Leds (8 red and 3 white)
- 2 x 22ohm resistances
- 4x 1n4007 diode,
- Voltage regulator (L78s09cv)
- 2 electrolytic capacitor (100nF and 33nF)
- And if it's possible, a 3D printer.
Step 2: Motor, ESC and Battery


I've used a 2150kv brushless motor, an ESC which supports 120A and a LiPo 4S 5000mAh battery. The charger isn't the original but it works correctly.
Step 3: Motor Bracket and Pinion

A friend have printed in 3D a motor bracket to affix the motor to the chassis.
As I didn't found a pinion which suits with the measures of my chassis, my friend have had to print a pinion too. So, thank you for your help.
The motor bracket has a little flexibility. This causes that the pinion doesn't fit perfectly. It would be necessary to create a metal motor bracket.


Step 4: Connections With Arduino


This is the schematic, the main parts are:
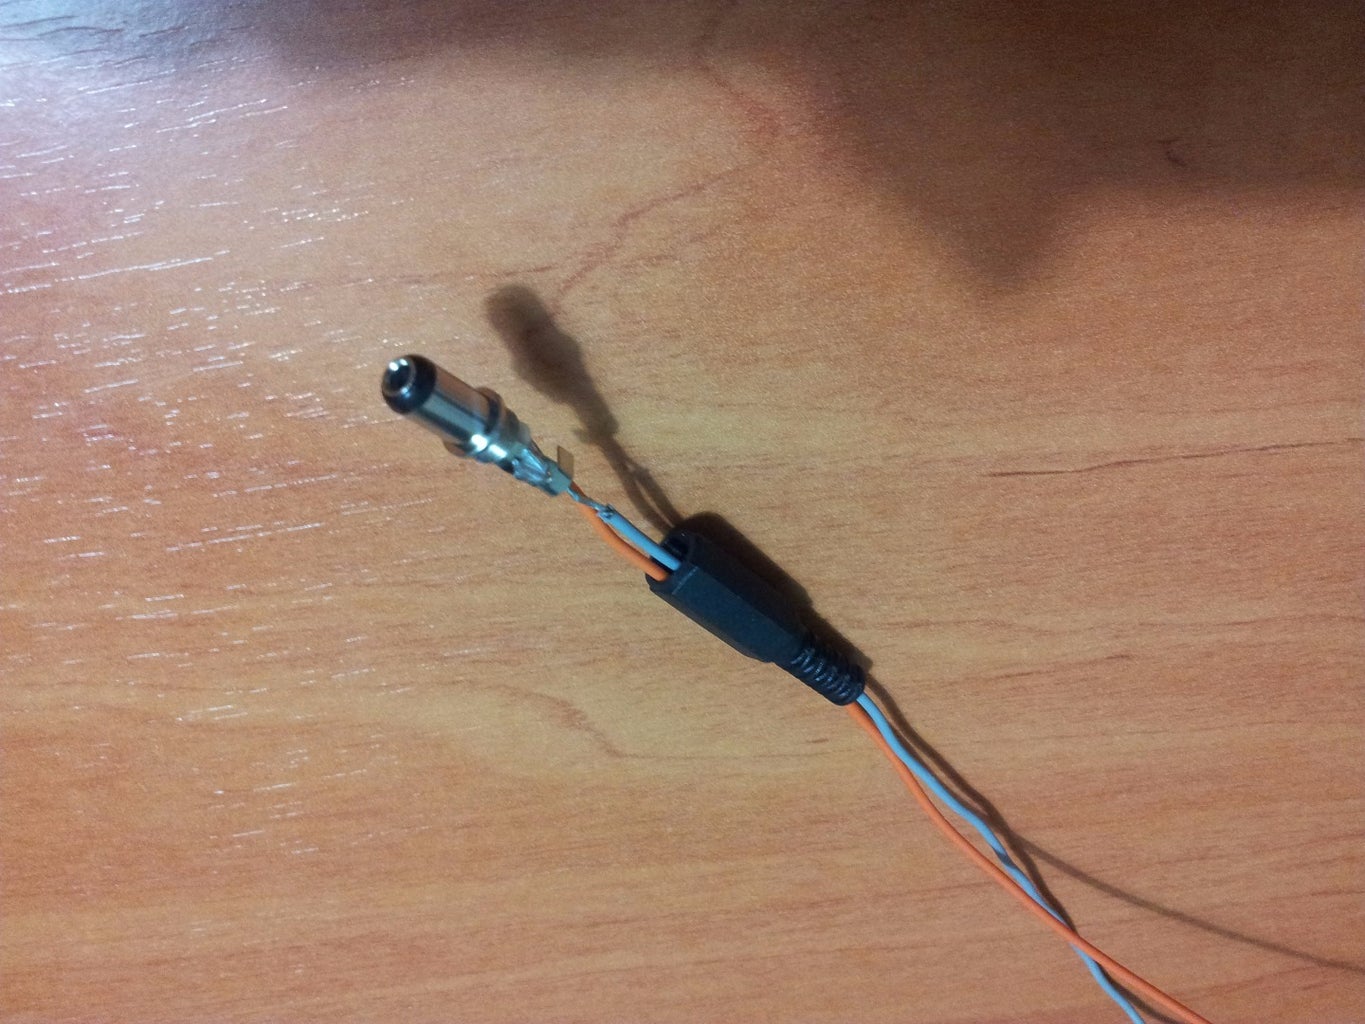
- Input voltage: The battery has four cells with 3.7V each one. I have to reduce it until 9V to protect Arduino. It's possible to reduce it until 5V but the voltage regulator (L78s05cv) would be so hot.
- Control shield: I used this shield to control with Arduino the signals that the RC transmitter is sending in every moment.
Attachments

Step 5: Lights
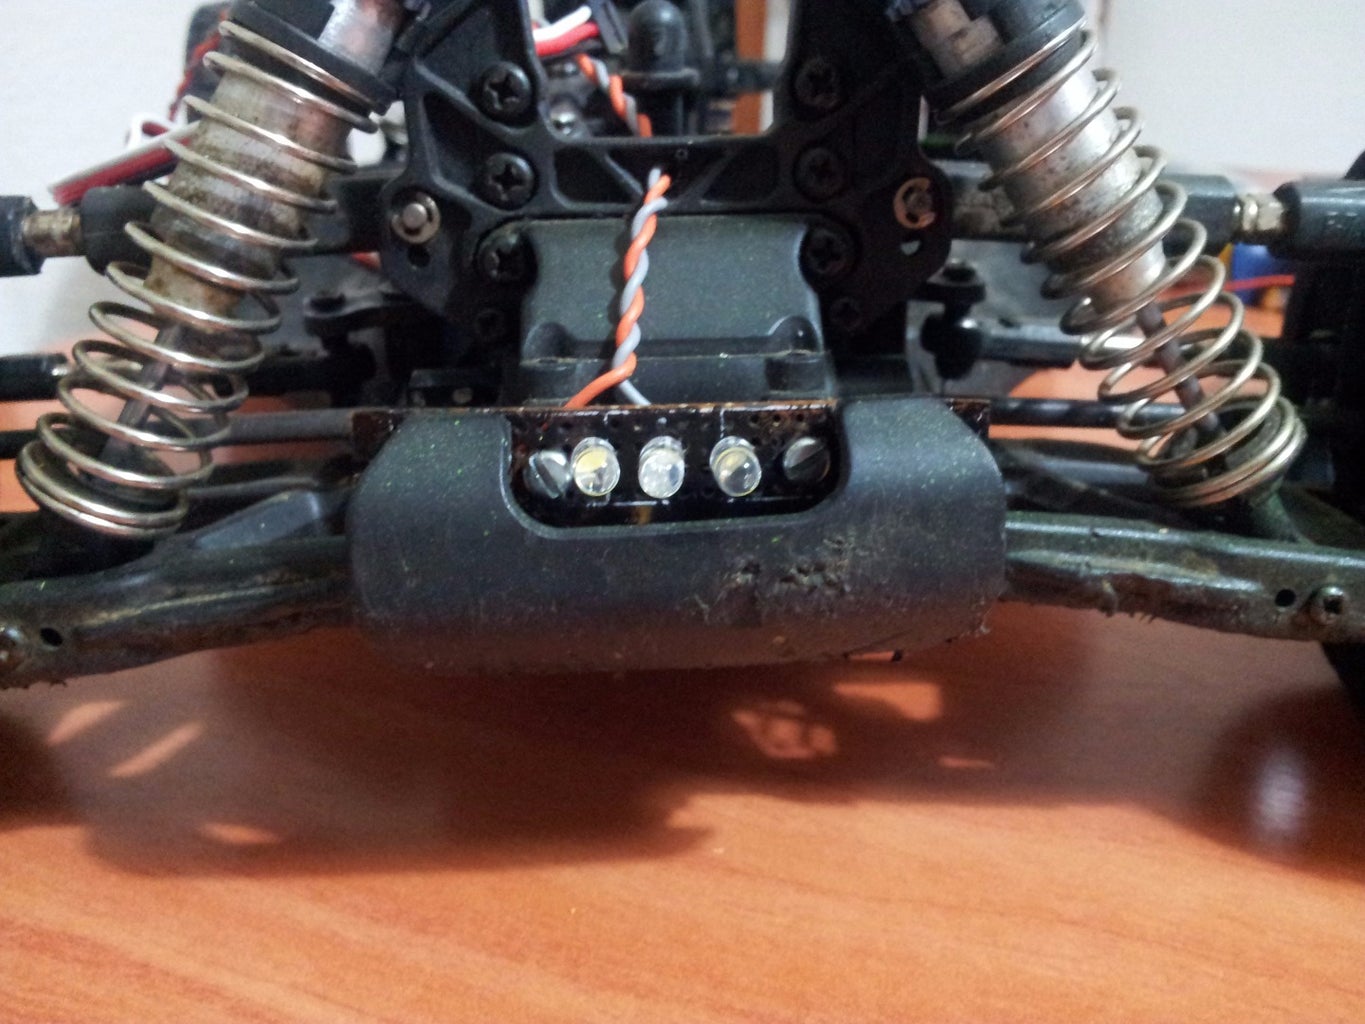
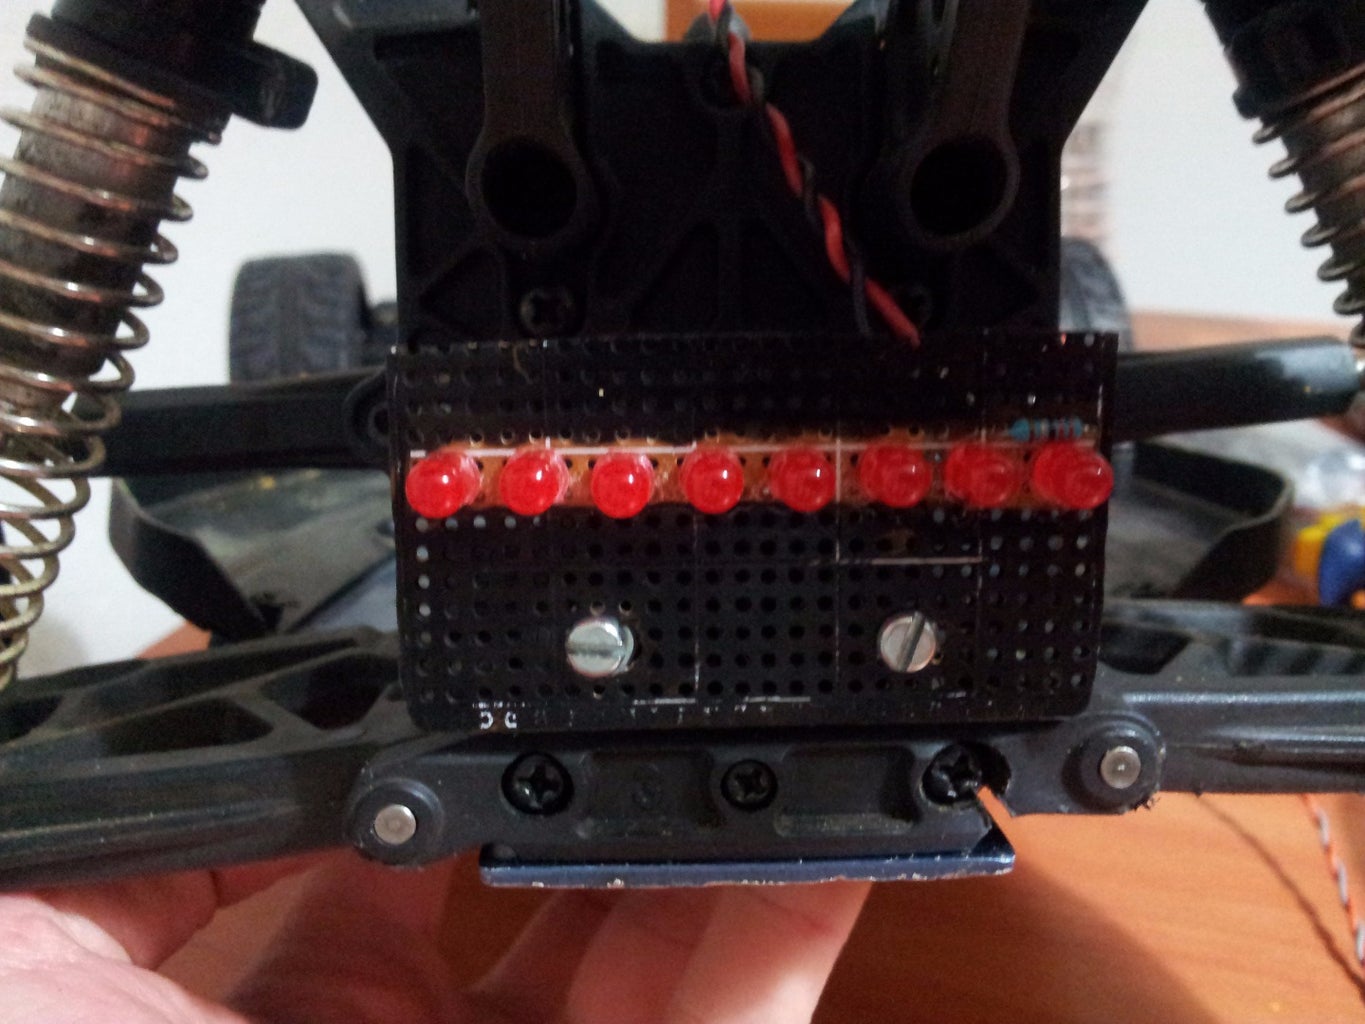
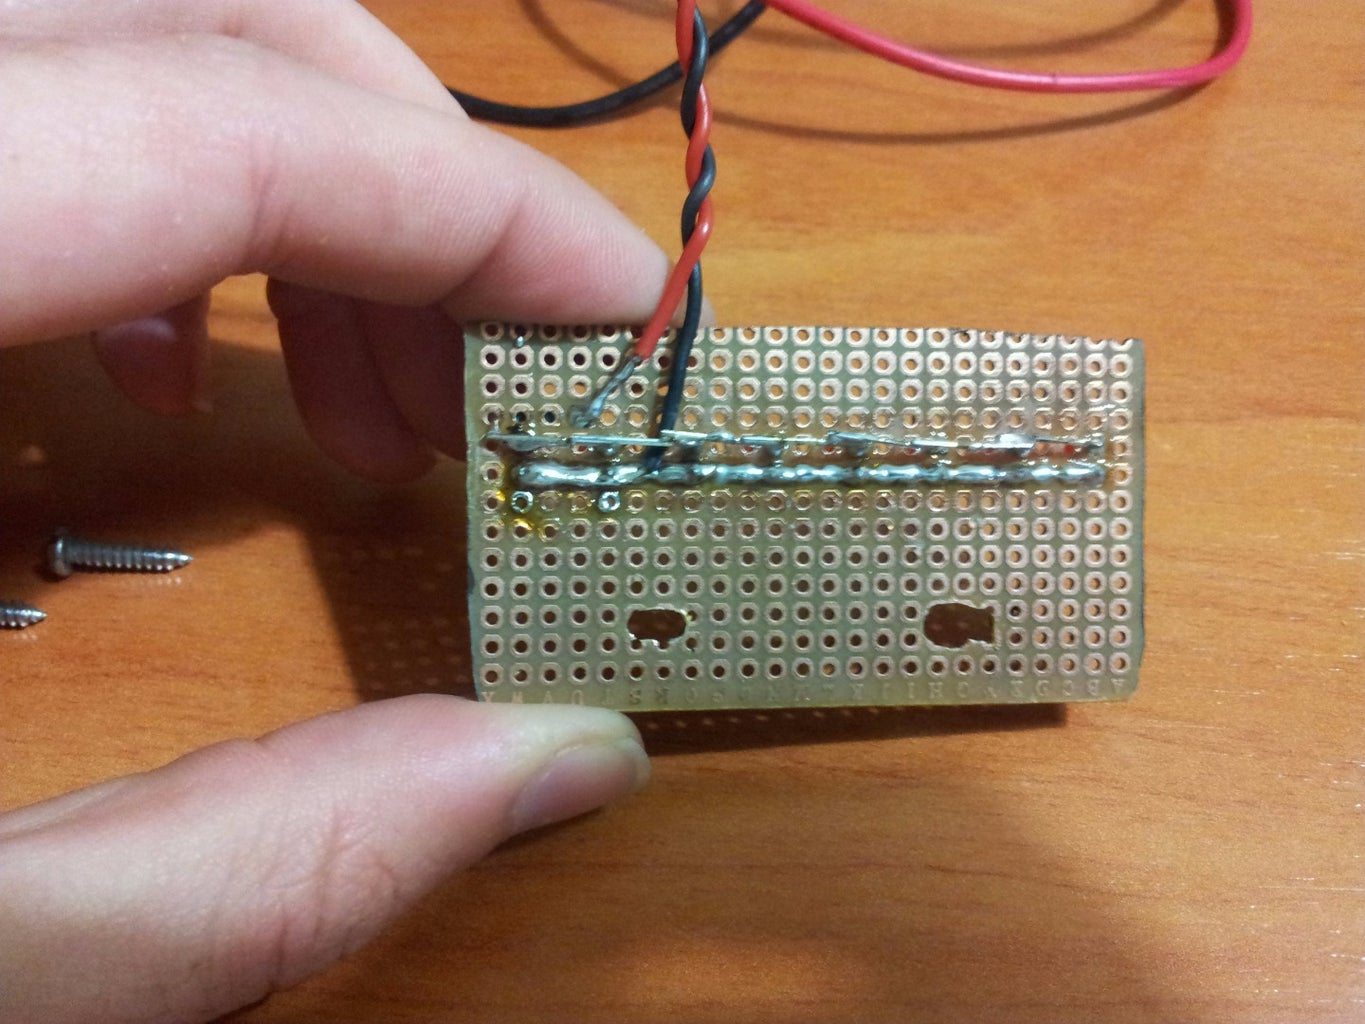
White leds controlled with Arduino. They turn on when the throttle is on and when the throttle is in the neutral position, they blink.The red leds have the same performance as the stoplights, although when the trigger is in the neutral position, they blink like white leds.
Step 6: Arduino Code
This is the Arduino code, it's so easy.
Attachments
Step 7: Finish

The video shows how the lights car and the direction work.
That's all.
Thanks for watching!


