

Introduction: Ultrasonic Sensor Controlled Servo in NodeMCU


More by the author:


About: I am an electronic hobbyist on Arduino, Photon, Raspberry Pi and common electronics.A passionate cook.Any assistance in electronics and web development feel free to contact me at appytechie.at@gmail.com.
Hi, I'm Sridhar Janardhan today I am teaching about how to interface ultrasonic sensor and control the servo motor based on the values thrown by the ultrasonic sensor.This ibles are for the node MCU beginners and I expect the peeps to stay patient to see the intermediate stage later weeks as soon I as finish the basic ibles of node MCU Arduino and photon.
Step 1:


Components required to do this projects are:
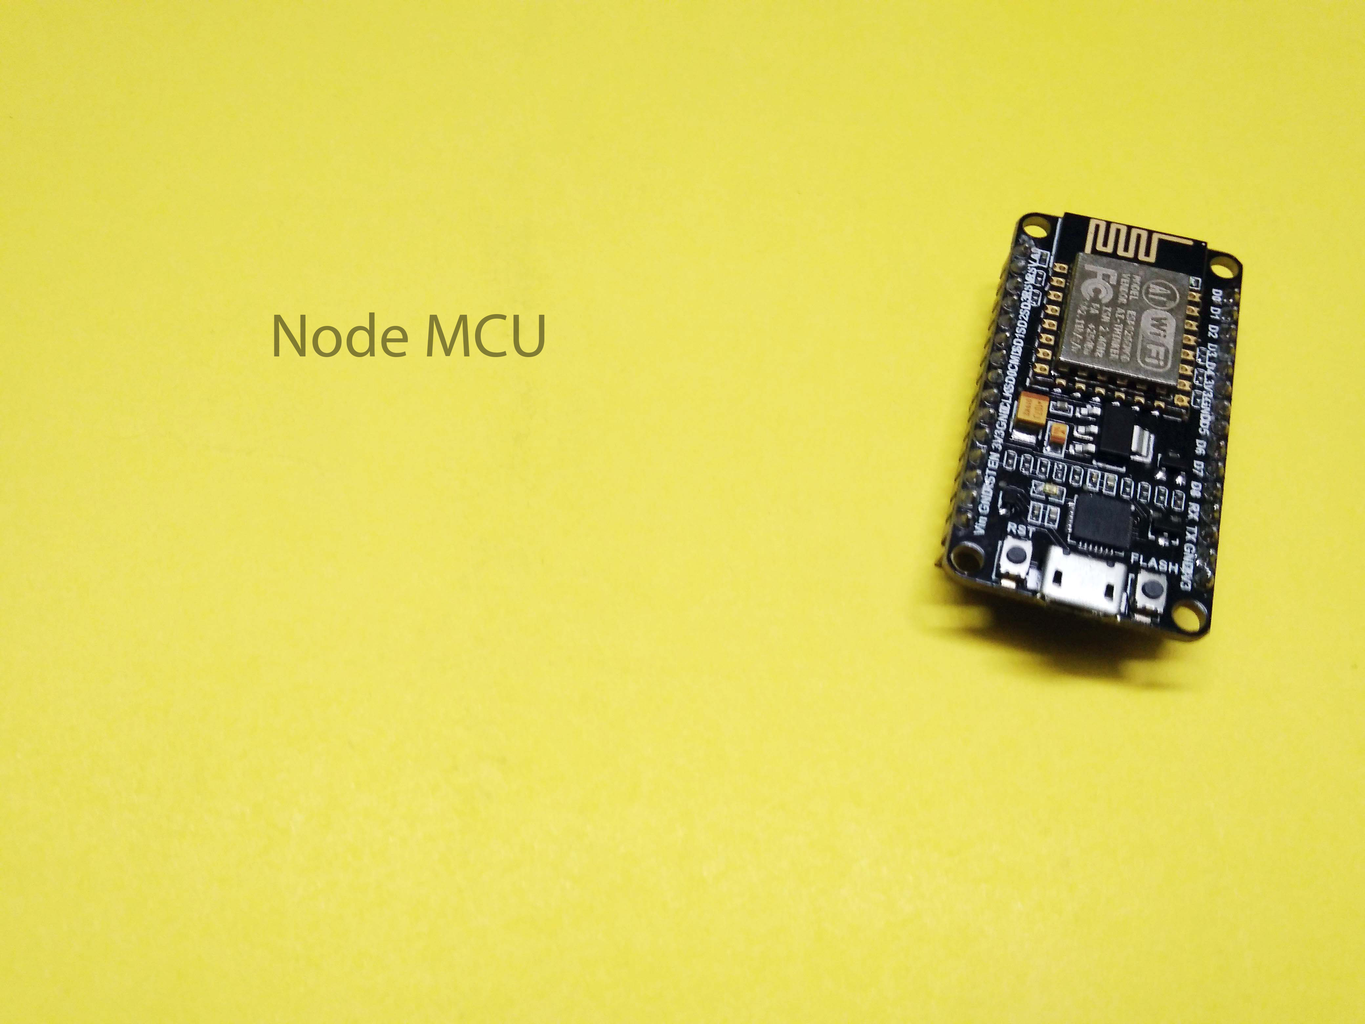
- NodeMCU
- Breadboard
- Jumper wire
- Ultrasonic sensor
- Servo motor
Let's now start with the connection
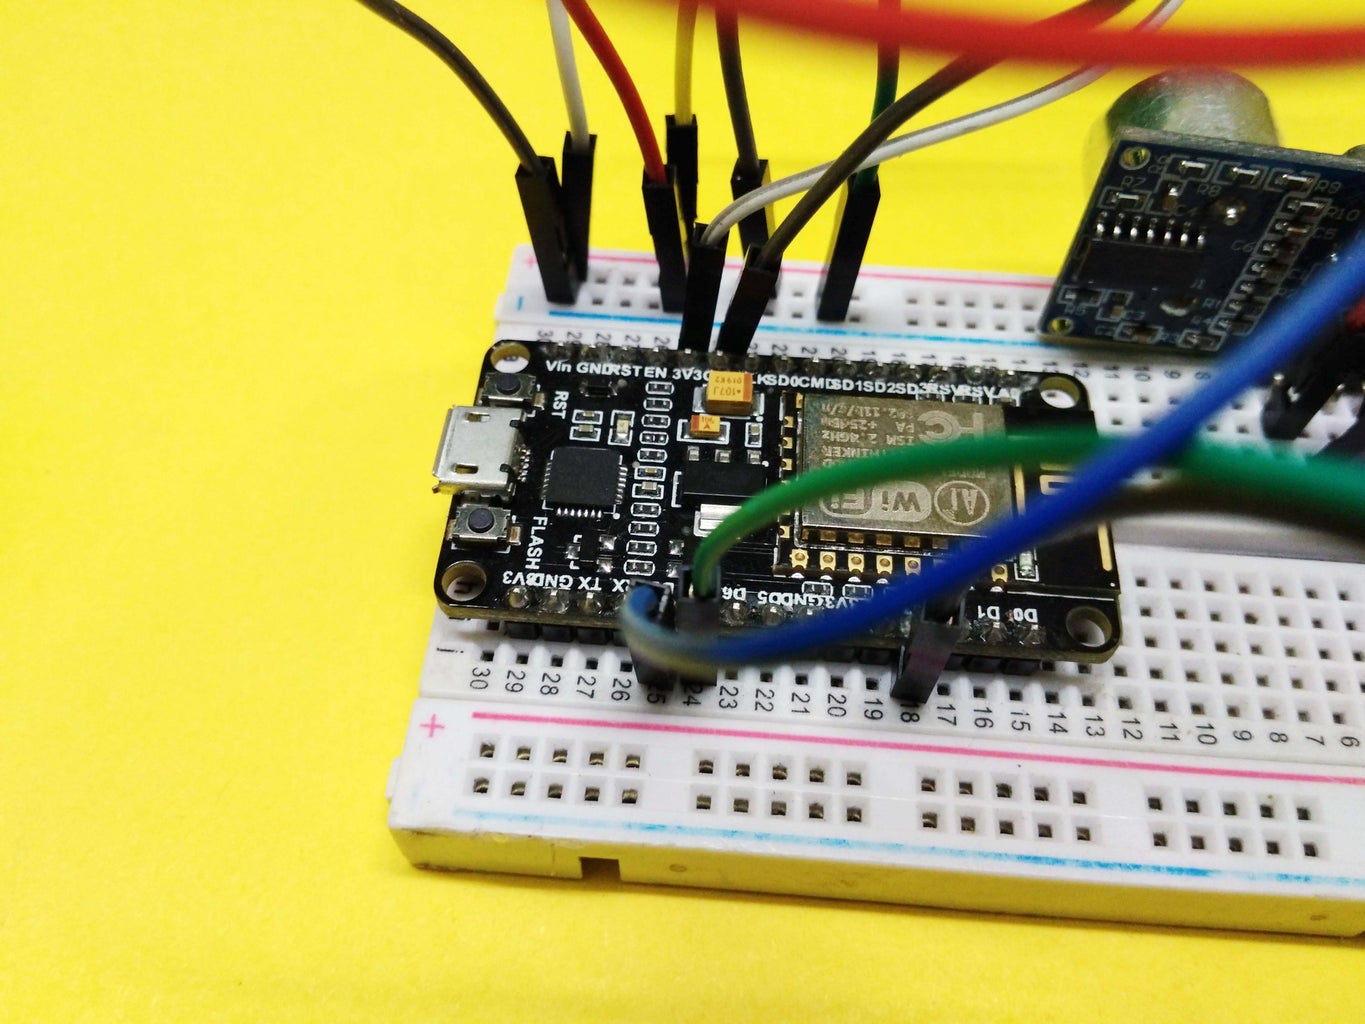
Step 2: Ultrasonic Sensor Connection


Ultrasonic sensor are connected by the following instruction
- Trig pin: This is connected to the digital pin 13
- ECHO pin: This is connected to the digital pin 12
- VCC pin: this is connected to the Positive railing of the breadboard
- GND pin: this is connected to the negative railing of the breadboard
Step 3: Servo Connection


The servo motors are specially designed motor used to control the acceleration and angular rotation of the shaft.
The connection of the servo motor are as follows:
- The red wire or positive supply is given to positive supply of the breadboard
- The black wire or negative supply is given to the GND pin of the breadboard
- The orange wire or signal wire is connected to the pin no 3 of node MCU
Step 4: Coding

#include<Servo.h>
const int trigPin = 15;
const int echoPin = 13;
long duration;
int distance;
int safetyDistance;
Servo myservo; // create servo object to control a servo // twelve servo objects can be created on most boards
int pos = 0; // variable to store the servo position
void setup() {
pinMode(trigPin, OUTPUT);
pinMode(echoPin, INPUT);
myservo.attach(0);Serial.begin(9600);
}
void loop() {
digitalWrite(trigPin, LOW);
delayMicroseconds(2);
digitalWrite(trigPin, HIGH);
delayMicroseconds(10);
digitalWrite(trigPin, LOW);
duration = pulseIn(echoPin, HIGH);
distance= duration*0.034/2;
safetyDistance = distance;
if (safetyDistance <= 5){
// goes from 0 degrees to 180 degrees // in steps of 1 degree
myservo.write(90); // tell servo to go to position in variable 'pos'
delay(15); // waits 15ms for the servo to reach the position
}
else{ // goes from 180 degrees to 0 degrees
myservo.write(0); // tell servo to go to position in variable 'pos'
delay(15); // waits 15ms for the servo to reach the position }
Serial.print("Distance: ");
Serial.println(distance);
}Step 5: Output

Participated in the
Makerspace Contest 2017


