

Introduction: Upcycled Protective Case for Arduino


This project is to create a closable case for an arduino board with battery power supply and breadboard area.
Considerations for the design:
The case needed to be closable to protect circuits on the breadboard
Needed to hold the parts securely
Breadboard needed to run parallel to the pins on the Arduino. As I was doing layout, I found a board on each side of the Arduino worked well to keep connections easy and neat.
Enough height to close with shields added to the board.
Easy access to power and USB ports.
A 9 volt battery for powering the board.
Materials:
VHS tape case
Sheet of Plexiglass 7.438" by 4.063" and .250" thick
2 = 4-40 screws .375" long
2 = small plastic washers to fit the 4-40 screws
4-40 tap and tap drill
2 = 270 point breadboards
9 volt battery case with switch
Arduion (I used a Duemilanove but anything with the same form factor will work)
Hook and loop tape .500" wide and 2" long
Glue for hook and loop tape (I used E-6000)
Step 1:


When searching for appropriate containers to start this project, I found a box of double sided VHS tape boxes. These boxes are designed to hold 2 VHS tapes. Since VHS tapes are becoming less popular, these boxes are easy to find. A local library was throwing out these boxes and I have also seen several of these at local thrift shops, often with tapes in them, for $1 or less. These boxes open and lay flat. The boxes also have clips on each side to hold the tapes in when the case is opened.
Step 2:

Then, cut a piece of .250" thick pleixiglass to fit inside the clips. The size worked out to be 7.438" by 4.063". This size lets the clips hold the piece of pleixiglass firmly but still lets it be removed from the tape box.
Step 3:

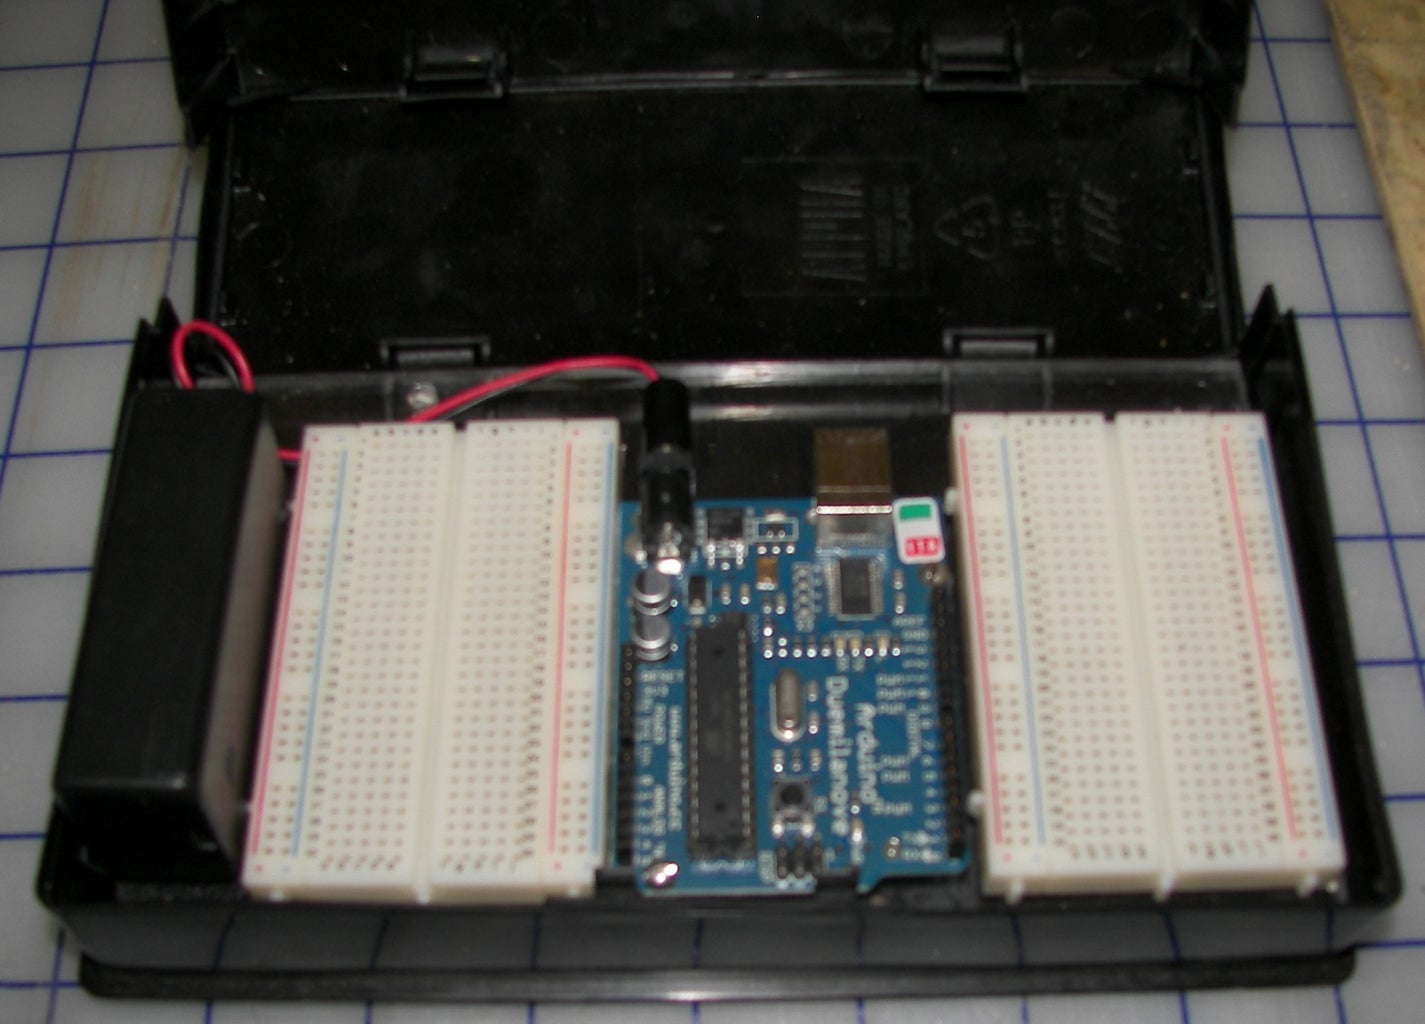
Dry fitting the parts shows there is plenty of room to fit two 270 point breadboards in the case. I like to have a breadboard on each side of the Arduino this makes the layout for many projects much neater. I marked the location for the 2 mounting holes on the Arduino.
Step 4:


Drill both holes with the tap drill (#39) for the 4-40 screws. Tap both holes.
Step 5:


Pull the protective paper off the plexiglass. Place a plastic washer between the arduino and the pleixglass sheet before screwing the board down.
Step 6:

The breadboards had double sided tape on them so they just stuck on to the plexiglass. The hook and loop tape is glued down to the plexiglass and to the battery case. Position the case so that you can easily access the on/off switch. Glue the hook and loop tape on the battery case so that you can still change the battery.
Step 7:
Here is the final project. It fits two shields on the arduino and still closes. The outside of the case has a pocket to originally hold the label for the movie. I printed my own label to fit the project.
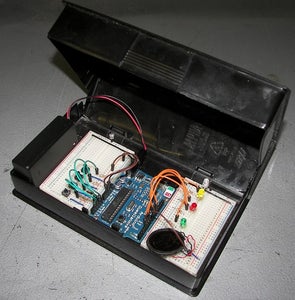
Step 8:

Here is the final product wired for a project. All of the ground rails on the breadboards are connected to make wiring easier.


