

Introduction: Voice Controlled Bluetooth Car


Everyone has used the remote controlled car.... but what about a voice controlled car??? Ever used it?If not then you will build it now. Just you need an arduino as the brains and a smartphone. So I have developed this project so that you can use the voice functionality and this can also be a reference for your future projects, So let's get started...
Step 1: Parts List
1. Arduino UNO/nano/micro/Mega
2. HC05 bluetooth module
3 2.2K ohm, 4.7K ohm resistor
4 breadboard or solder kits
5 wires
6 chassis
7 2 150/300 rpm BO motor with 2 wheels
8 some screws and nuts
9 castor wheel
10. motor driver(:L293 or L298)
11 12V power source
Step 2: Building the Circuit on Breadboard and Setup Chassis


Now Arduino nano is the brains of the project for mine.you can use UNO/MEGA/MICRO. And I would use Bluetooth connectivity feature for controlling the car with smartphone.
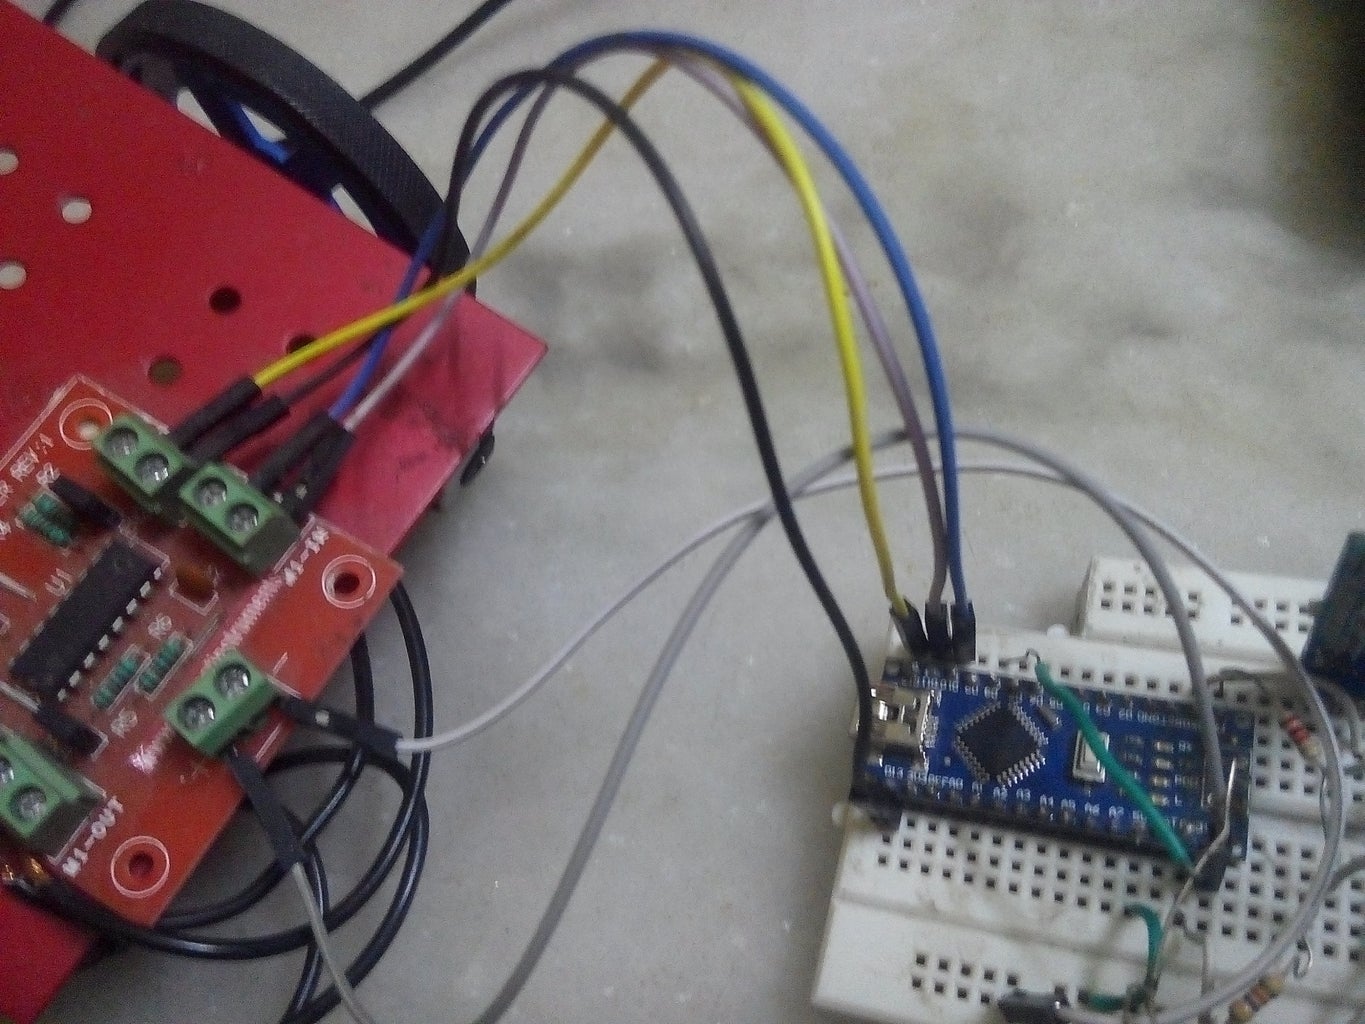
So I have provided the circuit in the Fritzing File.Download Fritzing and open it and see the file. Connect as shown in the diagram. Use the voltage divider as given with 2.2k and 4.7k . Now the yellow wires(as per that fritzing file) represent the 4 output that would control the motor driver. Those 4 logic levels actually are the inputs of the motor driver and the motor driver uses that logic levels to move as per the logic levels are fed. And the arduino controls that.....means that it enables the driver to move both motors forward or backward or reverse or move right or left or just stop. This is accomplished in the code.
So see the diagrams above and then connect the motor driver inputs. Then connect the motors at the output with a couple of screws and fix the wheels . I have connected my L293 driver as per it's connection. Check your own driver, search over the net and datasheets and connect as per required.
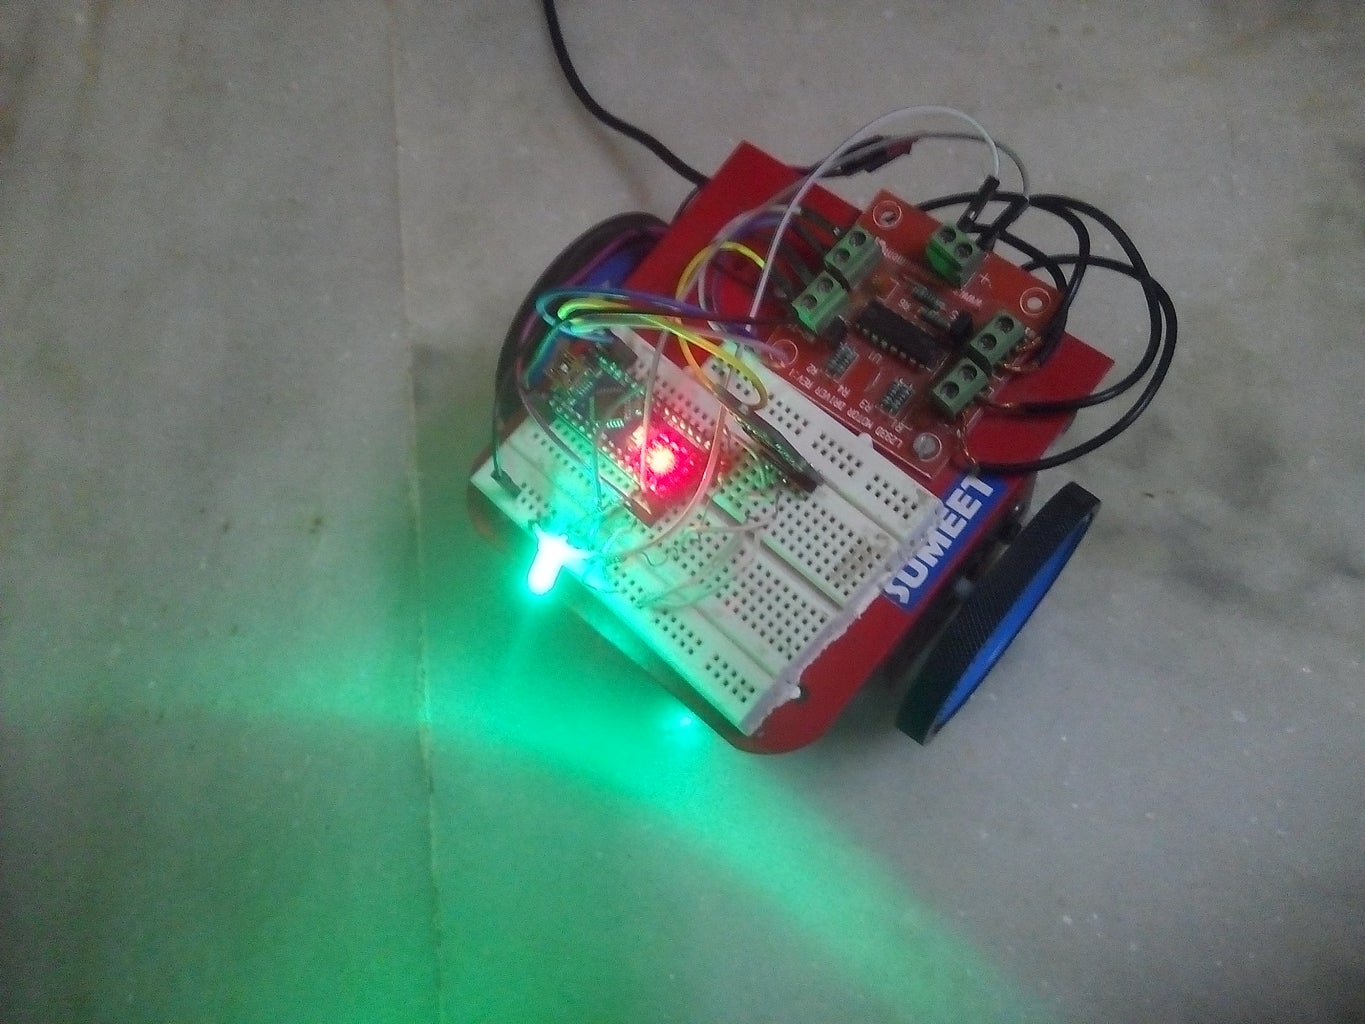
Fix the motors with screws and fix the motor driver and breadboard with double sided tapes or simple tape. Also fix the castor wheel.See pic. Your chassis can be different so check it carefully.Attach wheels
Attachments

Step 3: About the Testing Code and the App Working Principle


Now the voice feature actually works with the bluetooth. There is an app on called "BT Voice Control for Arduino" Link-https://amr-voice.en.aptoide.com/ . Download and install it on android phone and pair with HC05. If you are connecting for 1st time ,pair it beforehand with 1234 or 0000 as pass. If it does not pair, try again.
Now after you speak on the app after a couple of seconds it returns what you just said on your mobile screen. It actually uses the Google Voice. So now what you said is transmitted over the bluetooth. Upload the test code given on the Nano.remove RX TX lines while uploading. After uploading reinsert again. The HC05 accepts that data using the Serial.read() function and you can see what you just said on the serial monitor using Serial.print. So you can check the working of the app there.Speak anything on the app and see the serial monitor. I have attached all the step by step screenshots about connecting HC05 with app...speaking and seeing on the serial monitor. See them. If you say forward it will show as *forward#. So using this app we can manipulate our code which is attached in the upcoming steps.
Step 4: Now Upload the Code and Attach Power Source


Now I have uploaded the full arduino code here that controls the car. You can download it.
Now while uploading it...make sure you have disconnected the RX TX lines. It won't be uploaded otherwise. After uploading connect them again. Now connect a 12V power source .A block diagram is in the picture.
You can change the strings which I wrote as forward,backward,stop,left,right by any word you feel easy. You have to just speak up that word on the app.
Attachments
Step 5: Finally


I have previously described how to use that app. Now speak up forward,backward,left ,right,stop, I used these words in my code.You can now change that string in the else if statements and upload again.Just speak up that word on that app and it would work fine. I also have attached a LED at pin 8. You can add more lights or a buzzer or servo.
So your voice car is ready.....have fun...


