

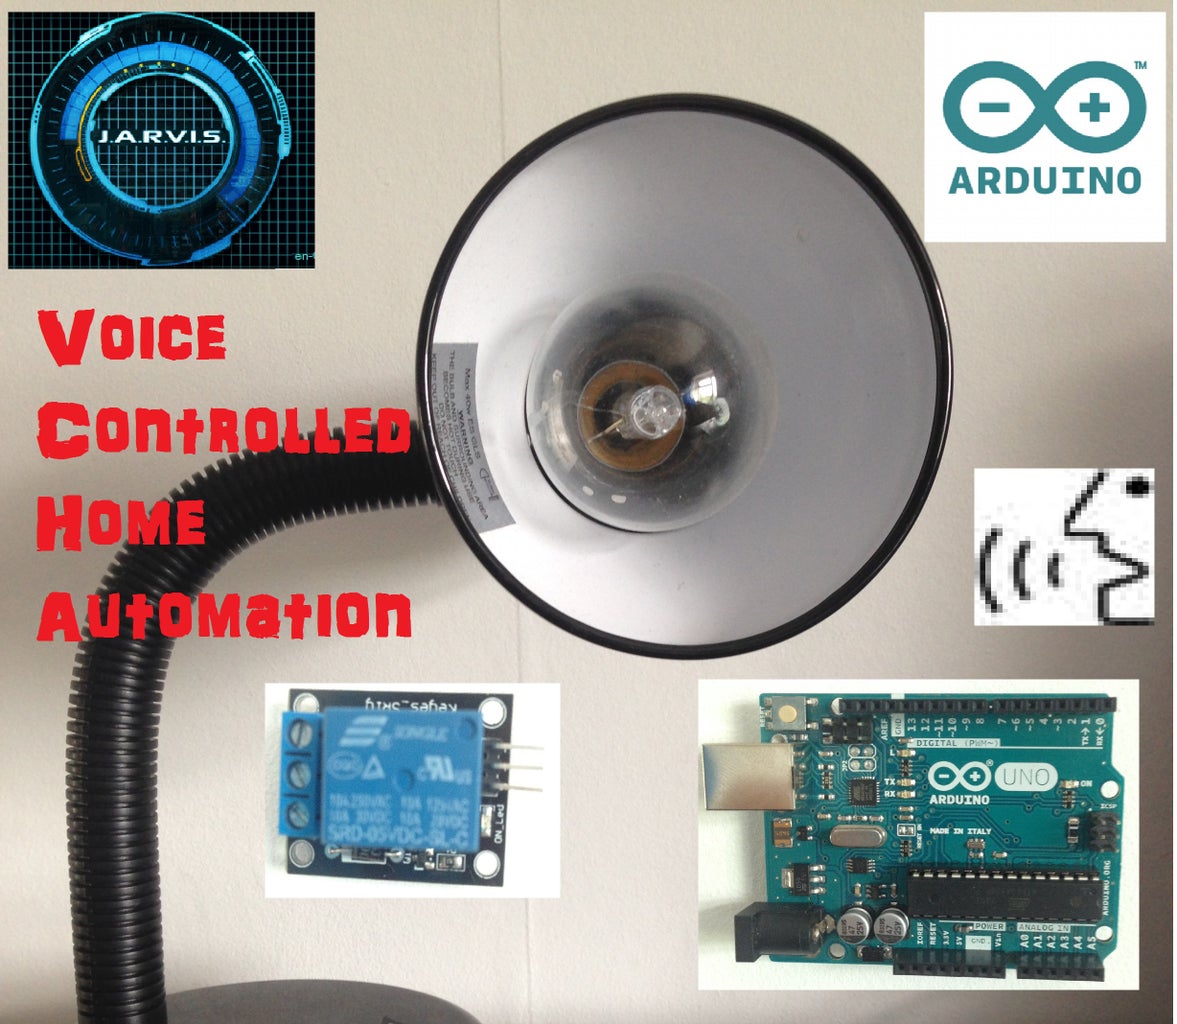
Introduction: Voice Controlled Home Automation System (Cheap & Easy)


Using an Arduino, a recycled laptop and limited programming skills, you could be able to create your own home automation system using the following steps.
This instructable shows a cheap method to create such a system using free software and limited programming skills. The general method can be applied to make any Arduino project voice controlled.
If you enjoy it please vote for it!!!
Lets get Started...
Step 1: Equipment


These are the things your gonna need to get started:
- An Arduino (I use an Arduino UNO)
- A relay module (capable of withstanding AC)
- Breadboard and 3 jumper wires (or simply three male to female jumper wires)
- The device you wish to control (I used a cheap lamp)
- An old laptop to run the software
You'll also need the following software:
- The Arduino IDE
- Visual Studio (download Here)
- J.A.R.V.I.S. voice recognition software (download Here)
There are newer versions of the J.A.R.V.I.S. software, however, this is the one that I used.
Step 2: How It Works

Before we can begin creating, we must fist know what we're doing. The diagram shows how each stage is involved in the final result. First the voice command is processed by the voice recognition software. It then opens an application (created in visual studio) that will send a signal to the serial port. The Arduino then receives this signal (in the form of a letter) and uses it to indicate whether to turn the relay on or off. This then turns the lamp on and off. Lengthy, I know but this is a cheap way to control an Arduino using voice commands and an opportunity to experiment with the serial connection. Now we know what were doing we can start connecting the components.
Step 3: Setting Up the Arduino


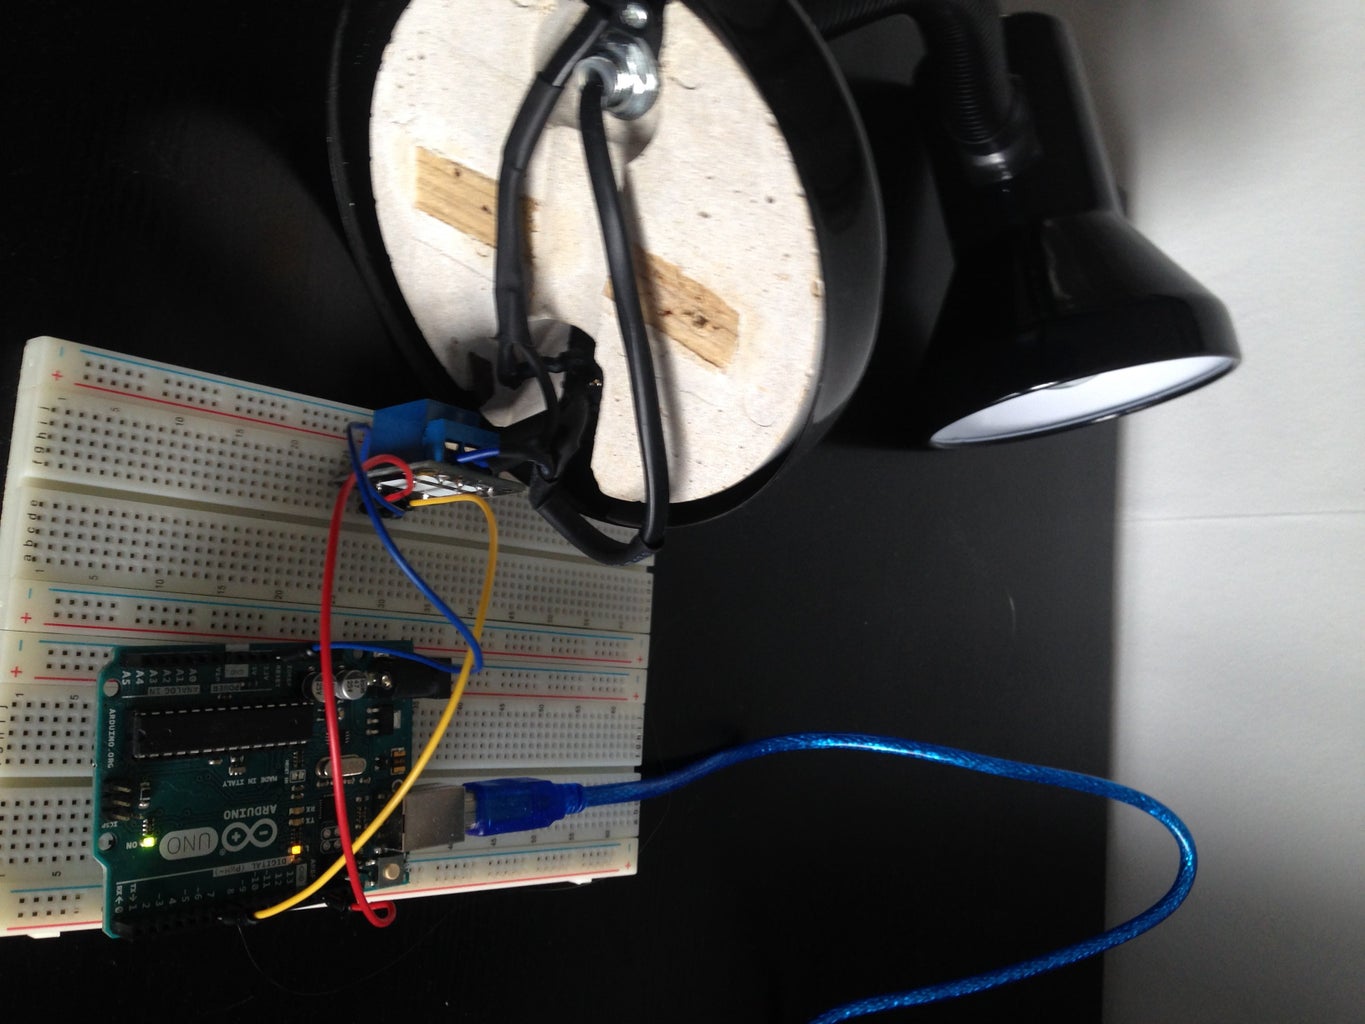
The Arduino must first be connected to the relay using the following connections:
- 'S' to pin 6
- '+' to 5v
- '-' to Ground
The relay must then be connected to the appliance.
A break in the power-providing circuit must be made and the two wired connected to the following connections on the relay module:
- One must go to COM(Common)
- The other to NO(Normally Open)
Ensure the two wires do not touch.
WARNING: Ensure the appliance is off and disconnected from the mains while connecting it to the circuit as there is a risk of electrocution when the appliance is on. (this doesn't mean just flicking the off switch - pull the plug out)
Once complete the Arduino will need to be connected to the computer.
Step 4: Programming the Arduino

Simply upload the code to the Arduino. To test that it was successful, open up the serial monitor (in tools) and type the letter 'P' (for positive, and as a capitol). If the code was successful, your relay should make a loud click noise and a light appear (and the appliance turning on) indicating it has been turned on. Typing any other letter will cause the relay to switch off. If the code is unsuccessful, check your connections or consider writing the code from scratch (with the help of the image if necessary) to find the issue.
While in the software, note the port that your Arduino is connected to in the lower right (e.g. COM1 or COM3) as this will be used later.
Attachments

Step 5: Creating the Applications


- Open visual studio and create a new project in Visual C# - Windows Forms Application and save it under a memorable name such as 'relay_on'.
- When the Form appears (and empty grey box) open the toolbox (may need to be selected from 'View') and drag a 'serialPort' onto the form.
- You'll then need to setup the serial port connection with the information in the image - Baud Rate=9600 and the Port Name= the port your Arduino is connected to (e.g. COM3).
- Next, double click on the Form (the grey window-looking box) to open up the code.
- Underneath where it says 'initialize component', insert the text 'serialPort1.Open()'
- Then inside the 'form_load' void, insert the text 'serialPort1.Write("P");' and then 'Application.Exit();'. This tells the serial port to turn the relay on then it terminates the program.
- Save and start the application to ensure the code is correct. If not, check the serialPort settings and the code as well as the Arduino connection (it must be on the same port as the one indicated in the code).
- Repeat steps 1-8 again, however, save the project as 'relay_off' and change the letter 'P' in the 'serialPort1.Write('P');' to an 'N'. Save and load the application. The relay should then switch off.
- Now you'll need to open your project folder in a file explorer window and find the two projects you have just created. Open each of them and enter the project folder labelled 'obj' then 'Debug' and find the application (.exe) with the same name as the project. Copy both of these applications to your desktop (or another separate folder). Upon opening them they should turn the relay on and off.
Step 6: Linking the Voice Command Software


You'll need to install the J.A.R.V.I.S. software from the link in the equipment list. There are other programs you could use or you could write your own code for one in Visual Studio, however, being lazy I decided to use this simple version of the software. Once installed you'll be prompted to select your language. The application will then open and to create the commands click on the plus symbol. Under shell commands enter: The command to turn the relay on, the response (I would avoid repeating words) and the location of the file that will complete the action. This file is the application we created earlier. Be sure to link the correct application to the correct command and include the file extension (.exe). Once done, click save and say 'update commands' and you're good to go.
Step 7: Result!
Now that the various pieces have been linked the relay module should now be voice controlled!! This method can be applied to a variety of Arduino tasks and various automation procedures, not just controlling one relay. The project can also be expanded to multiple outputs controlling lots of devices. Electronics can be hidden inside a HUB and microphones (and speakers) can be added to expand the range of control. This project is an ideal opportunity to recycle an old laptop/computer to form a control HUB for your appliances. To prevent wires, the project can also be made wireless for more convenience.
Thanks for reading and don't forget to vote if you liked this instructable!!

Participated in the
Automation Contest 2016


