

Introduction: Wizard Glove: an Arduino Controlled Controller Glove


The Wizard Glove.
In my project i have made a glove which you can use to play your favorite magic related games in a cool and immersive way using only a few basic arduino's and arduino assets. you can play things games like the elder scrolls, or you could even make your own game.
the Glove uses an accelerometer to detect the speed of your hand so that if you move your hand in a fast throwing motion the arduino will send a message from bluetooth module to receiver so the receiver can start a command and click on your computer like a mouse clicks. the Glove also has different button which you can use to change spells and change color of the led lights in the glove.
Step 1: What Do You Need?

You're gonna need:
- 1x pair gloves 1.5 bigger your own size.
- 1x rectangle case that can hold an arduino leonardo and other cables (i used an iphone 4 case)
- 1x arduino nano
- 1x arduino leonardo
- 1x adafruit neo-pixel 16 ring
- 3x buttons of your choice (i reccomend small buttons because they do have to fit in your fingers)
- 2x bluetooth HC-05 modules.
- 1x 3-axis accelerometer
and a lot of wires, a few resistors of 220 ohm ( i could do it with 6), and some soldering equipment like tin.
Step 2: Programming the Arduino's and the Bluetooth
To start of your project you can code your arduino nano and arduino leonardo, you'll want to create an bluetooth master and slave connection with both your HC-05 modules. i have found the perfect guide for this installation on this website and i'll place a link to the intruction so you can do exactly the same before we continue (remember: arduino leonardo is Slave and arduino nano is Master) (i really wanna thank "Riftliger" for his instruction): https://www.instructables.com/id/Arduino-Bluetooth...
Once you have connected your arduino leonardo as slave and your arduino nano as master, we can start to code them to work with every attribute and make the glove.
To start, make sure you have your library's set up in both arduino's and download the .
your master arduino should be the glove so the neopixel ring and the bluetooth module are connected. this means the master module should have :
#include #define PIN 6
and
#include SoftwareSerial BTserial(10, 11);
your slave arduino should be able to receive information with the bluetooth and be able to control your computer. so for the slave you'll need the SoftwareSerial too as well as the standard #include Keyboard.h and #include Mouse.h witch you can find more about on the arduino refrences website.
Concluding i have posted the full code below and you can create a code simmilar to the code below to make your lights, or map your own accelerometer.
Attachments

Step 3: Building the Glove
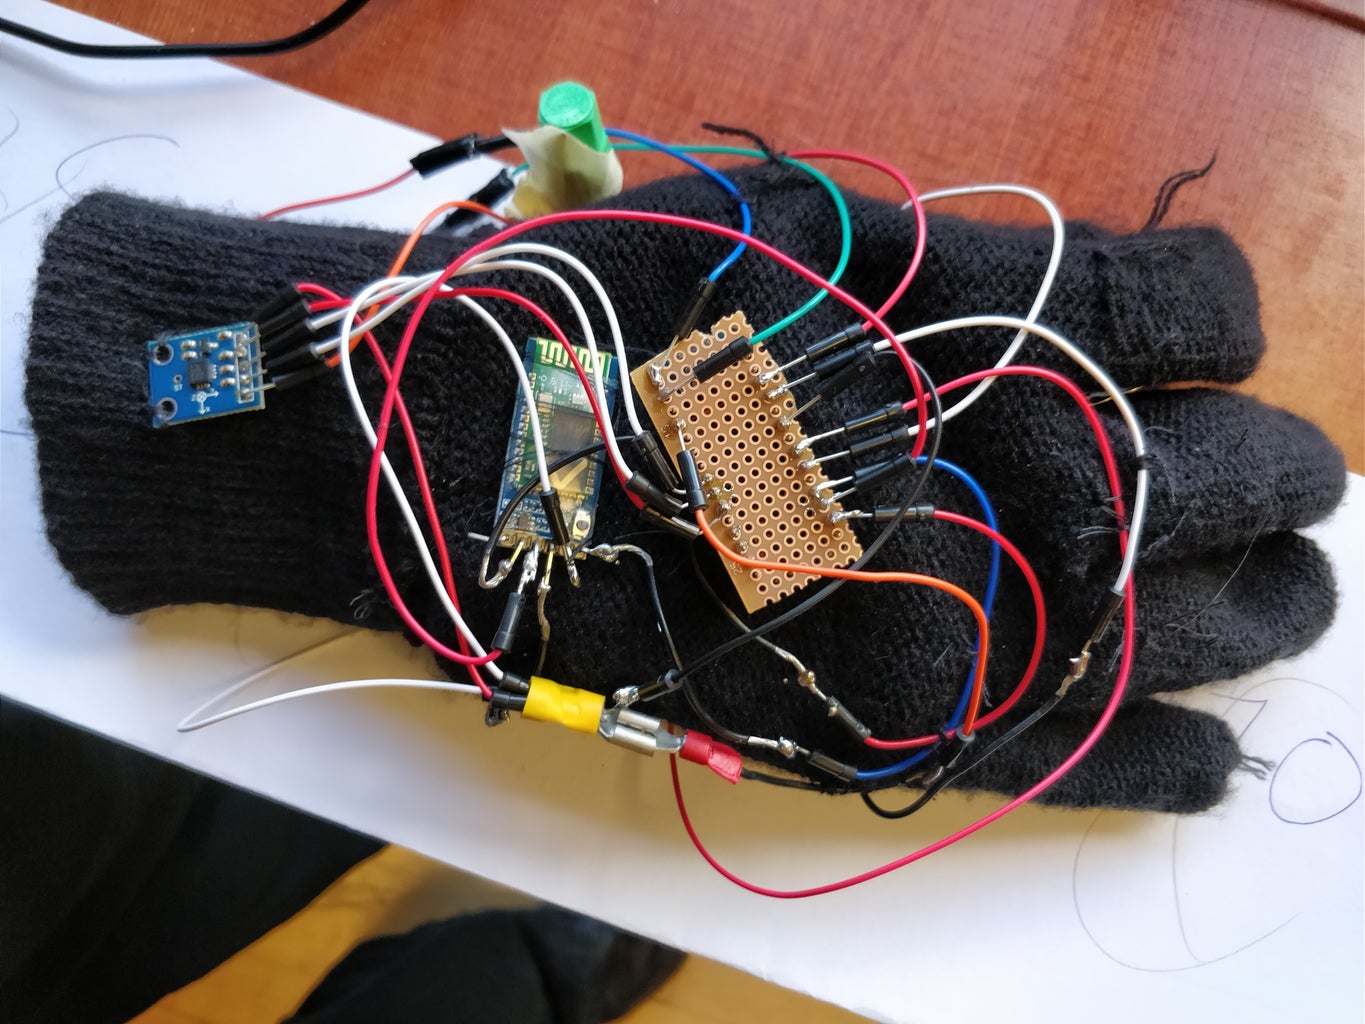


once you've succesfully created, uploaded, tested, and improved your code you gotta make the decision to start building your glove. in the pictures above i have made a simple diagram of how everything should be set up (i'm sorry for my drawing skills). in the diagram you can see the lines with a squily line like a "Z" through them are connected to 5V (5volt) and the lines with a simple circle "0" through them are connected to GND (ground).
as you've set up the code you should know where every pin should lead and how everything schould be powered and controlled. a little tip is to find a simple place for your arduino since it'll have to hide inside your glove. i had mine in the middle of the back of my hand but i reccomend placing the arduino at the beginning of the back of your wrist since the accelerometer could best be placed in the middle of your hand and the bluetooth could be placed anywhere.
the most tricky part of the building process is the soldering of all your cables. this was my first soldering project so i have a lot to learn, but i can speak from experience to use things like metal lug wiring caps to connect every attribute to volt and ground from only two connections to the arduino. this makes it easy to connect a lot of wires to each other, but if you have to connect a wire to your arduino nano i do recommend soldering since that guaranties a strong connection.
the Arduino leonardo is a very simple process where you can use jumper cables to plug into the board, solder the endings to your slave bluetooth module, and plug in the led from pin 8 to GND (ground) without any connections in between since the led wont shine as much to break. for the last step create a cool but simple box for your leonardo (while the usb is still plugged in) so you have a receiver to plug into your computer. (i used a simple i phone 4 box, perfect for an arduino leonardo + bluetooth module to fit.
Step 4: The Final Product!!


And that's it!!
If you have connected everything right, made sure no electrical wire is touching eachother, and make sure everything has been connected, and you can test your glove out with something like the elder scrolls by choosing your spells in correlation to the lights you chose, favorite them, then keybind them to the keys of your buttons, and that's it.
you can now play an immersive game of skyrim and feel like a real wizard. i hope you have fun with this design and tell me how i can improve my projects
thank you and Remember!!:
Have FUN!!

Participated in the
Arduino Contest 2017

Participated in the
Remote Control Contest 2017


