

Introduction: The Plant Pot Basic


please support & share our mission;igg.me/at/smartplants
.
UPDATE: https://www.instructables.com/id/DIY-Smart-Plant-p...
hello world, I am thePlant Potbasic... (original post: the plant pot)
.
I am able to interact with the environment and the user with the help of my sensors and a few colorful lights. The user does not need to have any prior gardening experience to use me OR to grow plants. I teach the user how plants grow by turning on/off different colored notification lights.. The user, overtime, naturally learns how plants grow as he/she uses the plant pot.
.
I blink;
yellow - if the light source is cut off OR if the plant is asleep
blue - if the plant is thirsty
red - if the plant is too cold/hot depending on the season
and if every condition is perfect for the plant then I blink my green light every 5 seconds to notify the user that the plant is alive and secured by the built in " plant doctor ".
.
and now I am going to share with you how it all works,
.
let's begin..>
Step 1: Parts


1x plant pot
1x NTC + 1x LDR + 1x soil probes
1x arduino nano + mini breadboard
1x power bank + battery
4x 3mm leds (R, G, B, Y)
2x 10K + 1x 10 + 4x 220 ohm resistors
.
my planned parts upgrade is a wireless module with SD card.
Step 2: Electrical


all parts have color coded breadboard jumper cables attach to them, so anyone can build me - no prior electrical experience needed.
.
battery;
attach jumper cables to the + positive and - negative legs of the USB ports on the power bank. this is where I get my electricity. now attach the + positive cable to the middle leg of the on/off switch and - negative cable to GND on arduino nano. attach the other leg of the switch to VIN on arduino nano. now you can easily turn me on/off and recharge from outside. the power bank makes it possible to easily recharge the plant pot.
.
sensors;
one leg of the LDR light sensor goes to 3.3V , the other first to A2 and then to GND with 1x 10K ohm resistor on the arduino nano
one leg of the NTC temperaturesensor goes to 3.3V, the other first to A4 and then to GND with 1x 10 ohm resistor on the arduino nano
one leg of the Soil Probes goes to 3.3V, the other first to A0 and then to GND with 1x 10K ohm resistor on the arduino nano (more in depth info about the soil probes on the next step)
.
notification LEDs;
connect all the - negative legs of the LEDs together and then to GND on arduino nano
connect 1x 220 ohm resistor to the + positive leg of each LED seperately and then connect them to:
D11 - blue
D9 - red
D7 - yellow
D5 - green
.
there you have it, I am much simpler to put together / operate then you think !
Attachments

Step 3: Assembly


you can use the bottom of another pot with same size to help you with the soil probes. I have first attached the probes through the cover 1cm apart.
.
after I have attached jumper cables to each leg. connect one leg to 3.3V, the other first to A0 and then to GND with 1x 10K ohm resistor on the arduino nano.
.
it is now time to seal everything so we can water the plant safely without damaging the electrical equipment. for this step I have used plastic clear wrap. make sure to get every corner, use a few smaller strips of wrap if needed to seal every corner. I have also used electrical tape over the probes to give more security.
.
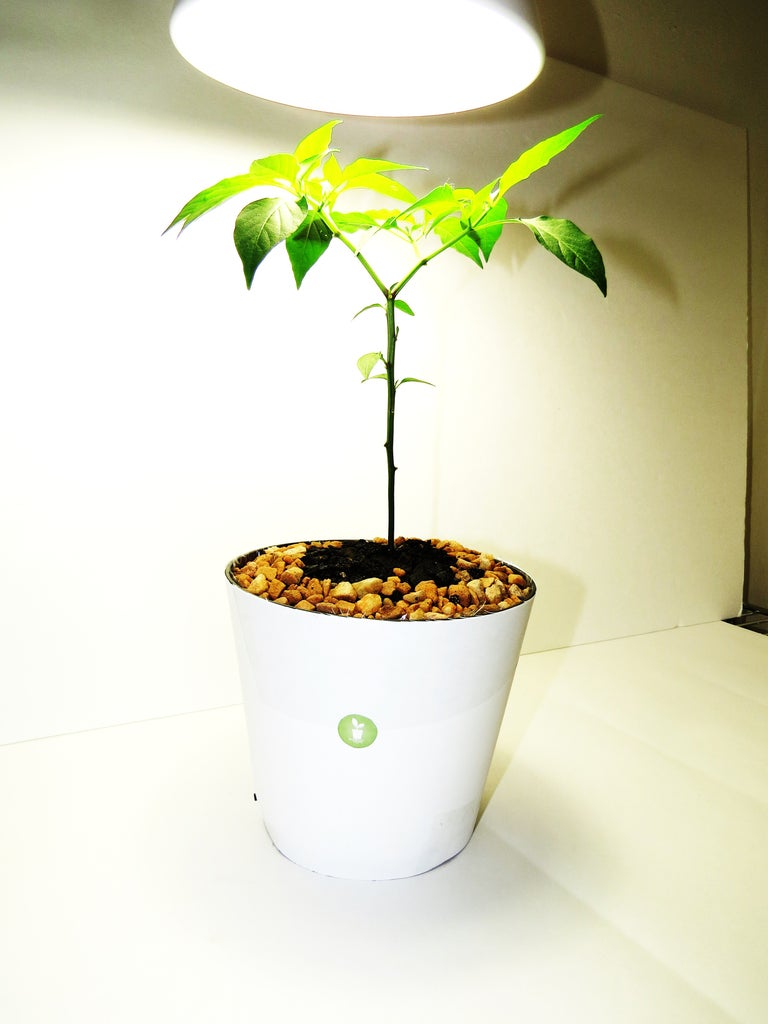
carefully fill with soil and drop in a few seeds. for this demonstration I have used a 100% organic, non-gmo bell pepper seed that I have gotten from seedsnow.com . keep a track of the amount of water that you use. I would recommend 200ml every 2 days. the drainage system is still in works, so for now try to water the plant " just enough "
Step 4: Conclusion


can be recharged or reprogrammed via micro USB - soon over wifi !
.
after my 3D print update I will also be able to used outdoors.
.
and in the last picture you can see the pot with the plant arm attachment. no sun needed to grow !
.
* The plant pot basic is made possible by the Plant Doctor team an open source & non-profit company. please comment or private message if you want to become a beta tester with us. Your donations help us follow our vision, to bring together nature and technology in a simple, non-harmful way. By educating the end user, we guarantee the success of our mission -change the world, one plant at a time...
.
thank you very much for your time and interest,
remember to subscribe and check out my profile to see other indoor horticulture equipments.
love & peace
the plant pot

Participated in the
Microcontroller Contest

Participated in the
Tech Contest


