

Introduction: Operating the Bandsaw

More by the author:


About: Autodesk Technology Center San Francisco is a hub for research, development, and demonstration of new manufacturing technologies and workflows relating to configurable microfactories.
The following outlines basic operation and etiquette for cutting and shaping parts on the bandsaw.
Step 1: Area and Machine Preparation

- Clean and clear the table.
- Make sure there is sufficient room around the saw for your workpiece.
- Turn on the dust collection.
- Have a push stick ready and within easy reach.
- Adjust the blade guard height.
- The height of the blade guide should be about ¼” above your material.
- The blade guard covers the blade and helps reduce the chance of injury

Step 2: Making the Cut

- Turn on the blade and wait for the saw to come up to speed.
- Slowly push the material into the blade.
- Experience will help determine the correct speed for the material, thickness, blade type and other variables.
- Keep at least one hand on the material; if blade is under strain, release forward pressure.
- Stay in control of the material until it is past the back of the blade.
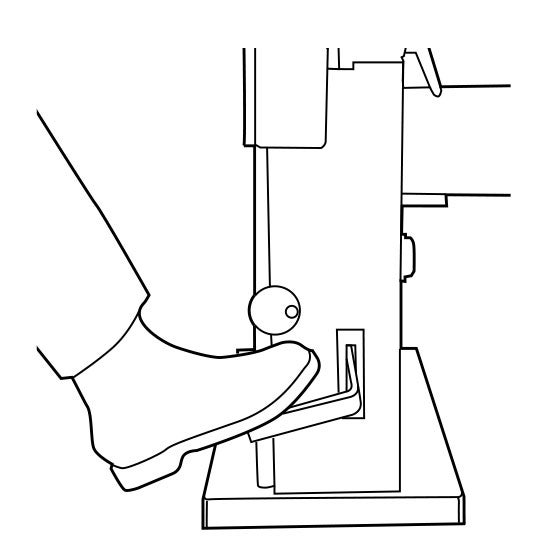
- Turn off the blade, and use the brake to stop it.
Step 3: Cleanup

- Double check that the blade is not moving.
- Lower the blade guard all the way down.
- Brush off the table and clean up the area.
- Put scraps in the trash and reusable pieces in the storage bin in the wood shop.
Step 4: Print Out This Guide
This course is available as a PDF that is attached to this step. Enjoy the bandsaw safely!


