

Introduction: Blynk With ESP8266


Blynk is an Internet of Things platform, which makes controlling hardware remotely and visualizing its data very easy. You can create your own interfaces using the free Blynk App. Every WiFi, Bluetooth/BLE, Ethernet and Serial device is able to connect to the Blynk cloud or a locally running server. Supported hardware can be found on blynk.cc
This instructable will only cover how to install and get started with an ESP8266 developement board (NodeMCU), using the provided cloud service.
Step 1: Prerequisites and Parts
Parts
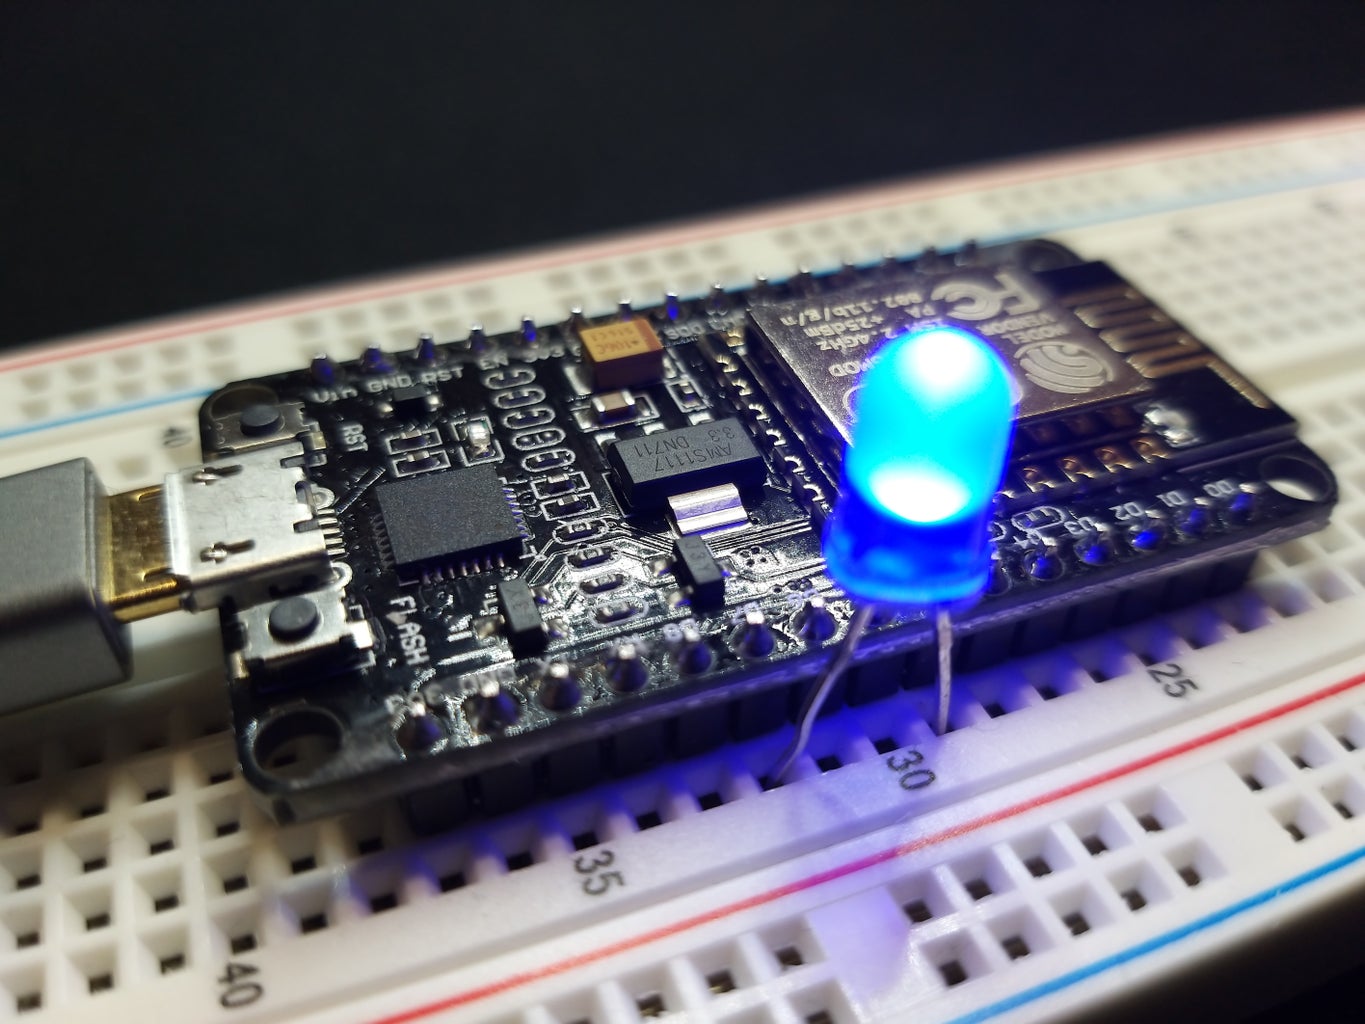
- ESP8266 (NodeMCU)
- LED
Prerequisites
- Arduino IDE (1.8.5 or newer)
- WiFi (credentials)
The app can only be installed on smartphones or emulators!
Step 2: Installation


Include ESP8266 Core to Arduino IDE
1) Goto 'Preferences' and enter the following URL to Additional Board Manager URLs
http://arduino.esp8266.com/stable/package_esp8266com_index.json
2) Open the Boards Manager (Tools > Board Menu)
3) Search for "esp8266" and install the latest version
4) Select your board under Tools > Board and define Baud Rate etc.
Install Blynk libraries
1) Install the latest release of the Blynk libraries on GitHub
2) Unpack it
3) Move the libraries to C:/User//Documents/Arduino/libraries
Install Blynk App
1) Download the App for iOS or Android
Step 3: Create Project


Before creating your project you have to create an account or sign in.
- Click 'Create New Project'
- Choose your device and connection type (NodeMCU, WiFi)
- Receive and note down your 'Auth Token'
- Open the 'Widget Box' ('+')
- Add a button
- Name it and select switch mode
- Define the output pin the LED is connected to (anode Dx, cathode GND)
This example interface is very basic, but you can create more complex interfaces if you add graphs etc.
Step 4: The Code


The client-side code for remote controlling an LED is very easy.
- Open the Arduino IDE
- Goto Examples > Blynk > Boards_WiFi and select your dev board
- Enter your 'Auth Token' (char auth[])
- Enter your WiFi credentials (char ssid[], char pass[])
- Compile and Upload
- Open the Serial Monitor and check whether connecting was successful
If everything worked properly, your now able to turn on and of the LED remotely using the Blynk App.
More information about Blynk and ESP8266 can be found on blynk.io and esp8266doc.


