

Introduction: 4 Simple Servo Project With Arduino


More by the author:


About: Robots are better than People
What you need
1. Arduino or Arduino Clone
2. 9 gram Servo
3. about 12-20 Male to Male wires
4. 2 pot (potentiometers)
5. the servo.h and VarSpeedServo.h libraries.
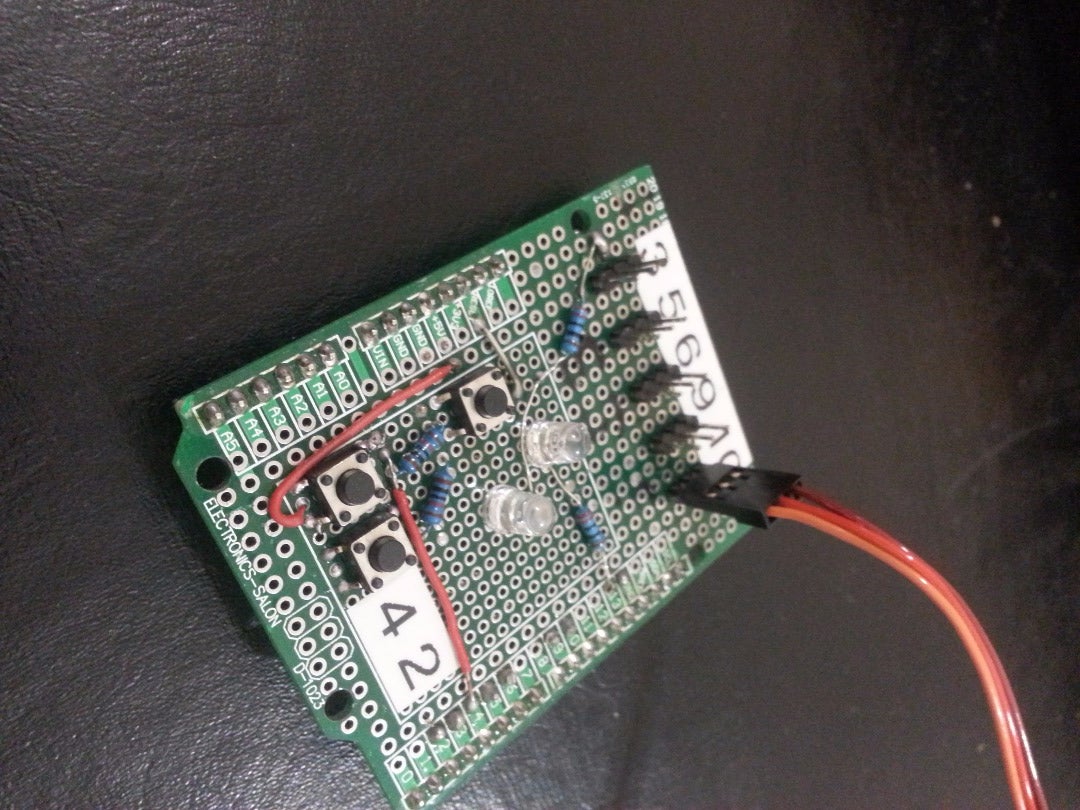
6. if you want to you can make a servo shield to make it a bit neater.
Step 1: Controlling a Servo
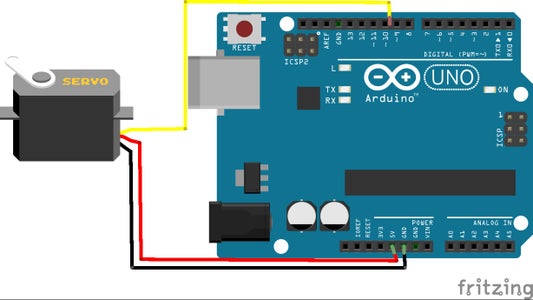
this code will make it so when you upload it the servo will turn to the right then to the left

#include <Servo.h>
void setup(){
Servo servoMain;
{
   servoMain.attach(10);
}
void loop()
{
   servoMain.write(180);
   delay(1000);
   servoMain.write(0);
   delay(1000);
}
Step 2: Random Servo
this code will make it so when you upload it the servo will randomly turn left and right.

#include <Servo.h>
Servo servoM;
long randomNumber;

void setup() {
servoM.attach(10);
randomSeed( analogRead(A0) );
}
void loop() {
randomNumber = random(0,181);
servoM.write(randomNumber);
delay(500);
}
Step 3: Controlling Servo Speed
this code will make it so the servo will turn from 0 to 180 slowly.
#include <VarSpeedServo.h>
VarSpeedServoservo;
void setup()
{
   servo.attach(10);
}
void loop()
{
   servo.write(0,30,true);//you can change the speed of the servo by changing the second number.
   servo.write(180,30,true);//you can change the angle of the servo by changing the first number.
}
Step 4: Controlling 2 Servos With 2 Potentiometers.
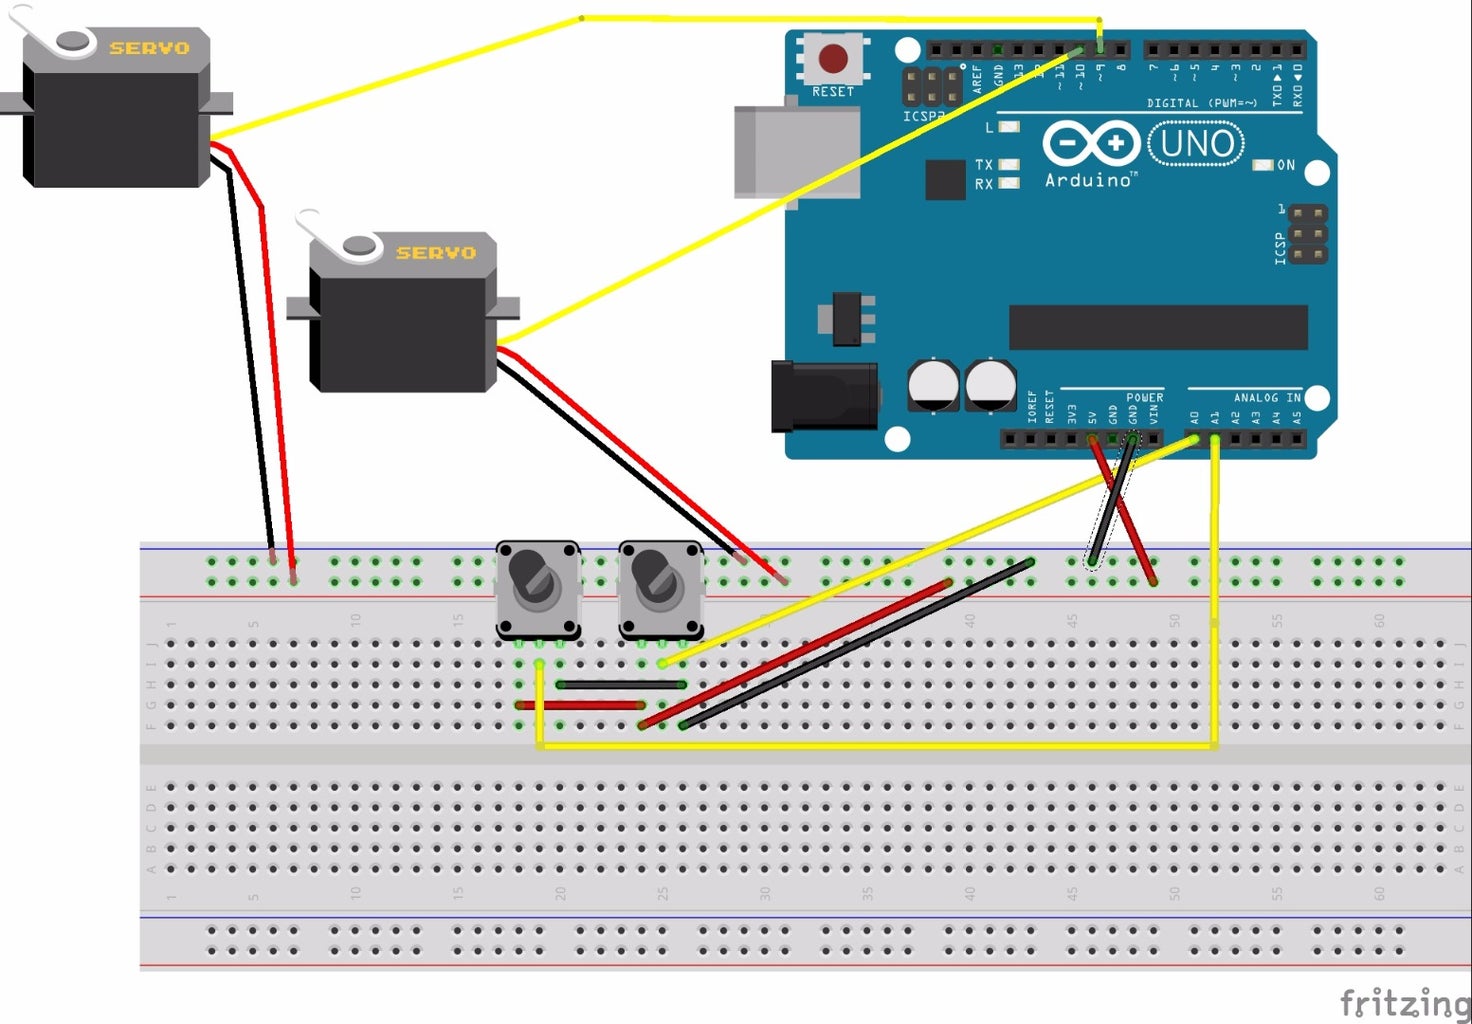
this code makes it so when using the pots(potentiometers) the servos will turn the same amount you turn them, and you can also use a joystick instead

#include <VarSpeedServo.h>

VarSpeedServo servo1;
VarSpeedServo servo2;
int potpin = 0;
int val;
int potpin2 = 1;
int val1;
void setup()
{
  servo1.attach(9);
   servo2.attach(10);
}
void loop()
{
  val = analogRead(potpin);
  val = map(val, 0, 1023, 0, 180);
  servo1.write(val);

  val1 = analogRead(potpin2);
  val1 = map(val1, 0, 1023, 0, 180);
  servo2.write(val1);
}
Participated in the
Robotics Contest


