

Introduction: Anti-Theft Alarming System


Anti-Theft Alarming System is used to detect unauthorised or unwanted movement in the secured areas. When it detects any unwanted obstacle in the sensors it will play alarm to notify you about the threat. .....
Step 1: Project Summery


In this project we used infrared sensors to detect threat. It gives a high singnal when it detects threat. For this high signal a latch switch is activated. as a result it will warn you until you manually reset it.....
Step 2: Required Parts
I found all parts are available here. Parts list is given below. ..
1. LM324 opamp
2. 1k resistors x 5
3. LED x 3
4. 7402 NOR Gate
5. Connecting wires
6. Battery
7. 7805 voltage regulator
8. 100uf capacitors x 2
9. Breadboard
10. infrared transmiter and receiver pair.
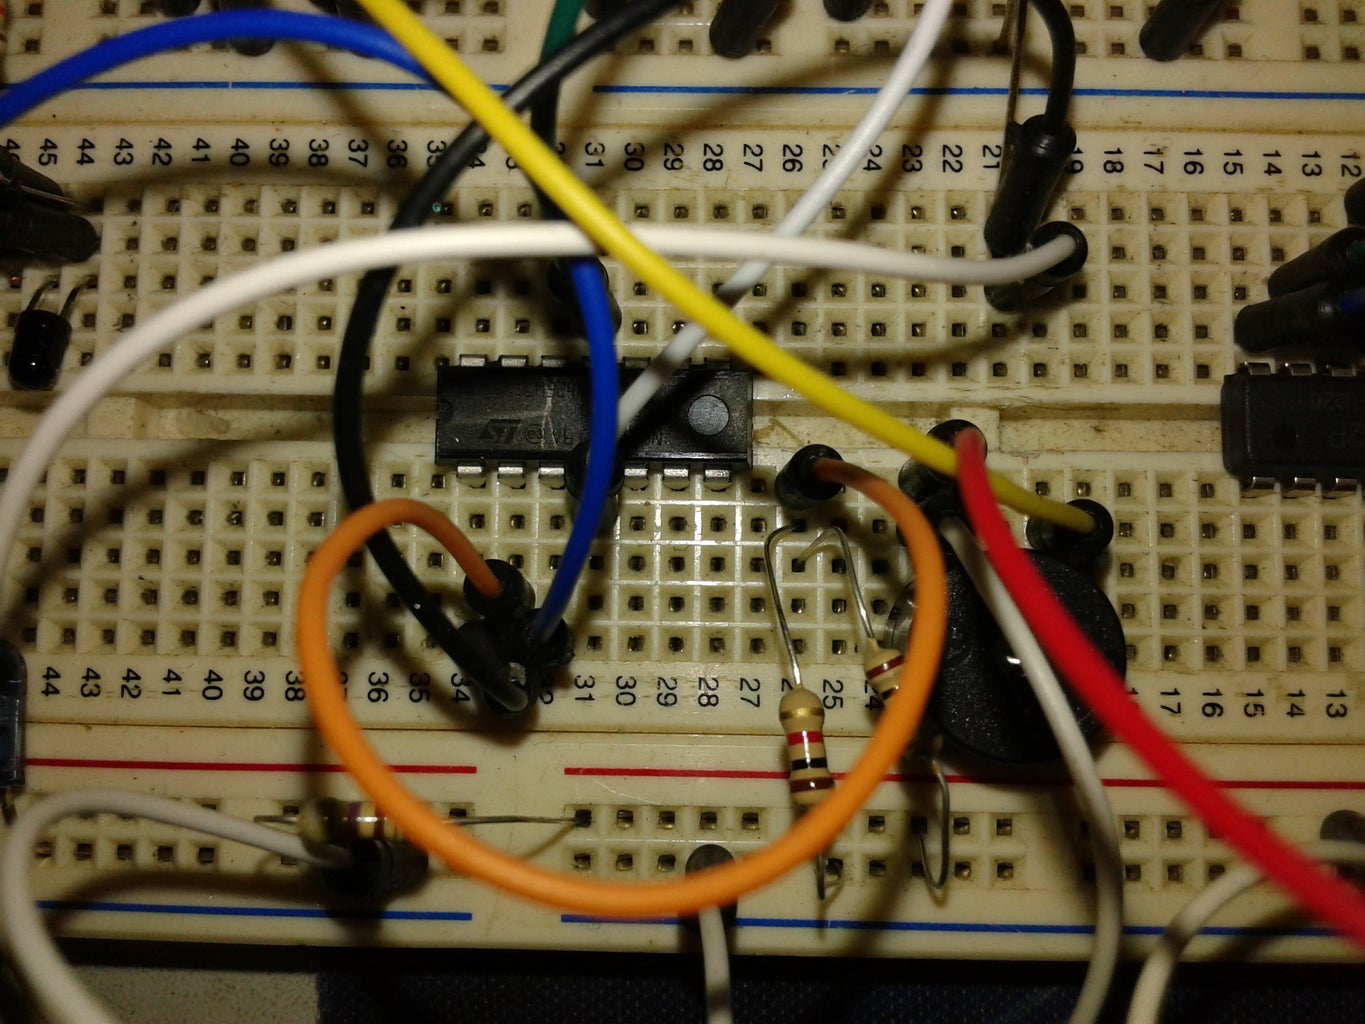
Step 3: Circuit Diagrame

Step 4: Understanding the Circuit

I divided the whole project circuit into Four different parts.
1. Voltage regulator part:
Voltage regulator part is used to convert 9V
Simply skip this part if you use a regulated power supply unit.
2. Sensing Part:
Sensing part have the infrared sensor which is used to detect threat.
The IR transmitter led is connected to 5V supply with 470 ohm resister.
And the IR receiver Led is connected to 5v with a 1Kohm resistor. An output is taken
from a Vo point which is situated between IR Rx and the resistor.
3.Comparator Part:
For comparator circuit i used a LM324 opamp. The output from Vo pin is connected to the 3 No. pin of the opamp. In pin 2 we supplied 5mV. I used voltage devider rule to get 5mV. See the circuit, If you don't understand Comment below, i will definately help you. The output from the opamp pin 1 is provided as the input of the next circuit.
4.Latch Switch:
The next part of the comparator is latch switch. I used a latch because i want to keep the alarm alive though the obstacle or threat moved away from the sensor. It requires manual reset to turn of the alarm. Latch circuit is given below.....


