

Introduction: Arduino: Display Messages Using Hardware Interrupts
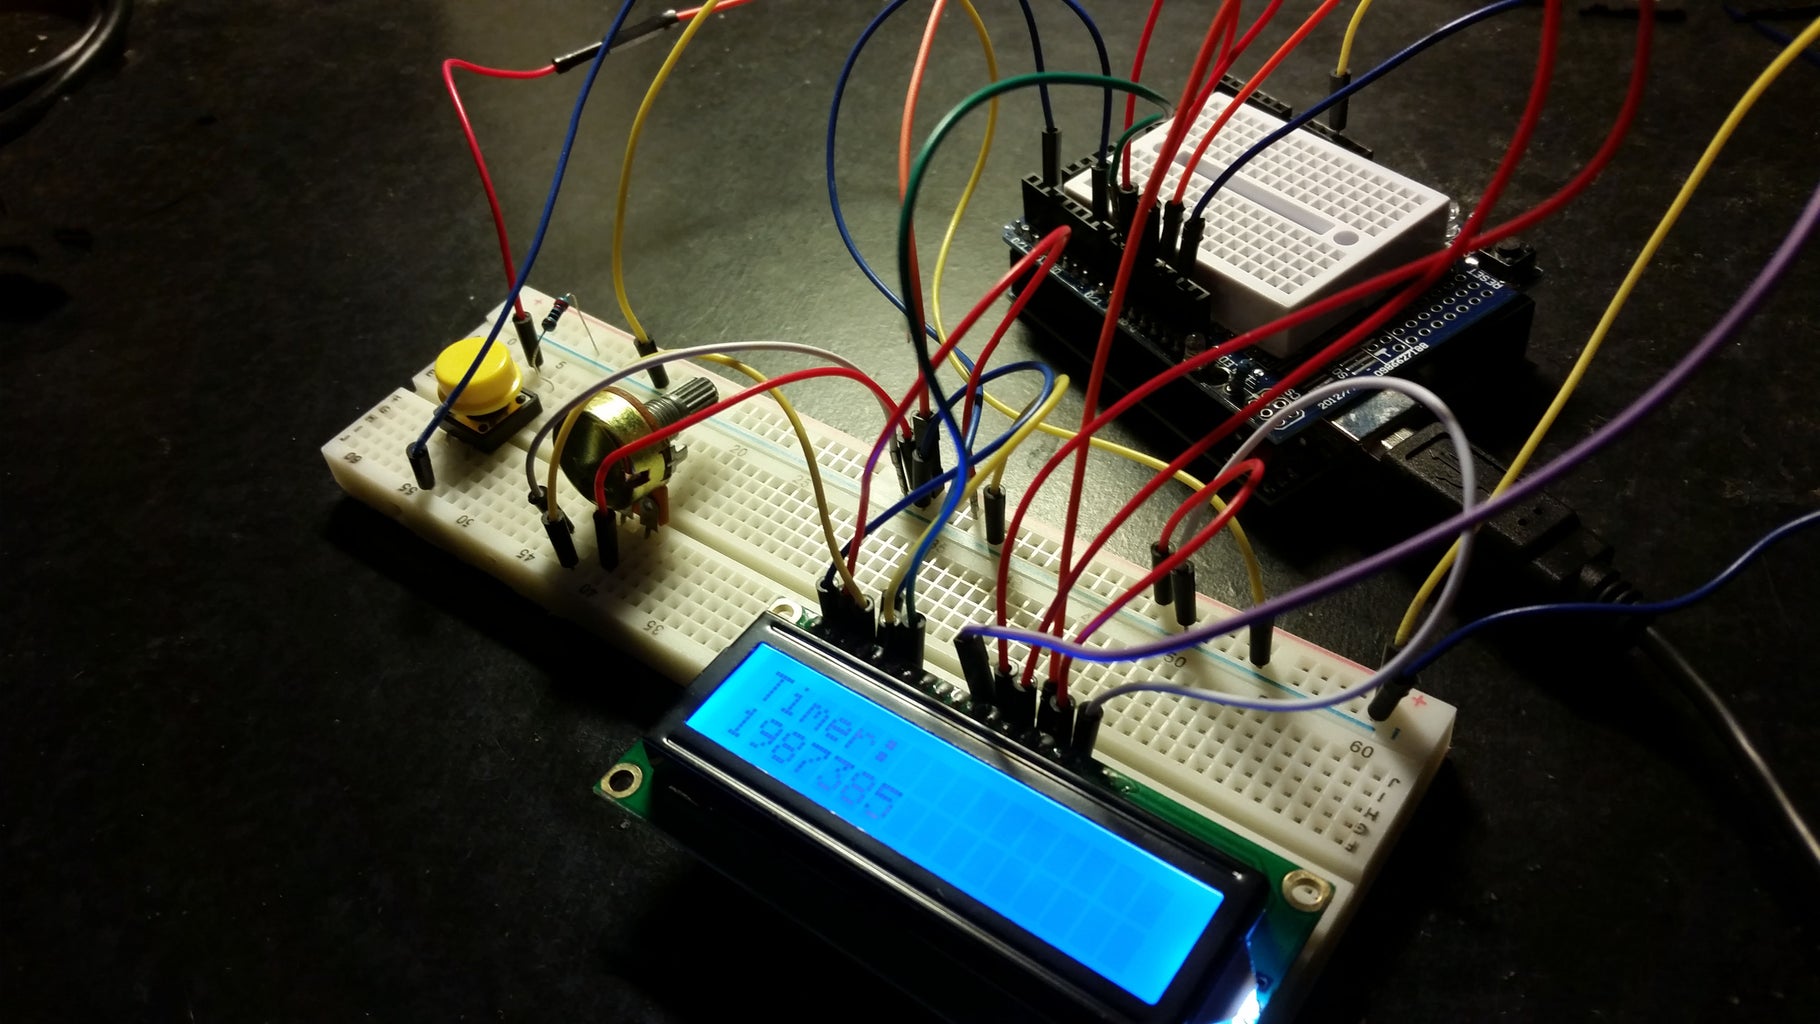


In this project, we will use interrupts to write messages to an LCD screen. The screen displays the number of seconds passed since the program started running.
For this project, you will need:
1 - Arduino Uno (or similar model)
1 - 2x16 character LCD screen
1 - Button
1 - Potentiometer
1- 220 Ohm Resistor
Step 1: Connect the LCD Screen

First, we will hook up the LCD display.
The LCD screen uses 6 pins on the Arduino board. First, hook up both of the outer pins of the LCD display, as well as pin 5, to ground. Next, connect pin 2 and the second to last pin to 5V.
Next, hook up the pins using these mappings:
LCD 4 => Arduino 7
LCD 6 => Arduino 8
LCD 11 => Arduino 9
LCD 12 => Arduino 10
LCD 13 => Arduino 11
LCD 14 => Arduino 12
That's it for the LCD display!
Step 2: Hook Up the Potentiometer
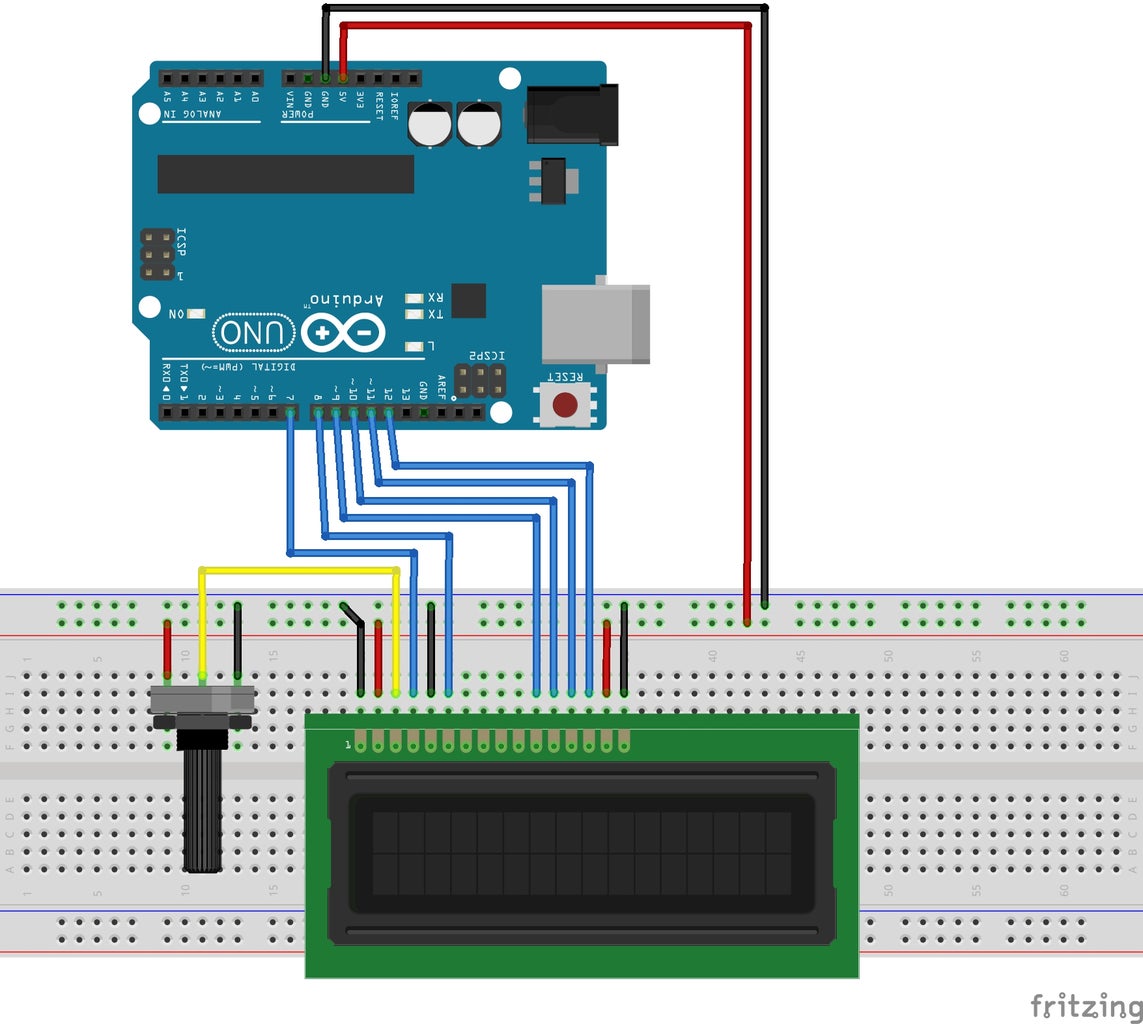
The next step uses a basic potentiometer. The middle pin of the potentiometer connects to pin 3 on the LCD display. The left pin on the potentiometer goes to 5V, while the right pin connects to ground.
After this, there is one more piece of hardware then we'll move on the code.
Step 3: Add the Button
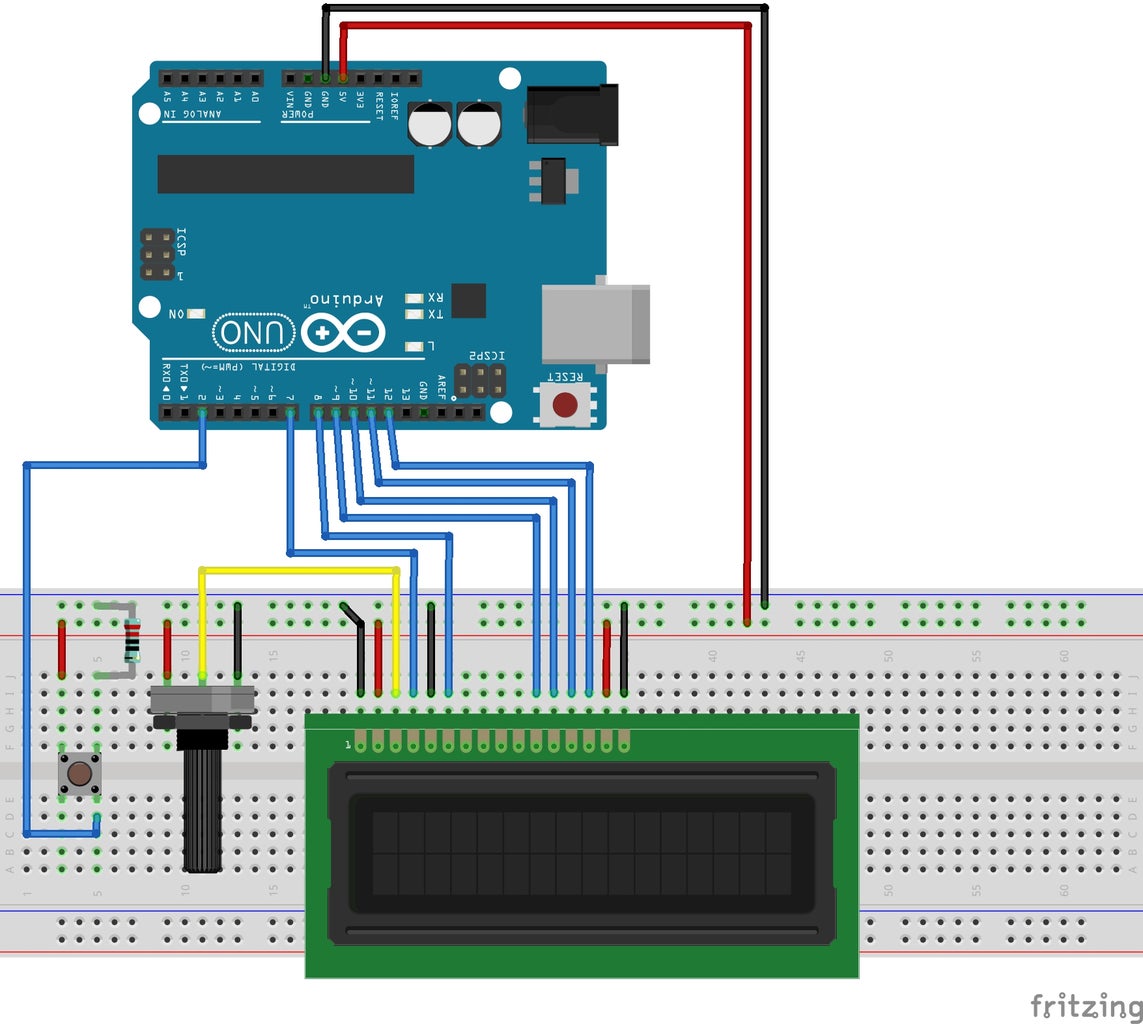
Now that the LCD display with its potentiometer is connected, we need a button to cause the hardware interrupt. Connect pin 2 on the Arduino to one side of the button, continuing the circuit on the opposite side to ground. On the same side as the ground, connect the other pin to 5V.
That completes the hardware setup.
Step 4: Implement the Code
I have uploaded the code to be used for the project, so you can modify it as needed for your board or what you want it to do.
One note on implementing the hardware interrupt on the Arduino Uno is you have to use either pin 2 or 3, as these are the only pins available for interrupts. Other than that, most of the other pins can be changed if needed.
Another caveat is that in order for this type of setup to work correctly, you need to use the millis() method to implement delays, as it works in the background, unlike the delay() method, which pauses the CPU and actually uses CPU cycles even when it appears to be at rest. millis() uses one of Arduino's builtin hardware timers to do its work, so it runs in the background and doesn't stop the CPU during the main loop.
Here is a look at the code:
#include <LiquidCrystal.h>

// initialize the library with the numbers of the interface pins
LiquidCrystal lcd(7, 8, 9, 10, 11, 12);

const int buttonPin = 2;        // Button pin
volatile bool buttonPressed = false; // Gauge if the button is pressed
int wait = 500;                 // ms to wait between messages
int messageWait = 3000;         // ms to display an interrupt message
unsigned long current = 0;      // Holds current timestamp

void setup()
{
  Serial.begin(9600);           // For debugging, remove if you want
  pinMode( buttonPin, INPUT_PULLUP ); // Setup for hardware interrupt
                                // [interrupt, method used, when to call]
  attachInterrupt( digitalPinToInterrupt( buttonPin ), showMessage, RISING );
  lcd.begin(16, 2);             // set up the LCD's number of columns and rows:
  lcd.print("Timer:");          // Print on the top line
  current = millis();           // Set up the current time

} // setup

void loop()
{
  if( buttonPressed )
  {
    delay( 3000 );              // Put this in the main loop to stop
                                //    the message from being erased
    buttonPressed = false;      // After the delay, continue the loop
    lcd.setCursor(0, 1);        // Set the cursor to char 0 on line 1
    lcd.print( "                    " );  // Clear the display
  }
  else if( millis() > current + wait )
  {
    // set the cursor to column 0, line 1
    // (note: line 1 is the second row, since counting begins with 0):
    lcd.setCursor(0, 1);        // Set the cursor to char 0 on line 1
    lcd.print( (String) ( millis() / (float) 1000 ) ); // Output sec passed
    current = millis();         // Set current time

  } // if...else if

} // loop

void showMessage()
{
  String message = "Intrpt: " + (String) millis();
  lcd.setCursor(0, 1);          // Set the cursor to char 0 on line 1
  lcd.print( "Intrpt: " + (String) ( millis() / (float) 1000 ) );  // Output interrupt
  buttonPressed = true;         // Indicate button was pressed.
                                //    Handle the button press in
                                //    the main loop.
  Serial.println("================================="); // debug
  Serial.println( message );    // debug

} // showMessage
Now that you can use interrupts, go make something cool!


