

Introduction: Arduino : How to Control Servo Motor Via Bluetooth (with Smartphone)


This instructable is the written version of my "How To Control Servo Motor via Bluetooth (with Smartphone)"
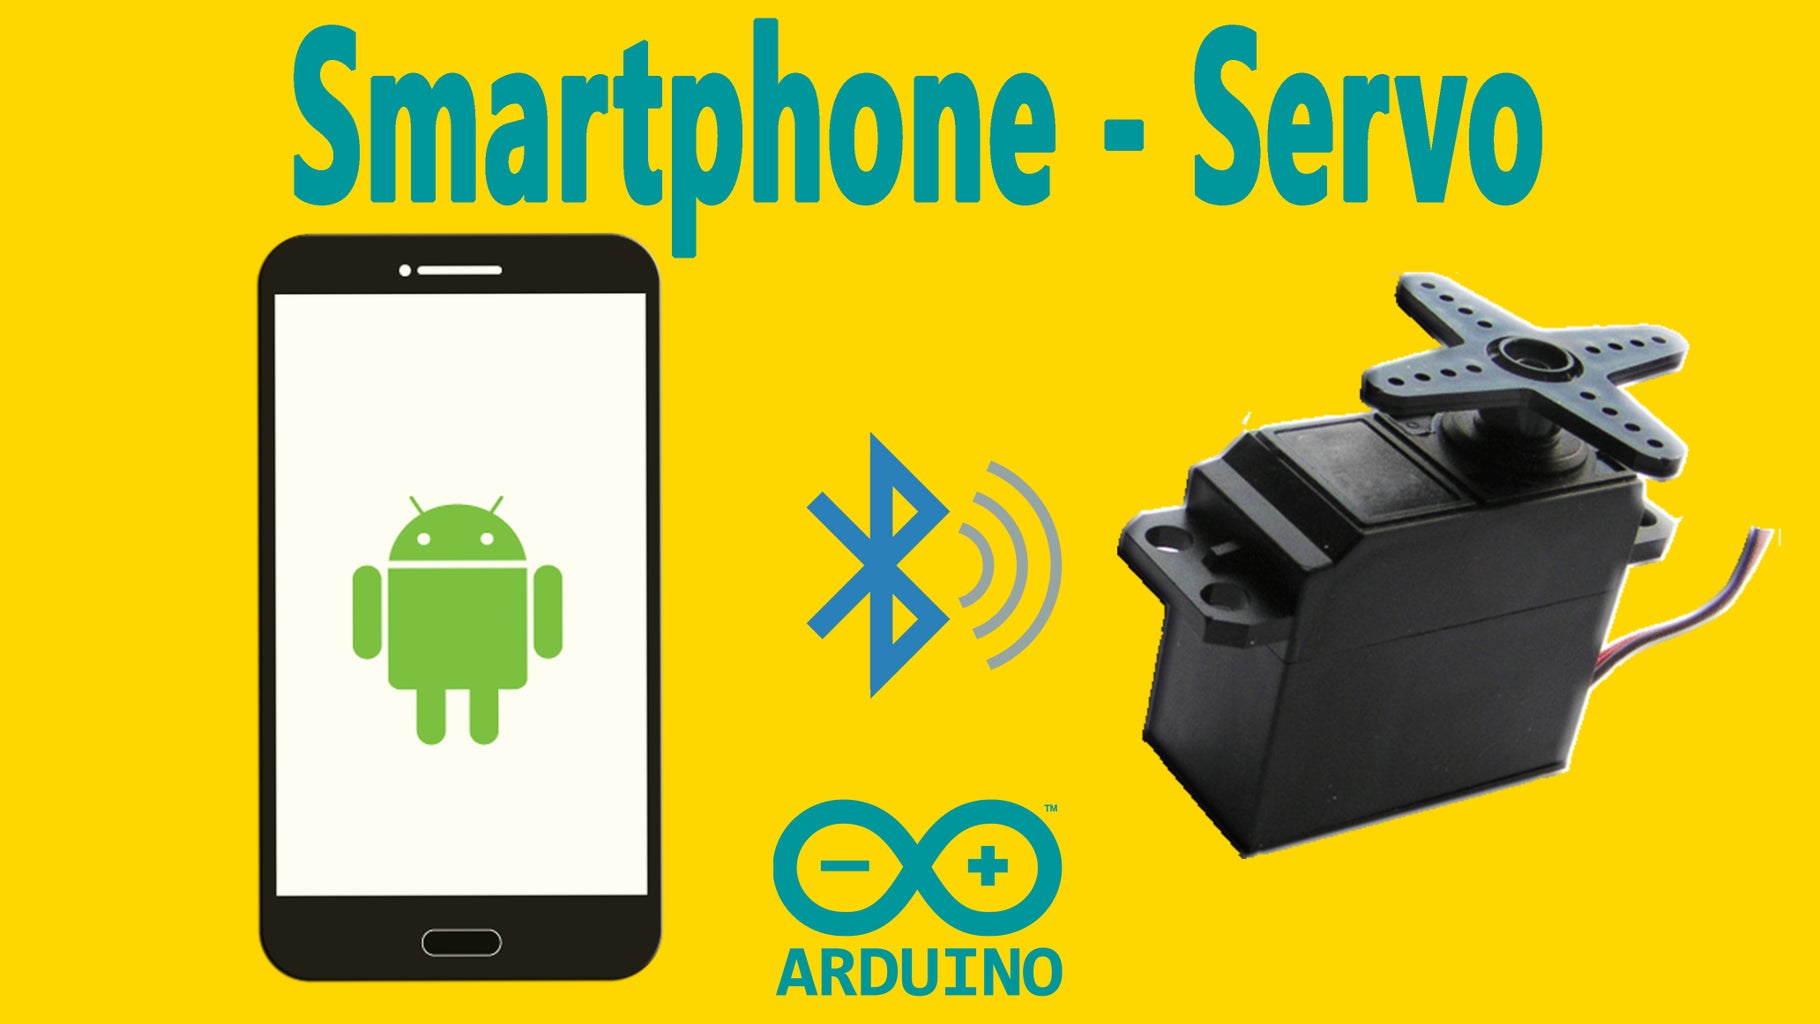
In this project we will control a Servo motor with a smartphone via bluetooth.
Step 1: Tutorial
In this tutorial you will be creating an aplication for controlling a servo motor. Use slider in your application and move to servo motor from 0-180.
Important Advices :
- Before uploading the code, remove the VCC cable from bluetooth module.
- If you use HC-05 bluetooth module, it will ask the PIN to you. Usually 1234.
- If you get an error similar to (ERROR 507 or 516 broken pipe) please try to connect a few times. Sometimes connection will be broken.
- Make sure that your Arduino or Genuino board is attached to your computer via USB to enable serial communication through the serial monitor window of the Arduino Software (IDE).
- Include SoftwareSerial library
*** I recommend! You not connect directly the servo motor to arduino. I suggest you use external power to the servo.
SG90 Mini RC servo motors can be used. This can damage the Arduino MG996 instant high torque. MG996 Stall Torque: 9.4kg / cm (4.8V) - 11 kg / cm (6.0V) and Operating voltage: 4.8 ~ 6.6v. I wanted to tell in this tutorial; connections, code generation and motor control. So I did not give more details about the engine.
Step 2: Hardware Required

Hardware Required :
- Arduino
- Bluetooth Module (HC-06 or HC-05)
- Servo Motor
- Wires
Step 3: Circuit


Connect the hardware according to the circuit diagram.
Important Advices :
- Before uploading the code, remove the VCC cable from bluetooth module.
- If you use HC-05 bluetooth module, it will ask the PIN to you. Usually 1234.
- If you get an error similar to (ERROR 507 or 516 broken pipe) please try to connect a few times. Sometimes connection will be broken.
- Make sure that your Arduino or Genuino board is attached to your computer via USB to enable serial communication through the serial monitor window of the Arduino Software (IDE).
- Include SoftwareSerial library
Step 4: Code

- The Arduino hardware has built-in support for serial communication on pins 0 and 1 (which also goes to the computer via the USB connection).
- The SoftwareSerial library has been developed to allow serial communication on other digital pins of the Arduino, using software to replicate the functionality (hence the name "SoftwareSerial")
Digital pins 10 and 11 on your Arduino or Genuino boards are used as virtual RX and TX serial lines. The virtual RX pin is set up to listen for anything coming in on via the main serial line, and to then echo that data out the virtual TX line. Conversely, anything received on the virtual RX is sent out over the hardware TX.
Make sure that your Arduino or Genuino board is attached to your computer via USB to enable serial communication through the serial monitor window of the Arduino Software (IDE).
Step 5: Create Application


- Create your application with MIT App inventor.
http://appinventor.mit.edu/explore/
- After completing the Program in MIT app inventor, go to Build and select App( save .apk to my computer)
- Transfer the file to your android mobile phone or tablet.
- Go to setting in your android mobile; select security and device administration and give access to allow install application from unknown sources.
Step 6: If I Was Helpful

First of all, I would like to thank you for reading this guide ! I hope it helps you.
If you want to support me, you can subscribe my channel and watch my videos.


