

Introduction: Arduino - Multiple Servo Control With a Potentiometer


In this tutorial, we will learn how to use multi-servo with potentiometer. We will control 4 pcs servo motor with 4 pcs potentiometer.
You can implement your robotic arm projects with reference to this tutorial. Of course we will use external battery / power when doing this. In the next tutorial, I'll show you how to control servo motor with joystick.
Do not forget to subscribe. Thank you for your support.
Step 1: Hardware Required
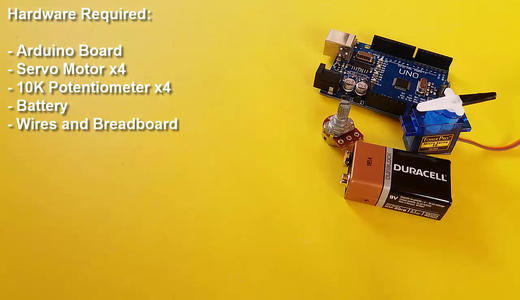
- Arduino Board
- Servo Motor x4
-10k Potentiometer x4
- Battery
- Wires and Breadboard
Step 2: Connections
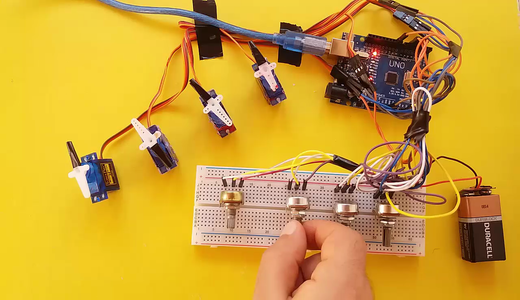
- The external battery VCC / GND connect to the breadboard.
- The Arduino GND connect to the breadboard's GND input
- The servo connections we use in this project are as follows;
Orange Input - Signal Input
Red Input - Power Input (VCC)
Brown Input - Ground Input(GND)
- The potentiometer connections we use in this project are as follows;
Two outer pins are power (VCC) and ground (GND)
Middle pin is signal pin
- The Servo1 VCC and GND connect to the breadboard's VCC / GND inputs
- The Servo1 Signal connect to the Arduino Digital PWM 3
- The Servo2 VCC and GND connect to the breadboard's VCC / GND inputs
- The Servo2 Signal connect to the Arduino Digital PWM 5
- The Servo3 VCC and GND connect to the breadboard's VCC / GND inputs
- The Servo3 Signal connect to the Arduino Digital PWM 6
- The Servo4 VCC and GND connect to the breadboard's VCC / GND inputs
- The Servo4 Signal connect to the Arduino Digital PWM 9
- The Potentiometer's one outer pin connect to the breadboard VCC input
- The Potentiometer's other outer pin connect to the breadboard GND input
- The Potentiometer's middle pin connect to the Arduino Analog 1-2-3-4 input
Step 3: Code

I did not share the code because it is short and it varies according to the number of servo,potentiometer.
You can write code by watching the tutorial. This is a better way to learn.
I will continue to share long and complex codes.


