

Introduction: Arduino Rain Gauge Calibration


Introduction:
In this Instructable we 'construct' a rain gauge with Arduino and calibrate it to report daily and hourly rainfall. The rain collector I am using is a re-purposed rain gauge of the tipping bucket type. It came from a damaged personal weather station. However there are a lot of great Instructables on how to make one from scratch.
This Instructable is a part of a weather station I am making and is a documentation of my learning process disguised as a tutorial:)
Characteristics of the Rain Gauge:
- measurements of daily and hourly rainfall is in inches for easy upload to Weather Underground.
- debouncing code for the magnetic switch is not included to keep the code simple.
- being more of a tutorial the finished product is more of a prototype of a prototype.
Step 1: Some Theory

Rainfall is reported/measured in millimeters or inches which has the dimension of length. It is indicative of how high, every portion of rain area got the rain, if the rain water had not dissipated and drained away. So, a 1.63 mm of rainfall would mean that if I had a flat leveled tank of any shape the rain water collected would be of a height 1.63 mm from the tanks bottom.
All rain gauges have a rainfall catchment area and a rainfall amount measurement. The catchment area is the region over which the rain is collected. The measuring object would be some kind of volume measurement for a liquid.
So the rainfall in mm or inches would be
rainfall height = volume of rain collected / catchment area
In my rain collector, the length and breadth were 11 cm by 5 cm respectively giving a catchment area of 55 sq.cm. So a collection of 9 milliliters of rain would mean 9 cc/55 sq.cm = 0.16363... cm = 1.6363... mm = 0.064 inches.
In the tipping bucket rain gauge, the bucket tips 4 times for 9 ml (or 0.064... inches of rain) and so a single tip is for (9/4) ml = 2.25ml (or 0.0161.. inches). If we take hourly readings (24 readings per day before resets) keeping three significant digit accuracy is decent enough.
Thus, at each bucket tip/tumble, the code accesses it as 1 on-off-on sequence or one click. Yes, we have reported 0.0161 inches of rain. To repeat, from the Arduino point of view
one click = 0.0161 inches of rain
Note 1: I prefer the International System of Units, but Weather Underground prefers the Imperial/US units and so this conversion into inches.
Note 2: If calculations are not your cup of tea, head over to Volume of Rainfall which provides perfect help for such matters.
Step 2: Parts for This Project


Most of the parts were lying around and a fair listing (for formality) is
- Arduino Uno (or any other compatible)
- Rain Gauge from old damaged weather station.
- Breadboard.
- RJ11 to connect my Rain Gauge to the breadboard.
- 10K or higher resistor to act as a pull up resistor. I have used 15K.
- 2 pieces of male-to-female jumper wires
- 2 male-to-male jumper wire.
- USB Cable; A Male to B Male
Tools:
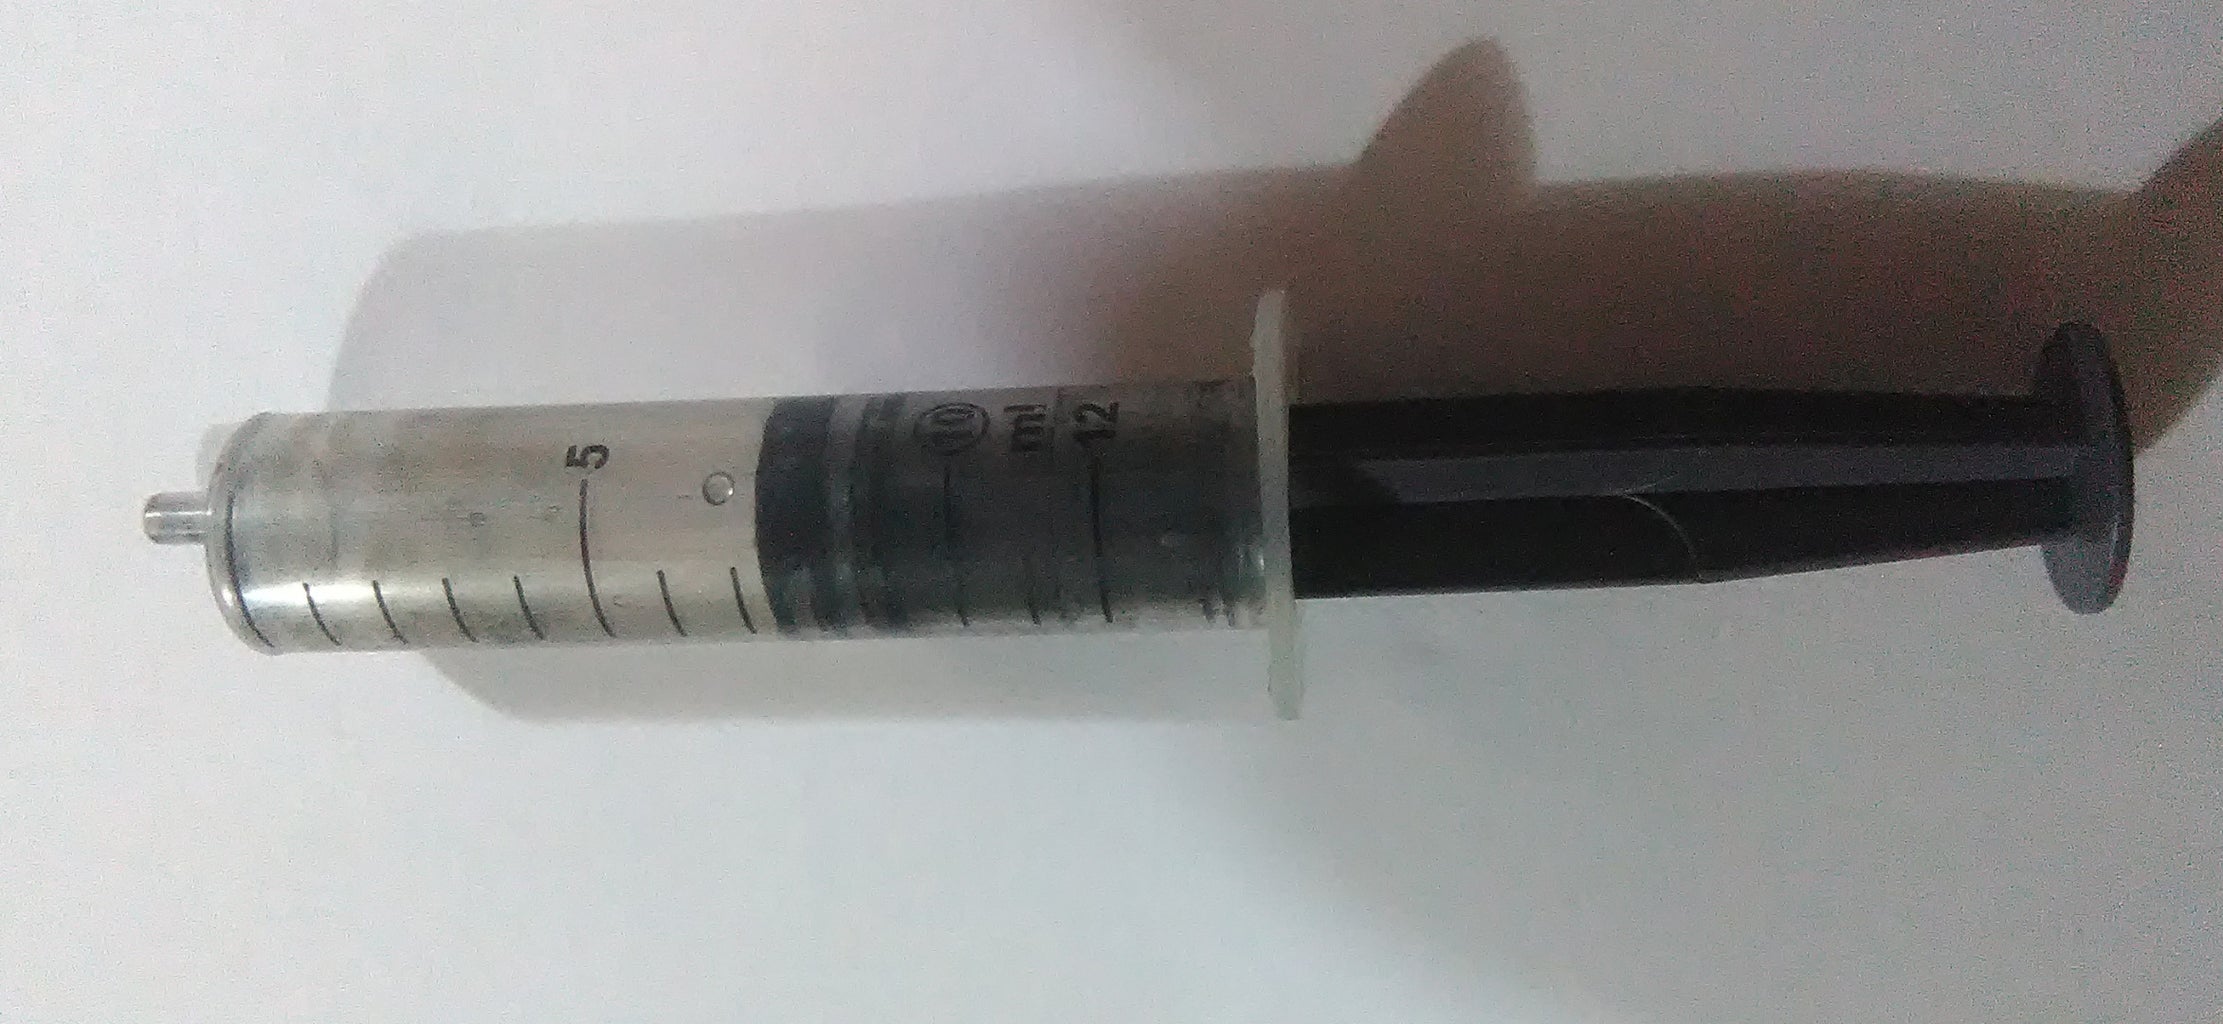
- Syringe (12 ml capacity was used).
Step 3: The Rain Collector


The photos of my rain collector should make thing clear to many. Anyway, the rain that falls on its catchment area gets channeled to one of the two tipping-buckets inside it. The two tipping-buckets are connected like a see-saw and as the rain water weight ( 0.0161 inches of rain for mine ) tips one bucket down it gets emptied and the other buckets goes up and positions itself to collect the next rain water. The tipping motion moves a magnet over a 'magnetic-switch' and the circuit gets electrically connected.
Step 4: Circuit

To make the circuit
- Connect digital pin #2 of Arduino to one end of the resistor.
- Connect the other end of the resistor to the Ground pin (GND).
- Connect one end of the RJ11 jack to the digital pin #2 of Arduino.
- Connect the other end of the RJ11 jack to the +5V pin of Arduino (5V).
- Plug the rain gauge to the RJ11.
The circuit is complete. Jumper wires and breadboard make the connections easier to make.
To complete the project connect the Arduino to the PC using the USB cable and load the sketch provided below.
Step 5: The Code
The sketch RainGauge.ino (embedded at the end of this step) is well commented and so I shall point out three sections only.
One part counts the number of tipping-bucket tips.
if(bucketPositionA==false && digitalRead(RainPin) == HIGH){
	...
	...
}
Another part checks time and computes the rain amount
if(now.minute()==0 && first == true){
	hourlyRain = dailyRain - dailyRain_till_LastHour;
	......
	......
and another part clears the rain for the day, at midnight.
if(now.hour() == 0){
	dailyRain = 0;
	.....
Attachments

Step 6: Calibration & Testing
Disconnect the Rain Collector from the rest of the circuit and perform the following steps.
- Fill up the syringe with water. I fill mine with 10 ml.
- Keep the Rain Collector on a level surface and pour out the water from the syringe bit by bit.
- I keep a count of the tipping buckets. Four tips were enough for me, and drained 9 ml from the syringe. According to calculations (see theory section) I got the amount of 0.0161 inches of rain per tip.
- I include this information into my code in the beginning.
const double bucketAmount = 0.0161;
That's all to it. For more accuracy, one can include more digits like 0.01610595. Of course your calculated numbers are expected to vary if your Rain Collector is not identical to mine.
For testing purposes
- Connect the Rain Collector to the RJ11 socket.
- Connect the Arduino to the PC using the USB cable.
- Open the serial monitor.
- Pour previously measured amounts of water and observe the output when the hour completes.
- Do not pour any water but wait for the next hour to complete. The hourly rain must be zero in this case.
- Keep the PC with the connected circuit powered overnight and see if the daily rain and hourly rain get reset to zero at midnight. For this step, one can also change the PC's clock to a suitable value (to watch the outputs on the serial monitor live).
Step 7: Afterthoughts & Acknowledgements
The resolution of the rainfall readings in my case is 0.0161 inches and cannot be made more accurate. Practical circumstances may decrease the accuracy further. Weather measurements do not have the accuracy of quantum mechanics.
Part of the code was borrowed from Lazy Old Geek's Instructable.


