

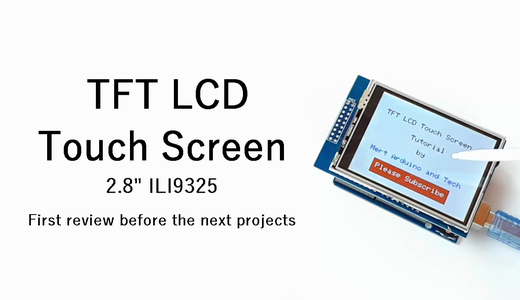
Introduction: Arduino - Touch Screen TFT LCD Tutorial (First Review Before the Next Projects)


In this tutorial we will learn how to programming the TFT LCD Touch Screen. I used 2.8 TFT Touch Display ILI9325 Module and Arduino UnoR3 for this tutorial. The topics we will view in this tutorial, Required Libraries, Add Text, Text Color, Font Size, Print Text, Create Button, Button Click, Add Frame, Draw Rectangle and Background Color.
Step 1: Required Hardware
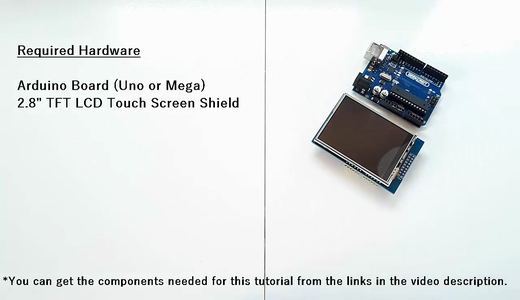
Required Hardware
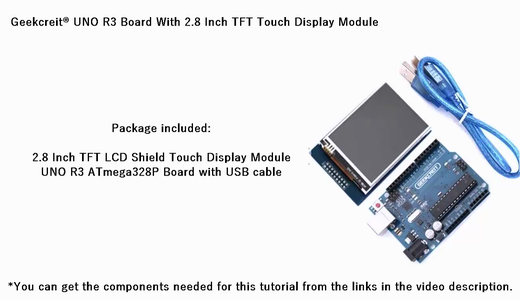
Geekcreit® UNO R3 Board With 2.8 Inch TFT Touch Display Module - https://goo.gl/JZHV0n
Package included:
1 x 2.8 Inch TFT LCD Shield Touch Display Module
1 x UNO R3 ATmega328P Board with USB cable
Some Promotion Links
Flash Deals -- https://goo.gl/CVqg7P
Mega Stock Clearance -- https://goo.gl/eCbuiP
Arduino Kits -- https://goo.gl/uwr19e
More Budget 3D Printers -- https://goo.gl/uwr19e
Anet A8 3D Printer Promotion -- https://goo.gl/uwr19e
Step 2: 2.8 Inch TFT LCD Shield Touch Display Module
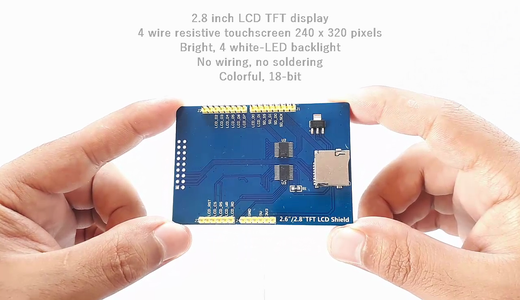
2.8 inch LCD TFT display
Bright, 4 white-LED backlight
Colorful, 18-bit 262,000 different shades
4-wire resistive touchscreen 240 x 320 pixels
No wiring, no soldering.
Simply plug it in and load library
On-board 3.3V 300mA LDO regulator
5V compatible, use with 3.3V or 5V logic
Support 2GB micro SD TF card
Size: 7.8 x 5.3cm
In this tutorial we will see the following topics
Required Libraries
Add Text Text Color
Font Size
Text Print
Insert Button
Button Click
Adding a Frame
Draw a Rectangle
Background Color
Step 3: Library

First we download the necessary library files - https://goo.gl/1Ri5KX
Then add the library files we downloaded to the "Arduino Library" folder Users -> YourUserName -> Documentation -> Arduino -> Libraries
Step 4: Source Code and Calibration of the Display


Now, get the source code - https://goo.gl/1Ri5KX
If you are using the same display module, there are some fixed values and variables in the source code that the libraries use.
We will not change these values in next projects.
Of course, we will use our libraries first in every project.
Later, the pin definitions used by the LCD display.
Values found by screen calibration It will be enough to enter these values one time. (I will adjust the screen calibration)
Calibration of the Display
We will use the "touchscreendemo" example that comes with the library for calibration
File -> Examples -> TouchScreen -> touchscreendemo
Upload the example code to the Arduino
Then open the serial monitor
Click on the top left corner of the display and get the X and Y values
Then enter these values at these variables on the shared source code
X value = TS_MAXX
Y value = TS_MAXY
Click on the bottom right corner of the display and enter the values in the TS_MINX and TS_MINY variables
The display calibrated for shared source code and its ready to use
Step 5: You Can Subscribe to My YouTube Channel
You can subscribe to the my YouTube channel for more tutorials and projects. Subscribe for support. Thank you.
Go to my YouTube Channel - https://goo.gl/f0RHmR


