

Introduction: Arduino Foot Pedal PTT Switch

Since I got a mechanical keyboard people on Mumble have been ranting about all the clicky-clicky noise it makes :)
I dont like the idea on wasting a finger just to trigger the PTT. So I always use the automatic voice activated PTT.
The solution, a foot pedal to trigger the PTT. I used an Arduino pro micro clone. I guess any compatible Arduino works as long as it got the ATmega 32U4 for the native USB.
I got a piano sustain pedal cheap of Ebay. It´s sturdy enough and has plenty of room for internals.
The project itself is very easy to make. And I guess any kind of switch would work.
Step 1: Unboxing
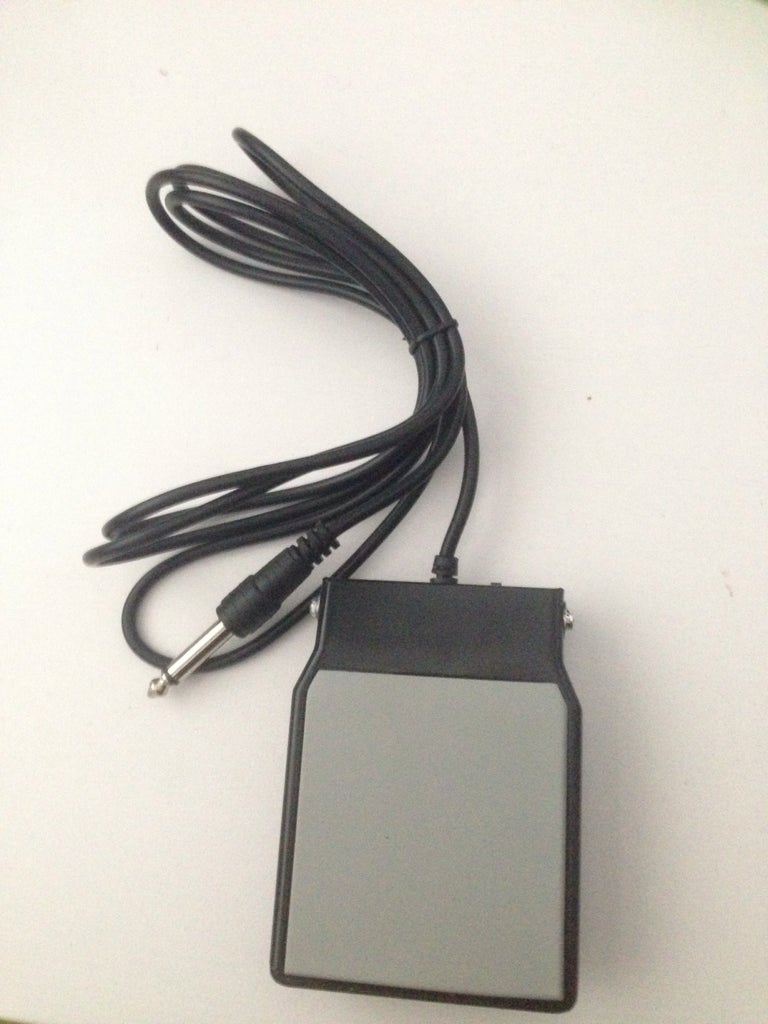
The pedal quality is very good and sturdy.
Step 2: Removing the Rubber Bottom

I removed the floor rubber pad looking for screws. There aren't any :)
Step 3: Opening the Pedal

To remove the cover, get a very thin screwdriver and bend some pins on one of the washers holding the rod. Slide the rod and the cover comes off.
Step 4: The Internals

Now it is time to get the Arduino, LED and hookup wire. Also a suitable resistor for the LED.
Step 5: Isolating the Arduino

I used digital pin 7 for the PTT switch. Pin 9 for the LED. And both GND pins.
Step 6: Assembling the Internals

Initially I had plans of drilling 4 holes around the Arduino, securing it with zipties. Unfortunately the metal was so hard that my dremel just couldn't drill through. I isolated the Arduino with a piece of rubber glued to the bottom. Removed the polarity switch and expanded one of the holes big enough to push the LED through.
Step 7: Final Steps

Hot glue is your friend. I used it to secure both USB cable and leads coming from the Arduino. Reassemble the cover and the board is ready for programming.
Step 8: The Code
Code available here.


