

Introduction: Audio Spectrum Analyzer Infinity Mirror


There is something mesmerizing about flashing lights in sync with music. lol. Why not mix the effect with an infinity mirror?
Parts:
• mirror, false mirror, and a spacer between the 2.
• 21 RGB common cathode LEDs
• 8x8 LED Audio Spectrum Analyzer
• Wire and other misc. parts.
Salvage:
• Hard drives have very shinny "mirrored" platters. Work great as front surface mirrors. Grab up the neodymium magnets while your at it. lol.
Step 1: LED Ring for Infinity Mirror


Parts:
• spacer (I used a cardboard roll that seemed to be a good fit)
• 21x RGB LEDs preparing for the next step attached to the audio spectrum analyzer circuit board.
I used a template with a circle divided into 21 equal pieces for the placement of the RGB LEDs. Use a template to mark and drill out holes for the LEDs.
There are plenty of instructables that cover an infinity mirror in detail. So this step is just a overview.
Step 2: Audio Spectrum Analyzer


Parts:
• $8-16 Audio Spectrum Analyzer
• $3-5 for 50x RGB LEDs
• Wire (I used ribbon cable that I had laying around)
Quick Math:
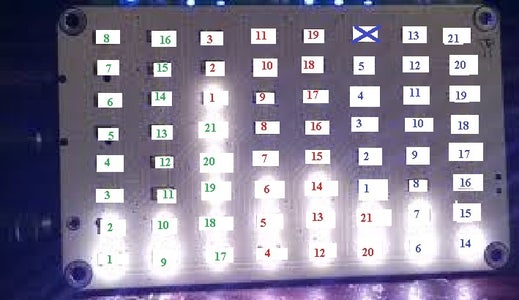
• 64 LEDs - 8*8 LED matrix on the Audio Spectrum Analyzer
• 63 LEDs - 21*3 (21 RGB LEDs - 3 colors)
• All but one LED from the Audio Spectrum Analyzer will be used. Close enough for me.
The Audio Spectrum Analyzer that I purchased had common ground across all 64 LEDs. So, I purchased common cathode RGB LEDs. Yours may be different. Actually, the LEDs are cheap enough that I bought both common cathode and common anode (not knowing which I would need).
Desolder the LEDs and solder in wires to extend to the RGB LEDs. This should produce up to 8 different colors per LED. This could be random on which LEDs it hooks to or have whatever pattern you want.
Test the LED ring. Ohhh.... shinny, flashy lights. Then I glued the legs of the led to add a small seal layer and help support the LED.
There are plenty of instructables that cover Desoldering and Soldering in detail. So this step is just a overview.
Step 3: Infinity Mirror - Finishing


Parts:
• Mirror (I used salvaged hard drive platters as front facing mirrors)
• false/ 2 way mirror
Set the mirror and glue it in place. Then do the same thing with the 2 way / false mirror. I used some silicone to attach the circuit board to the back of the hard drive platter (spaced to help keep it from shorting on the platter).
test the infinity mirror.
There are plenty of instructables that cover an infinity mirror in detail. So this step is just a overview.
Step 4: Plug It in and Enjoy.
I plan on making a portable cooler/ stereo combo such as.... This is project is part of that overall project. So, this is not more polished as a stand alone part, since it will be mounted in an enclosure.

Participated in the
Make it Glow!


