

Introduction: Beginner FPV Drone


Here's how to turn the EACHINE E010 into a low cost FPV drone for beginners .
Enjoy!
Step 1: Gather All Materials

First get all the supplies you need:
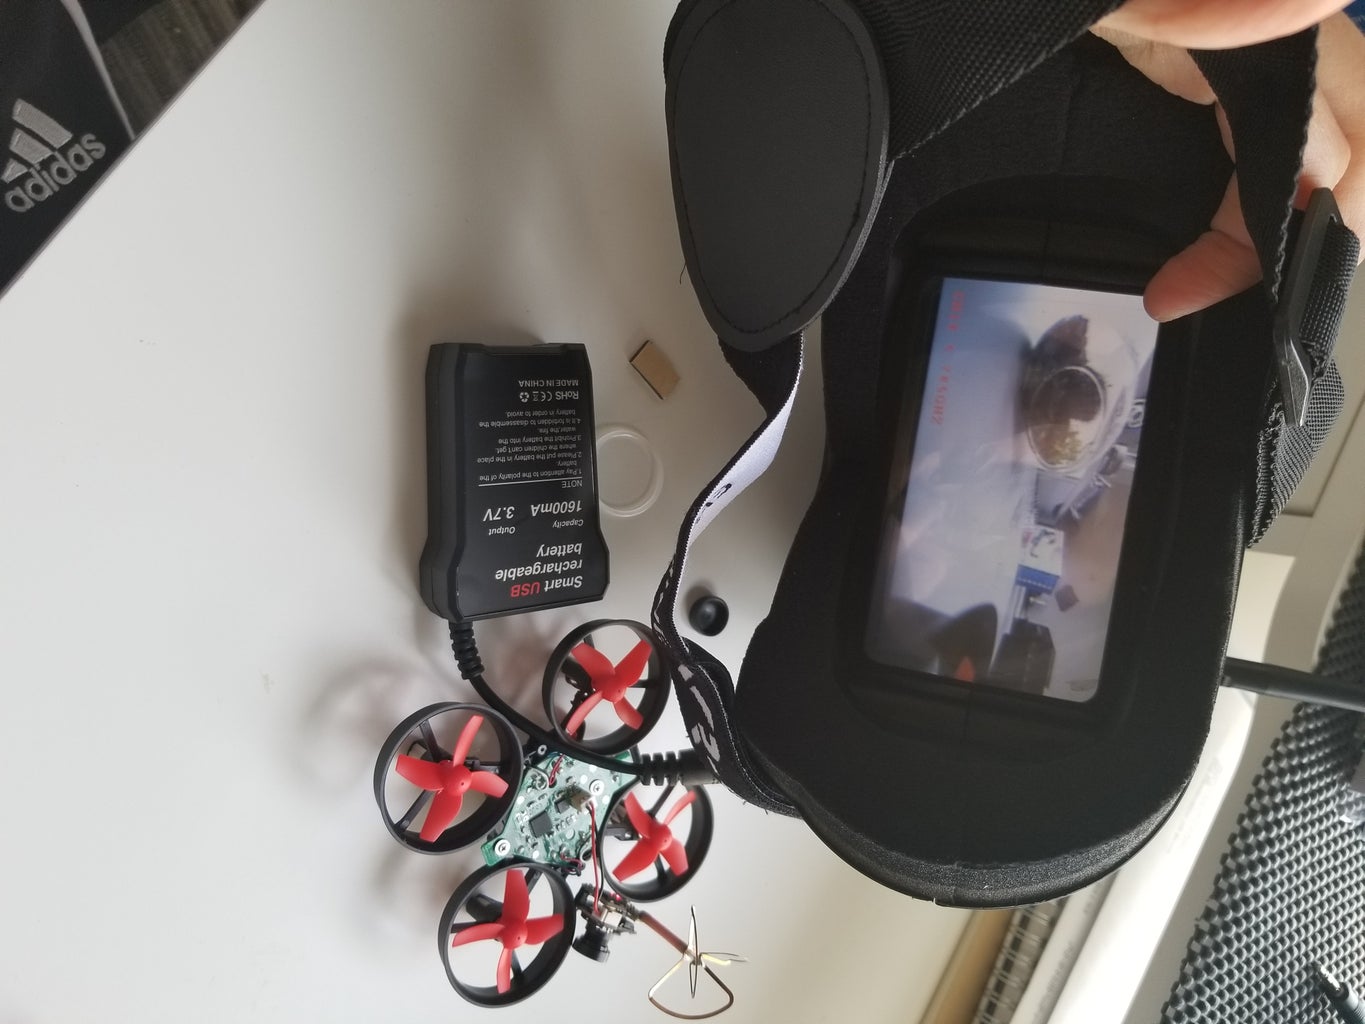
- Eachine E010 Mini Drone
- Eachine VR-007 5.8G 40CH FPV Racing Drone Goggles
- x2 AA batteries for the drone controller
- Double sided foam tape
- male to male micro JST connector
- 5.8GHz 25mW camera
- 1 rubber band
- (optional) 3.7V 150 mAH Batteries with X6 Charger Conversion Cable for Eachine E010
My Materials came in a kit which I bought from Grayson Hobby Shop the kit came with all the materials listed above for about $114
Grayson Hobby Shop Eachine Kit
If the kit is sold out Walmart also sells a similar kit but without the Goggles:
Walmart Eachine VR-007 5.8 GHz Goggles
Micro camera I'd recommend Using
Feel free to scavenger around the internet to find the items listed above from a site most convenient for you
Step 2: Remove the Top Cover From the Drone

Take off the top from your drone to begin installing the camera on it.
Depending on where you got your Eachine E010 from the board might have a JST connector or not
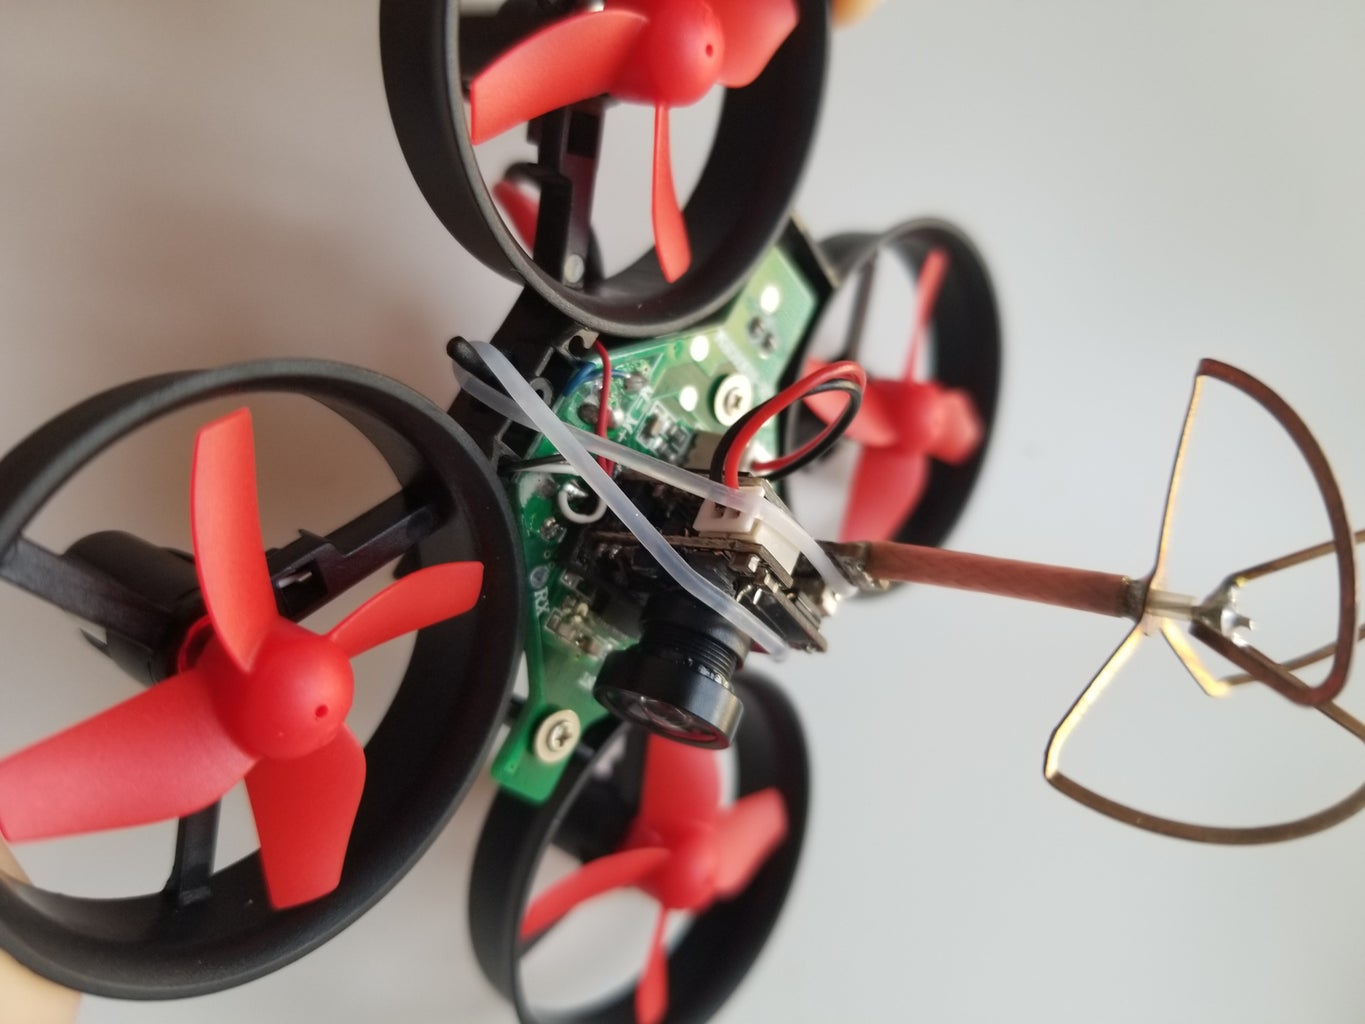
Step 3: Connect the Camera to the Drone Board


Connect one end of the JST cable to one side of the camera and the other to the connector on the board.
Step 4: Secure the Camera to the Board

Secure the camera at a good angle by placing down a strip of double sided tape on the board where you want to mount it. Check the camera angle from the goggles while installing it .
Step 5: Check the Camera Angle

Connect the Battery to your googles to turn them on.
Connect them to the same channel the camera is on to view what the camera sees
*do this by changing the channel on the camera with the side button or the side button on the goggles
Step 6: Adjust the Camera Angle As Needed


Adjust the camera angle as needed and secure the camera by pressing it down into the sticky tape
Then wrap the rubber band around it to secure it to the drone
Step 7: Ready to Fly!
Happy Flying!


