

Introduction: Build Your First IOT Using Arduino Without Additional Modules


The world is going smarter everyday and the biggest reason behind this is evolution of
smart technology. As a tech enthusiast you must have heard about the term IOT which means Internet of Things. Internet of things means controlling and feeding the data of devices over internet or any network without human to machine interaction. So in this tutorial we are going to build an IOT Project using the very friendly Arduino UNO. Aim of this project is to fed data collected from LDR(Light Sensor) and LM35(Temperature sensor) to internet and these data you can excess from anywhere in the world.
You will need the following things for this project:
Hardware Requirements
Arduino UNO
PC
Arduino Serial USB cable
LM35 (Temperature Sensor)
LDR (Light Dependent Resistor)
Connecting wire
Software Requirements
Arduino IDE
Python 3.4
Step 1: Assemble the Circuit and Interface With Arduino
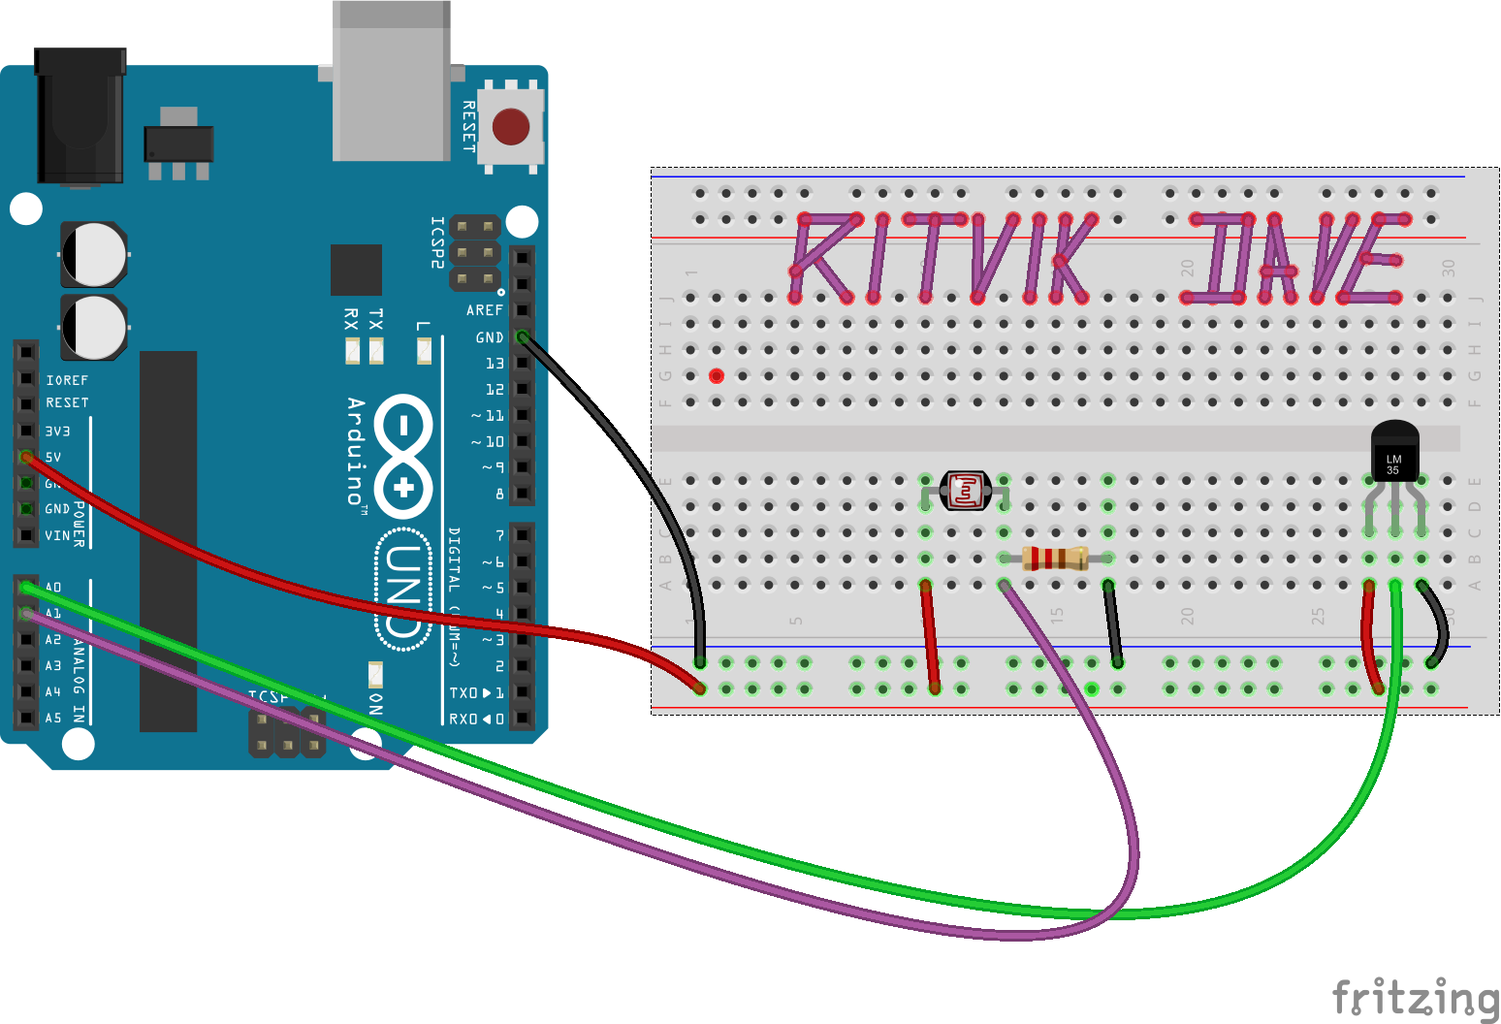
Assemble the circuit as given in the picture below.
LM35
(Pin 1)----> 5v of Arduino
(Pin 2)----> A0 pin of Arduino
(Pin 3)----> Ground of Arduino
LDR
One terminal----> 5v of Arduino
Second terminal---> 220Ω Resistance ---> Ground of Arduino
Junction of LDR & Resistance--> A1 pin of Arduino
Step 2: Programming With Arduino IDE
Download and Install Arduino IDE from here “ https://www.arduino.cc/en/Main/Software ”
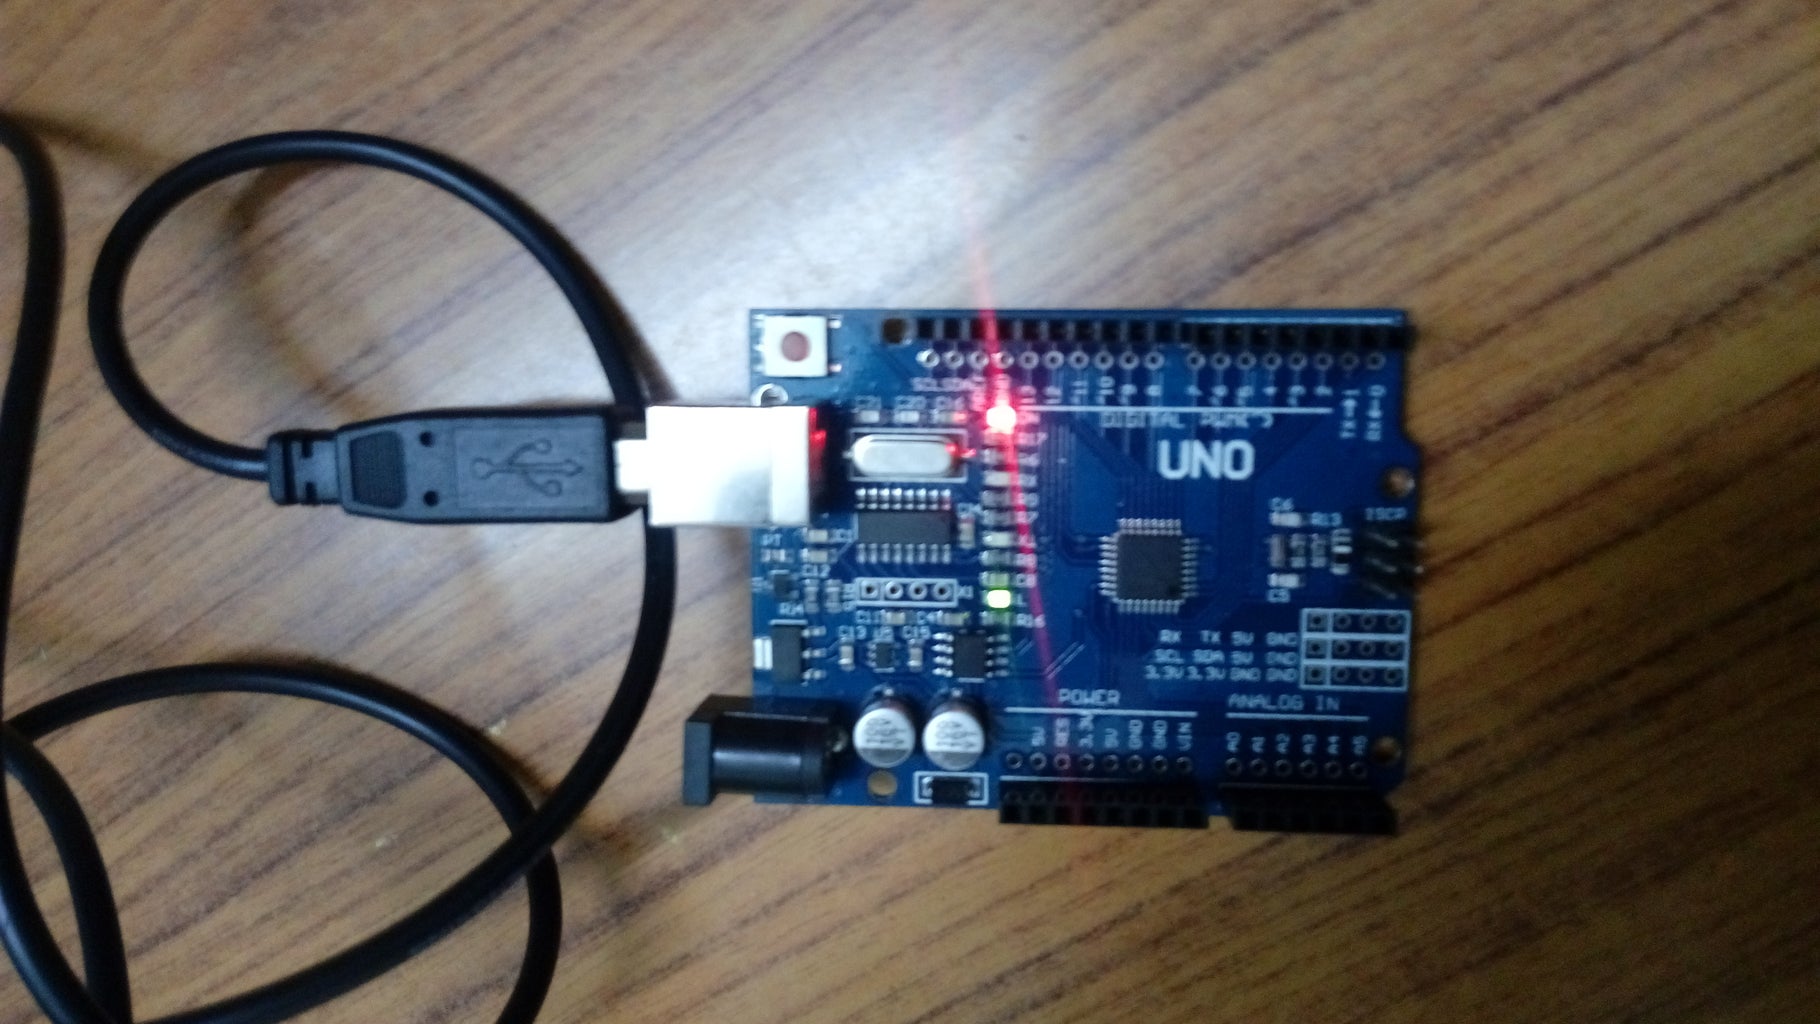
Now connect Arduino UNO board to serial USB connector of your PC.
Open Arduino IDE
Change Tools-> Board -> “Arduino/Genuino Uno”
Change Tools-> Port -> #Note down this Port no. , it will be needed in the future.
Paste or download the below code and upload it on to your Arduino.
// the setup routine runs once when you press reset:
void setup() {
 // initialize serial communication at 9600 bits per second:
 Serial.begin(9600);
 }
// the loop routine runs over and over again forever:
void loop() {
 // read the input on analog pin 0 which is tempreture sensor's value :
 int sensorValue1 = analogRead(A0);
 // convert the value from tempreture sensor in degree calcius
 int temp = (int(sensorValue1) * float(4.8824)-500)/10;
 // read the input on analog pin 1 which is light sensor's value:
 int sensorValue2 = analogRead(A1);
 // convert the value from light sensor into lux
 int Lux = 1024.0 * 10 / sensorValue2 - 10;
 // print out the value you read:
 Serial.print(temp);Serial.print(" ");Serial.print(Lux);Serial.print("\n");
 // Converting the data in the format of "temp_readinglight_intensity"
 delay(1000); // delay in between reads for stability
 }
When uploading is done, it means your Arduino is programmed for a weather
station.
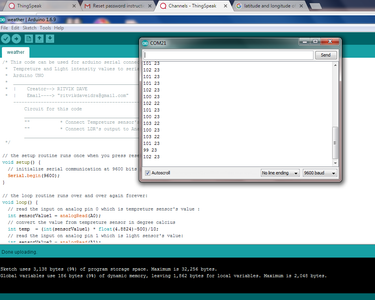
Now open Tools->Serial Monitor
Set baud rate at 9600 You should see something like in image
Now close Arduino IDE
Attachments

Step 3: Create an ThingSpeak Channel for Data Logging


Now to upload this serial data to an internet cloud we will require an stream for that cloud.
ThingSpeak is a famous cloud for IOT applications. Follow these steps
Go to www.thingspeak.com
Sign Up to thing Speak
Now go to “Get Started”
Create a “New Channel”
Fill up the information for this channel as shown in the attached image. (Refer 2nd image)
Now “Save” this Channel
You will be redirected to a page as below which is actually the cloud and you will
see graphs and location of your weather data.
Now go to “API Keys” as shown below (Refer 4th image)
Note down both “Channel ID” & “Write & Read API’s” you will need them later
Step 4: Develop a Python Server for Data Logging to Internet
Now download and install python from https://www.python.org/download/releases/2.7/ Ignore this step if you already have python installed.
Open start_menu/notepad on your windows pc.
Copy or download & paste the below python code onto notepad.
import serial
import time
import urllib
count=0
arduino = serial.Serial('COM19', 9600, timeout=.1)
while True:
    data = arduino.readline()[:-1] #the last bit gets rid of the new-line chars
    if data:

        if count==0:
            new=[0,0]
            count=1
        else:
            new=data.split()
        temp=int(new[0])
        light=int(new[1])
        f=urllib.urlopen('https://api.thingspeak.com/update?key=NIJW2KFLALYDFNZE&field1=%s&field=%s'%(temp,light))
        print "temp=%d & light=%d are updated"%(temp,light)
time.sleep(3) Do the following correction in this code
1. Replace ‘COM19’ to Port on which your Arduino is connected.
2. https://api.thingspeak.com/update?key=NIJW2KFLALY... change “key=<Your_thingspeak_channels_write_API_key>”
Save_as your file with name “weather.py”.
Attachments
Step 5: All Done! ;-)


Now follow these steps to see your first IOT that you just build up…
Connect Arduino with your PC on the same port , in case connected port has changed then do correction in weather.py file “COM19 COM”
Your PC must have internet connection
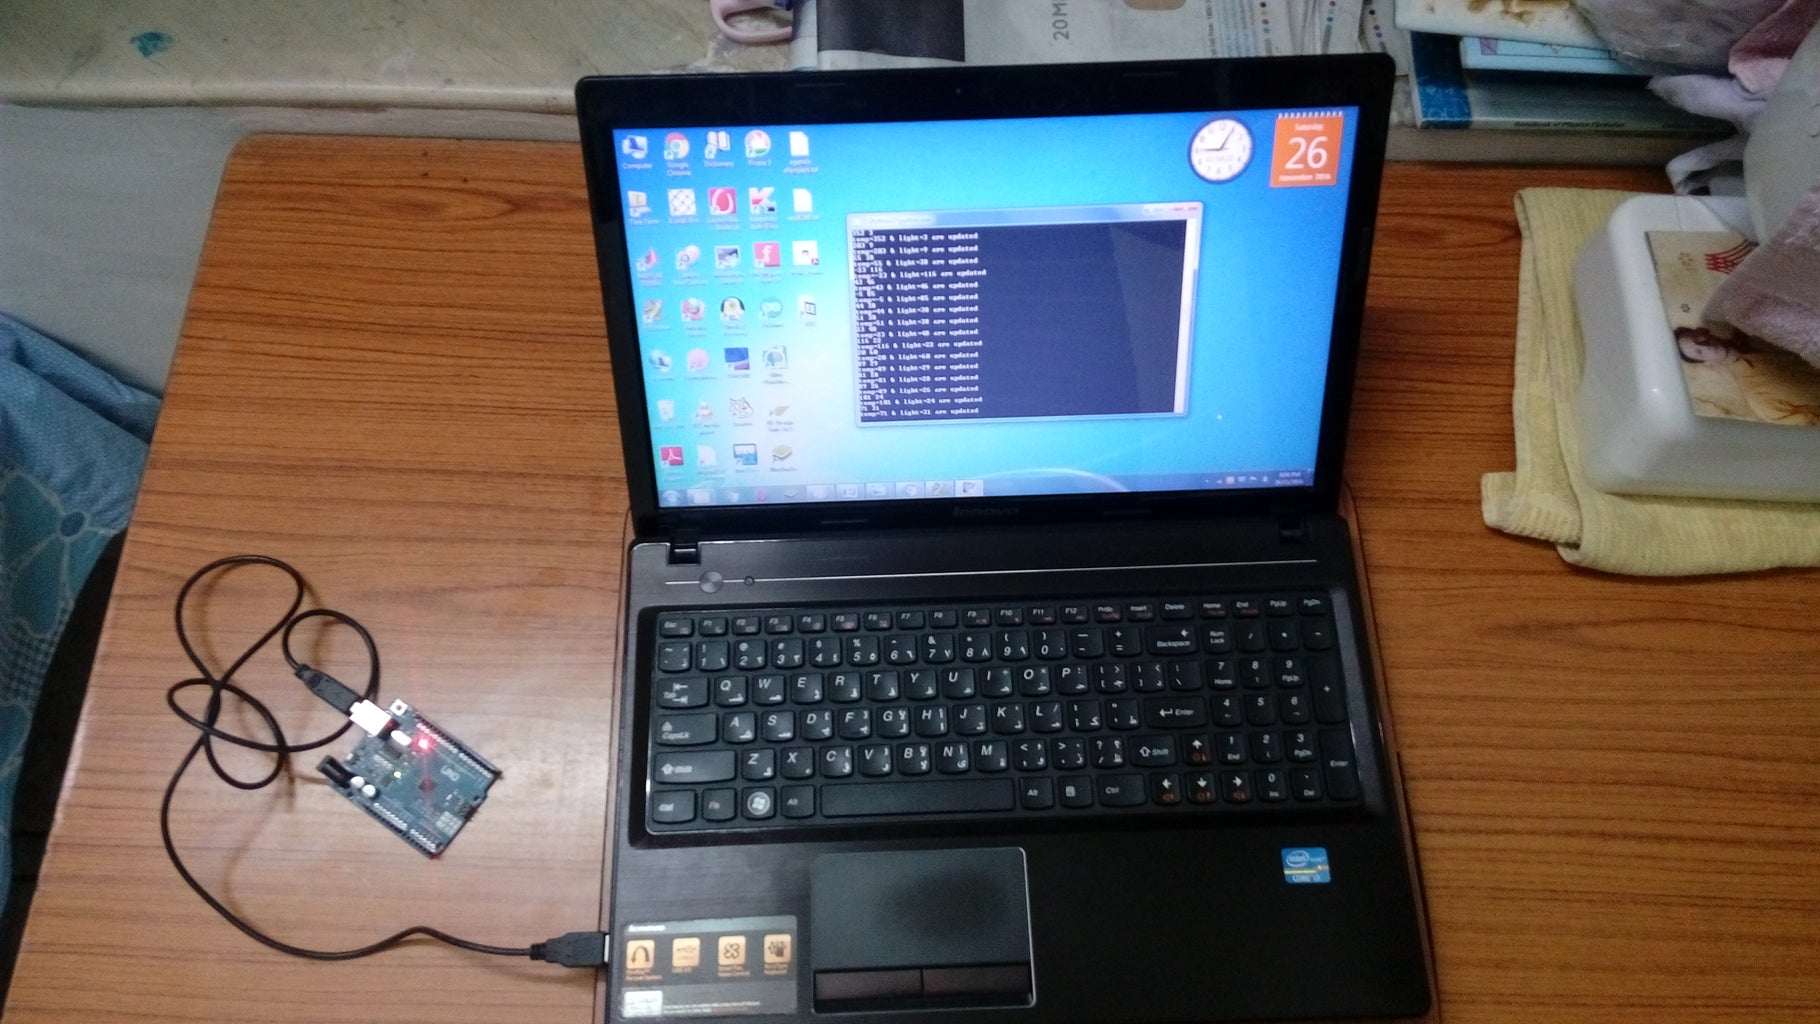
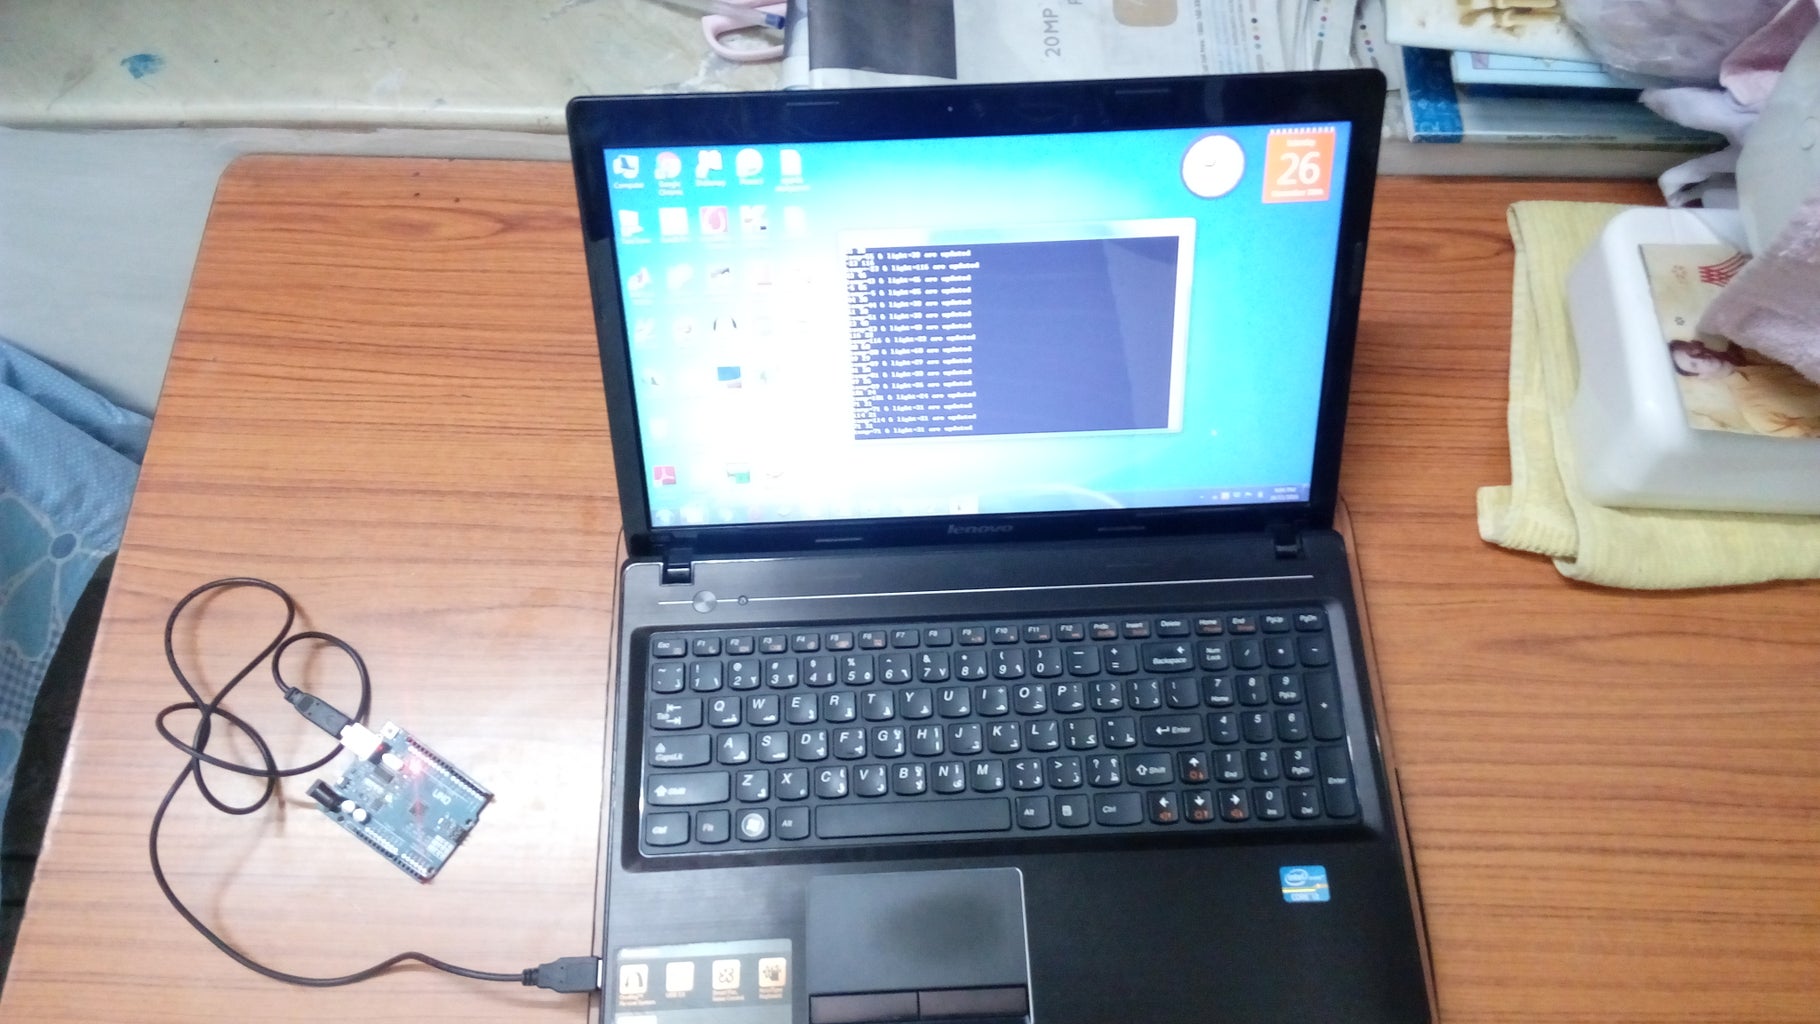
Open “weather.py” file with python.exe that you have installed before.
1. Right click on weather.py
2. Click on “Open with…”
3. Browse “Python.exe” and open with it.
You should see something like this
Now open a browser in your phone
Type the following URL in the format https://thingspeak.com/channels/<Your Channel ID>?key=<Your Read API Key> for example: https://thingspeak.com/channels/178314?key=KTYFWIH...
You will see the real time weather data from your Arduino
Hehh! Your first IOT Project is completed

Participated in the
Arduino Contest 2016

Participated in the
IoT Builders Contest


