

Introduction: How to 3D Print a TJBot


In this instructable, I will guide you through how to 3D print your very own TJBot.
All you need is a 3D printer and the TJBot design files.
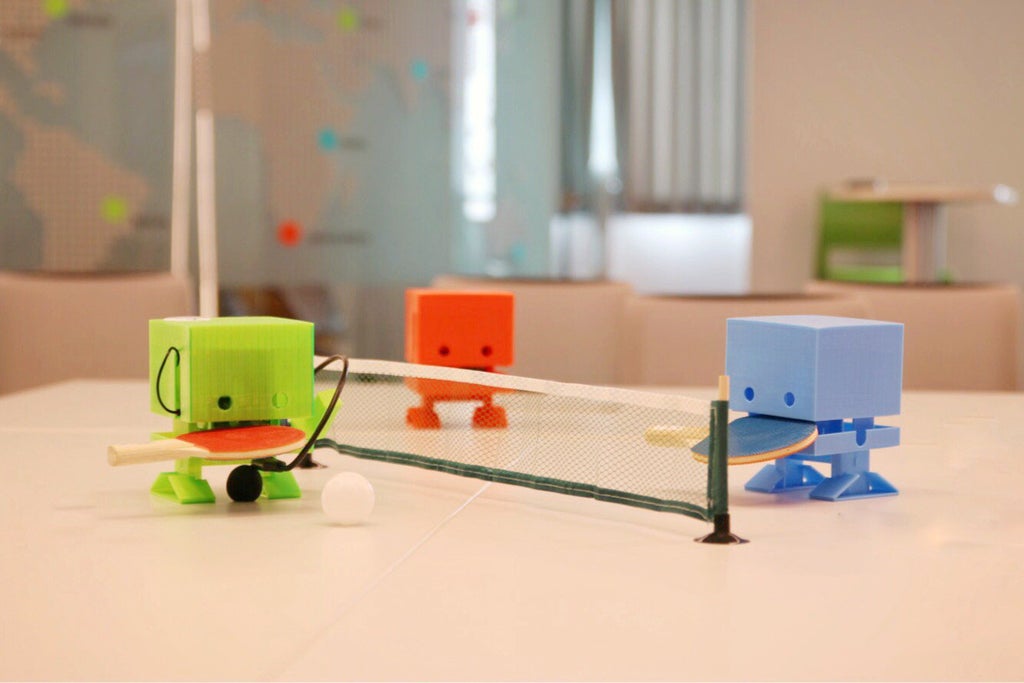
@TobyKurien, our friend in South Africa has 3D printed his own adorable red TJBot (the one with the headset) and @OmerArad in the Middle East 3D printed his army of cute robots! Feel free to mix and match the colors and share the pictures of your robot with me on Twitter #TJBot. Happy printing!
Step 1: Download the Design Files
TJBot is an open source project for building a little robot powered by IBM Watson. You can download the design files for free and 3D print your very own TJBot.
If you don't have access to a 3D printer, you may follow TJBot's laser cut guide to laser cut your robot instead. In this instructable, we guide you through how to 3D print your TJBot.
Step 2: 3D Print TJBot
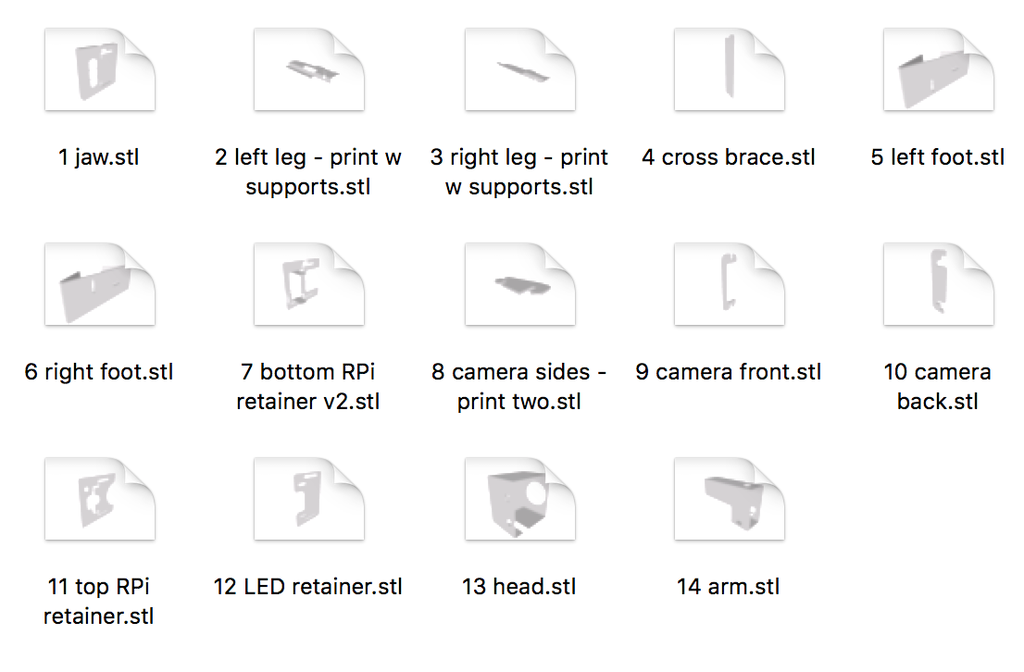
Here are some general instructions about how to 3D print different parts of your TJBot. You need to 3D print all the following pieces:

Let's start with the arm.
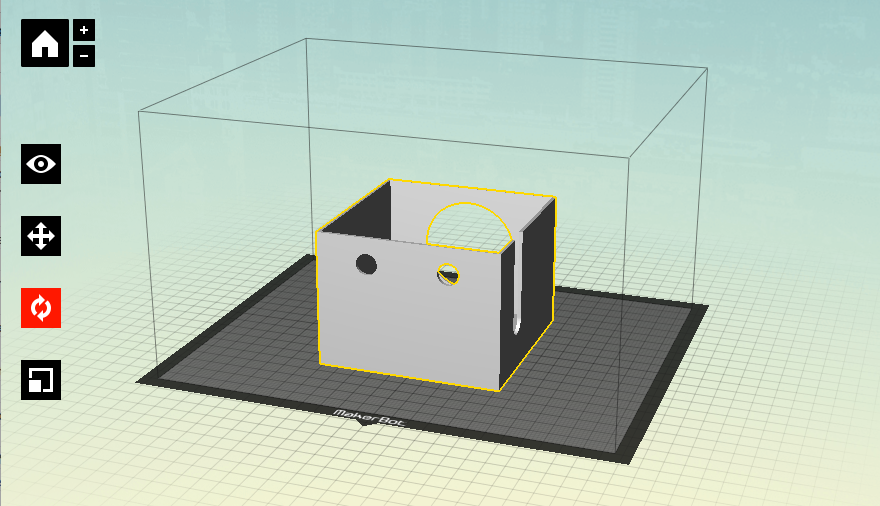
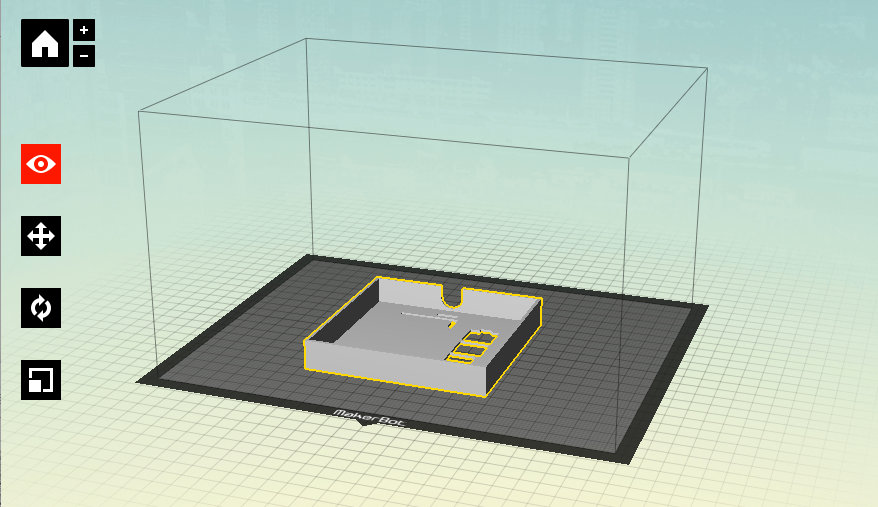
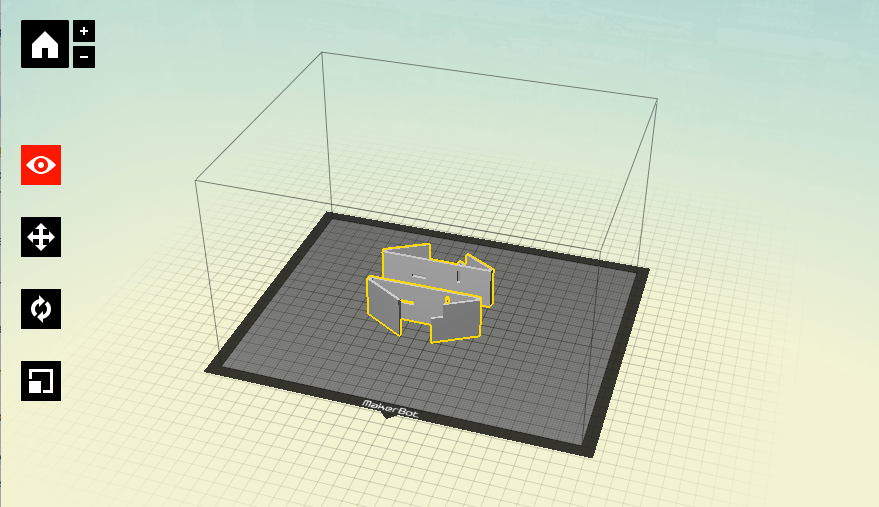
The grey lines indicate the edges of the printer frame. It will help you understand how to orient each piece in the printer.

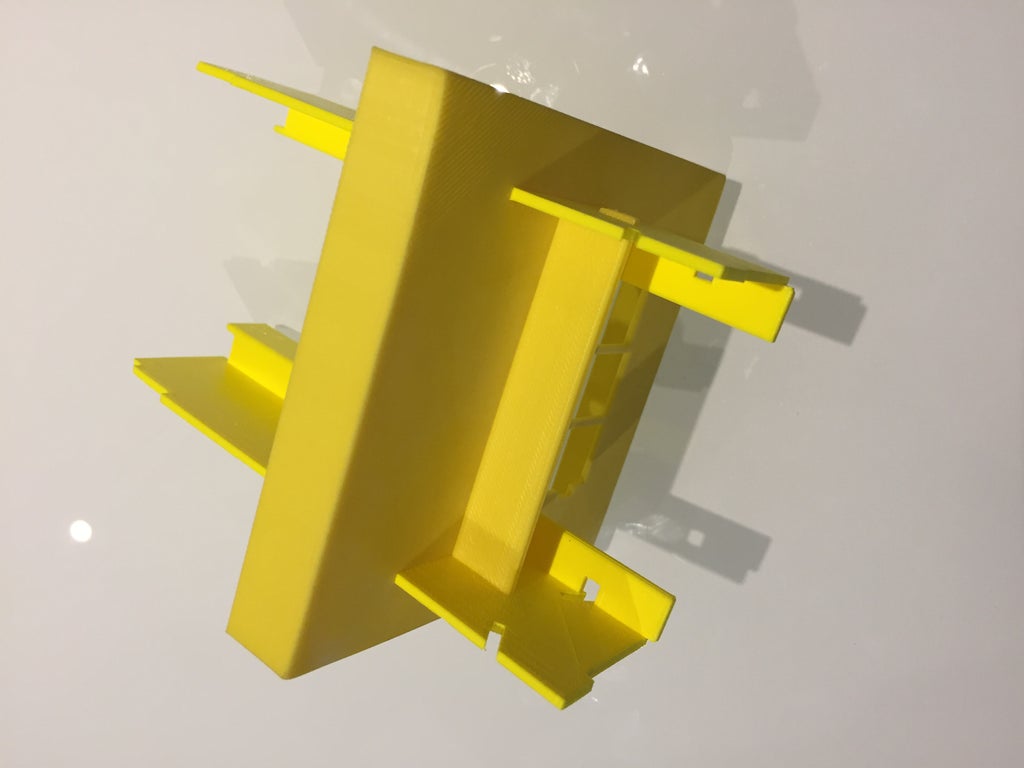
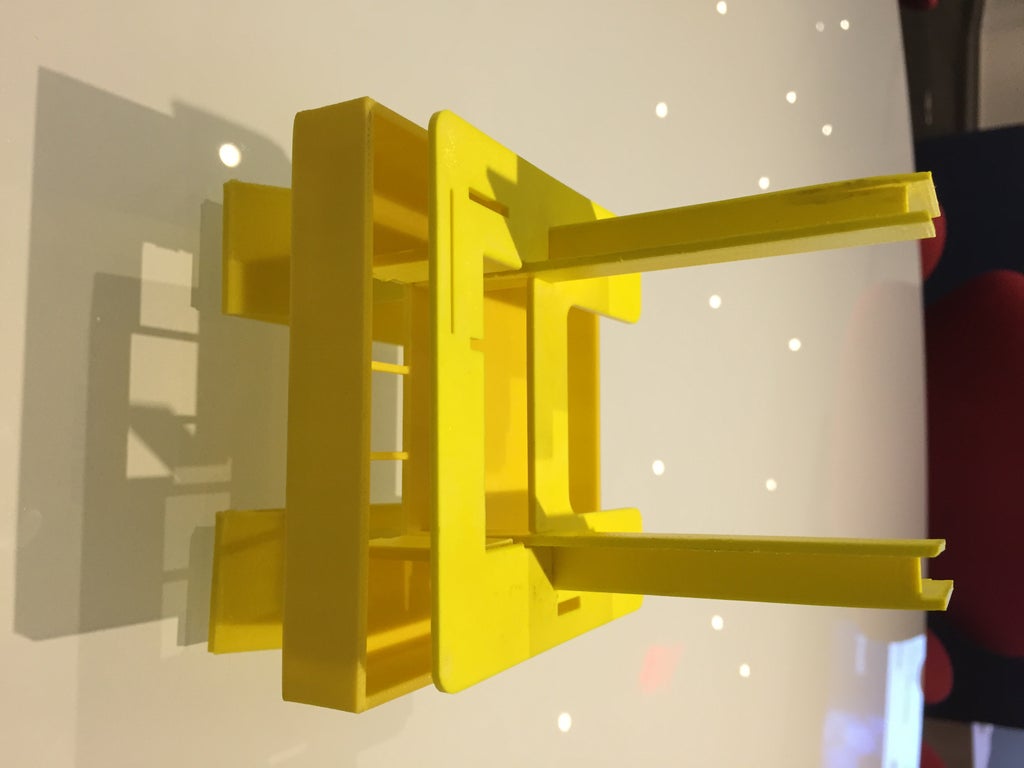
Next stop is the retainers and braces. You may print all these pieces on one round.

Head / jaw:
Legs / feet:

Step 3: Assemble Your TJBot
Now that your 3D printed parts are ready, it's time to assemble your robot. Assembling TJBot requires patience and your full attention! :-)
Make sure you set aside enough time for assembling TJBot and don't rush.
Begin by laying the pieces on a flat table.
Now, insert the legs into the jaw. The legs go into the L shaped holes in the jaw. Insert the legs from the top of the jaw downward. It may take some force to push the legs through the holes.

Next, take the leg brace. The brace sits in the two rectangular holes in the legs underneath the jaw. It keeps the legs straight and supports the jaw. Make sure the brace is oriented so that it makes contact with the bottom of the jaw.
Now, take the feet and insert them into the notches in the leg as shown below. Insert the feet from the outsides of each leg.
Congratulations, you can now make TJBot stand on his own! :-)

Servo insertion (optional). If you have a servo, it's time to insert it on left side hole in jaw. Please see the video for more details on how the servo is inserted in this stage.
Take the bottom retainer and slide it downward through the L-shaped holes in the legs. This may require some force, but work slowly and gently to avoid breaking the legs or the retainer. The support arms on the bottom of this retainer should fit into mating notches on the jaw.
Next, we will insert the Raspberry Pi. It is mounted face down, with its ports exposed via the three holes in the jaw. Ensure the pins are oriented as shown in the picture below.
Camera insertion (optional). Take the camera mounting bracket. Slide the two camera side mounts into the notches on the front of the retainer.
Slide your Pi camera into the mount and then add the top & front reinforcers to keep the camera snug. The picture below shows the camera mount without a camera; please refer to the above video to see how the actual Pi camera fits into TJBot.

The next retainer is the one with the small circle carved into it. Add it to TJBot by sliding it through the L-shaped holes, with the small circle oriented to the right (when TJBot is facing you). Slide the retainer down until it meets with the top of the Raspberry Pi.

Insert the LED into the center hole of the small retainer.

Push the top retainer with the LED through the L-shaped holes in the legs such that just a tiny portion of the leg sticks out from the hole. Run the wires through the small circle in the middle retainer so they can be connected to the Pi.

At this point, you don't need to be worried about wiring the LED. Depending on what you plan to do with your Pi, the wiring might be different. But if you are so keen in getting everything connected, here is a general wiring diagram. 
We're almost done! The last steps are assembling TJBot's arm and head. Put the head on the top.

If you have a servo, now is the time to attach the arm to it. Please refer to the video for details. If you don't have a servo, you can attach the arm to TJBot using tape. Now that your TJBot is ready, bring him to life with one of his recipes! We suggest beginning with Use your voice to control a light with Watson.


