

Introduction: Build a Wooden Garden Arbor


We wanted to have a small arbor for a garden entrance. We were looking for something made of wood, and fairly simple, with an Arts and Crafts or Craftsman style. However, the sturdy ones in the style we liked can be quite expensive ($200-$300 range, with some as much as >$1000), and the only ones we could find that were reasonably priced were either not to our tastes, or looked flimsy. Since the style we wanted was pretty easy to mimic, and the construction looked simple, we decided to build one ourselves. My estimate for how much it cost us in materials was a little over $100 (we already had the deck screws and the tools, or borrowed tools we didn't have).
We did not pour cement reinforcements for the trellis, as we were going to stay above the frostline, and it was not going to be very large (and thus didn't have to support too much of a load). We built this in 2006, and after 5 years (with lots of rain and snow storms) it is still doing just fine!
What you will need:
posts: pressure treated 4x4s, 8' long, 4 of them, $15 each ($60)
front and back cross pieces: pressure treated 1x6s, 6' long, 2 of them, ($10)
left and right cross pieces: pressure treated 1x4s, 42" long, 4 of them ($15)
top cross pieces: pressure treated 2" square balusters, 4 feet long, 7 of them ($.89 each)
wooden ladder trellises, 2 of them ($20)
wood deck screws
post hole digger
saw (hand saw)
drill and bits
plumb line
rocks and bricks
pencil for marking lines
safety glasses
All wood we used was pressure treated except for the side trellises.
Note: this is the step by step instructable for this photo instructable, as part of the Share Your Garden Photo Contest:
Home-built Garden Arbor
https://www.instructables.com/id/Home-built-Garden-Arbor/
Don't forget to vote!
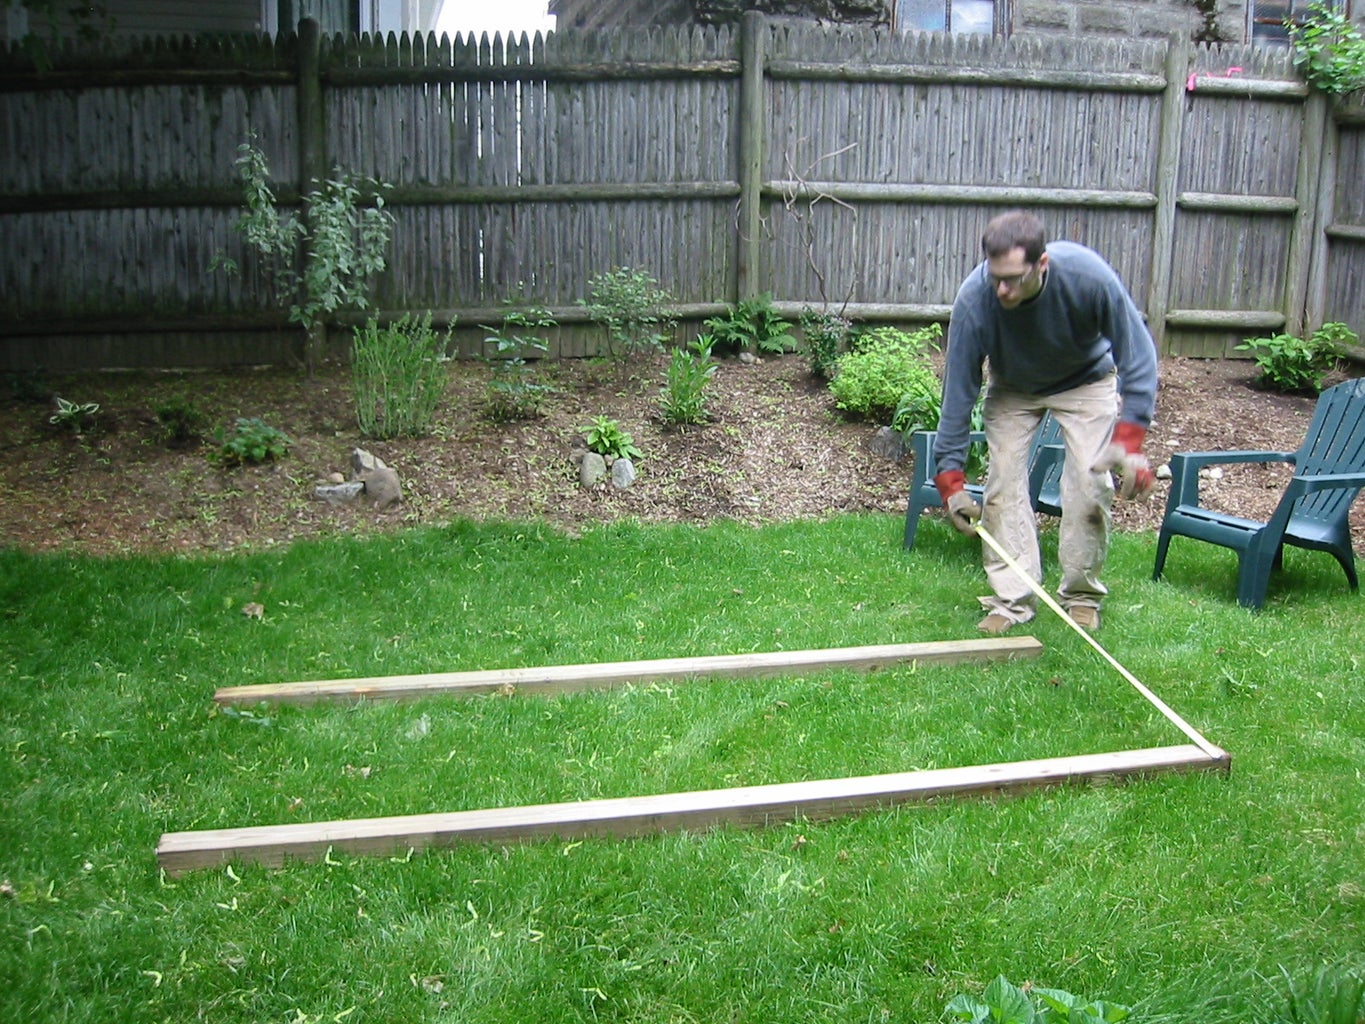
Step 1: Plan Arbor Dimensions and Choose a Site

Plan the dimensions. Choose a width (we did 5' to the outer edge of the posts) and height (7'). This is a little shorter than most arbors but we figured if we went longer it would not allow us to be efficient about the posts--because the 4x4s came in lengths of 8' we wouldn't have to cut them and waste any wood. However, if we wanted the posts to extend higher vertically but still have at least 1' below the ground , we would have to buy four 4x4s in 12' lengths, cut them all down to length, and then have left over pieces.
Choose an appropriate site. Make sure that there are no pipes, roots of trees or large bushes, or major rocks (boulders) where the posts should go.
Step 2: Cut Pieces to Length

Cut the front/back and left/right cross pieces to length. We used a handsaw but a circular saw may be more convenient. We gave them an angle at the end for decorative purposes. We chose a length by putting the posts on the ground and laying the cross piece on top, and seeing what looked best by eye.
Step 3: Dig Holes for the Posts


This requires the use of a post hole digger, which we were able to borrow from a kind neighbor. To use a post hole digger, you dig into the ground with the handles together, rotating the tool if necessary. Once you have dug in, separate the handles, which squeezes the blades. Then lift the blades containing the dirt out of the ground.
We dug about 1', which is on the low side but the structure has been sturdy enough to withstand many seasons. We had found conflicting advice on the internet on whether or not we should pour concrete footings, but discovered we were able to get away without them. However, please note that if you are going to set posts much deeper, it is advisable to pour concrete footings.
We were not that skilled with the post hole digger, and the holes wound up considerably larger than our posts. So, we inserted two (the left and right of the front pair) and temporarily stabilized them by filling the gaps in the post holes with rocks and bricks.
Step 4: Attach Front/back, Left/right Cross Pieces


Check with a plumb line that the posts are vertical. Then check with a level that the tops are even, both in the left/right direction as well as the front/back direction. You may have to nudge them or dig the holes deeper to get this right, and it is an iterative process. Once you are satisfied, one person should hold the post while the other removes the post and fills the hole with dirt. Repeat with the other post.
Attach the front cross piece (1x6s) to the outer surface of the posts, using the wood screws at each junction. Make sure it is centered. Repeat for the back left and right pieces.
Then attach the left and right cross pieces (1x4s). There are four of them (each "bracketing" the vertical posts). Attach these below the front and back cross pieces, using deck screws at each joint.
Step 5: Attach the Top Lattice Work


The top lattice are simply pressure treated 4' balusters, which are really cheap. We chose them this length so that they would overhang both the front and back by about 1'. Attach these to the front and back cross pieces using deck screws. Then, attach one perpendicular to all of the "first layer" balusters.
Optional: we wanted a hanging lantern, and had a set of two solar powered LED garden lanterns, so we stole one from the hanging lantern and attached it to the cross pieces with wire.
Step 6: Attach Trellises to the Sides


We found two wooden trellises from a big box store, which were close to the width of the arbor, and thus could span the sides. These vary in appearance, and the one shown here is a simple variation of a grid. Attach trellises to the sides of the posts with deck screws.
And you're done! Note: we opted not to paint or stain the arbor, as we wanted the natural wood appearance.


