

Introduction: Cheapest Sound Impact Sensor Under


While doing DIY projects for yourself sometimes you need some sensors. This sound impact sensor is cheapest sensor you have ever seen. This kind of sensor you will find at 12$-15$.But this is only costs 2$.
Step 1: Required Components List


Required Components List :
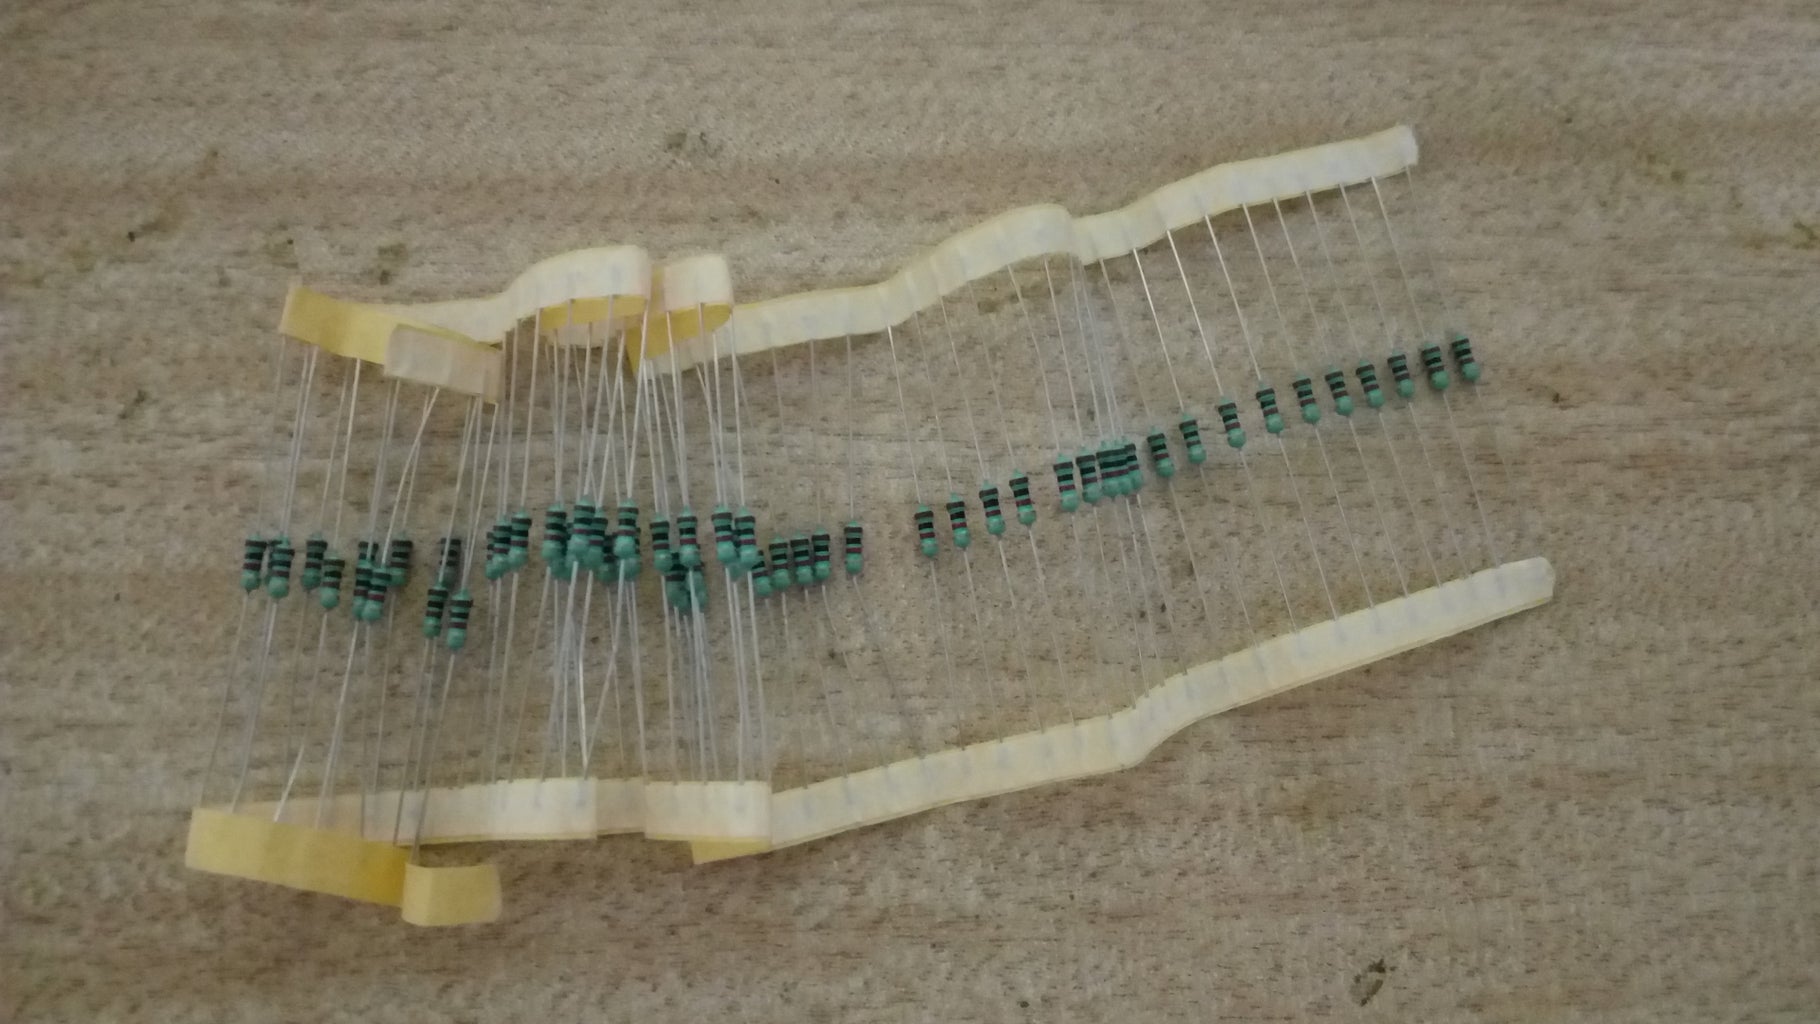
1) Resistors : 1 k - 4 Pc.
100 k - 2 Pc.
10 k - 3 Pc.
8.2 k - 2 Pc.
4.7 k - 2 Pc.
2) Capacitors : 1uf - 3 Pc.
10uf - 2 Pc.
3) Transistor : 2N3904 - 2 Pc.
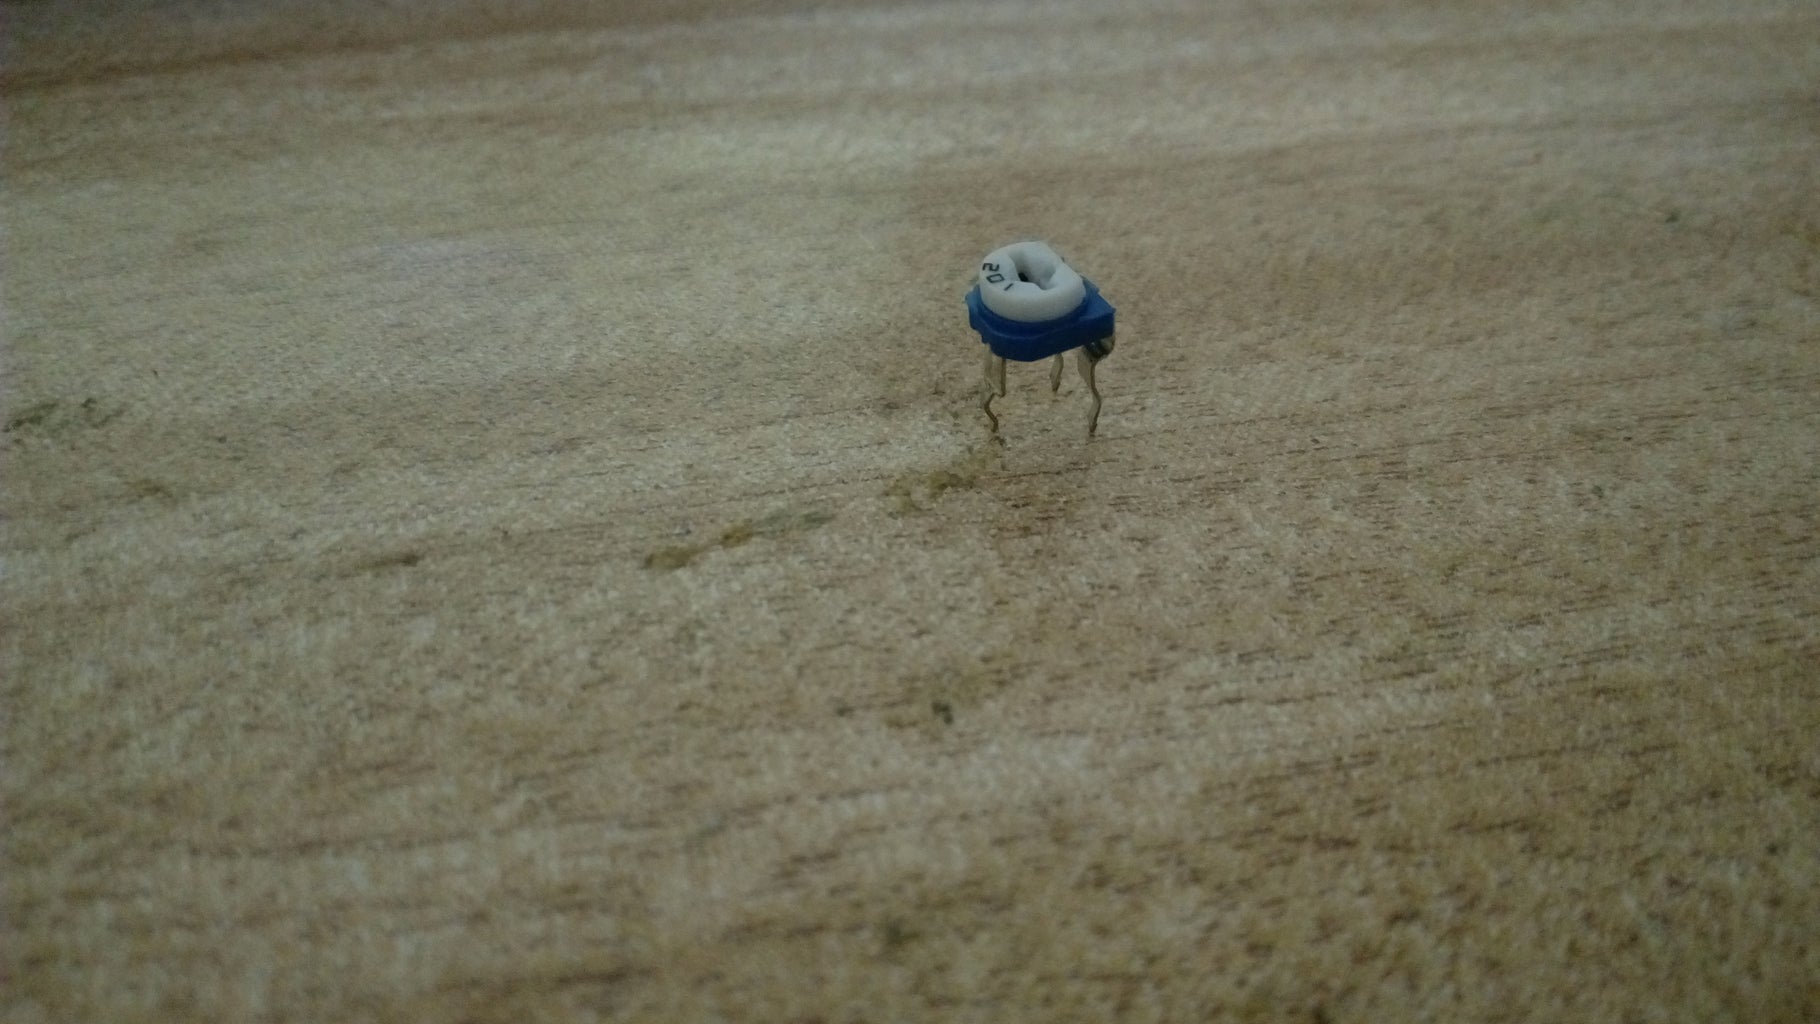
4) Potentiometer : 1 k - Pc.
5) IC : NE555 Timer - 2 Pc.
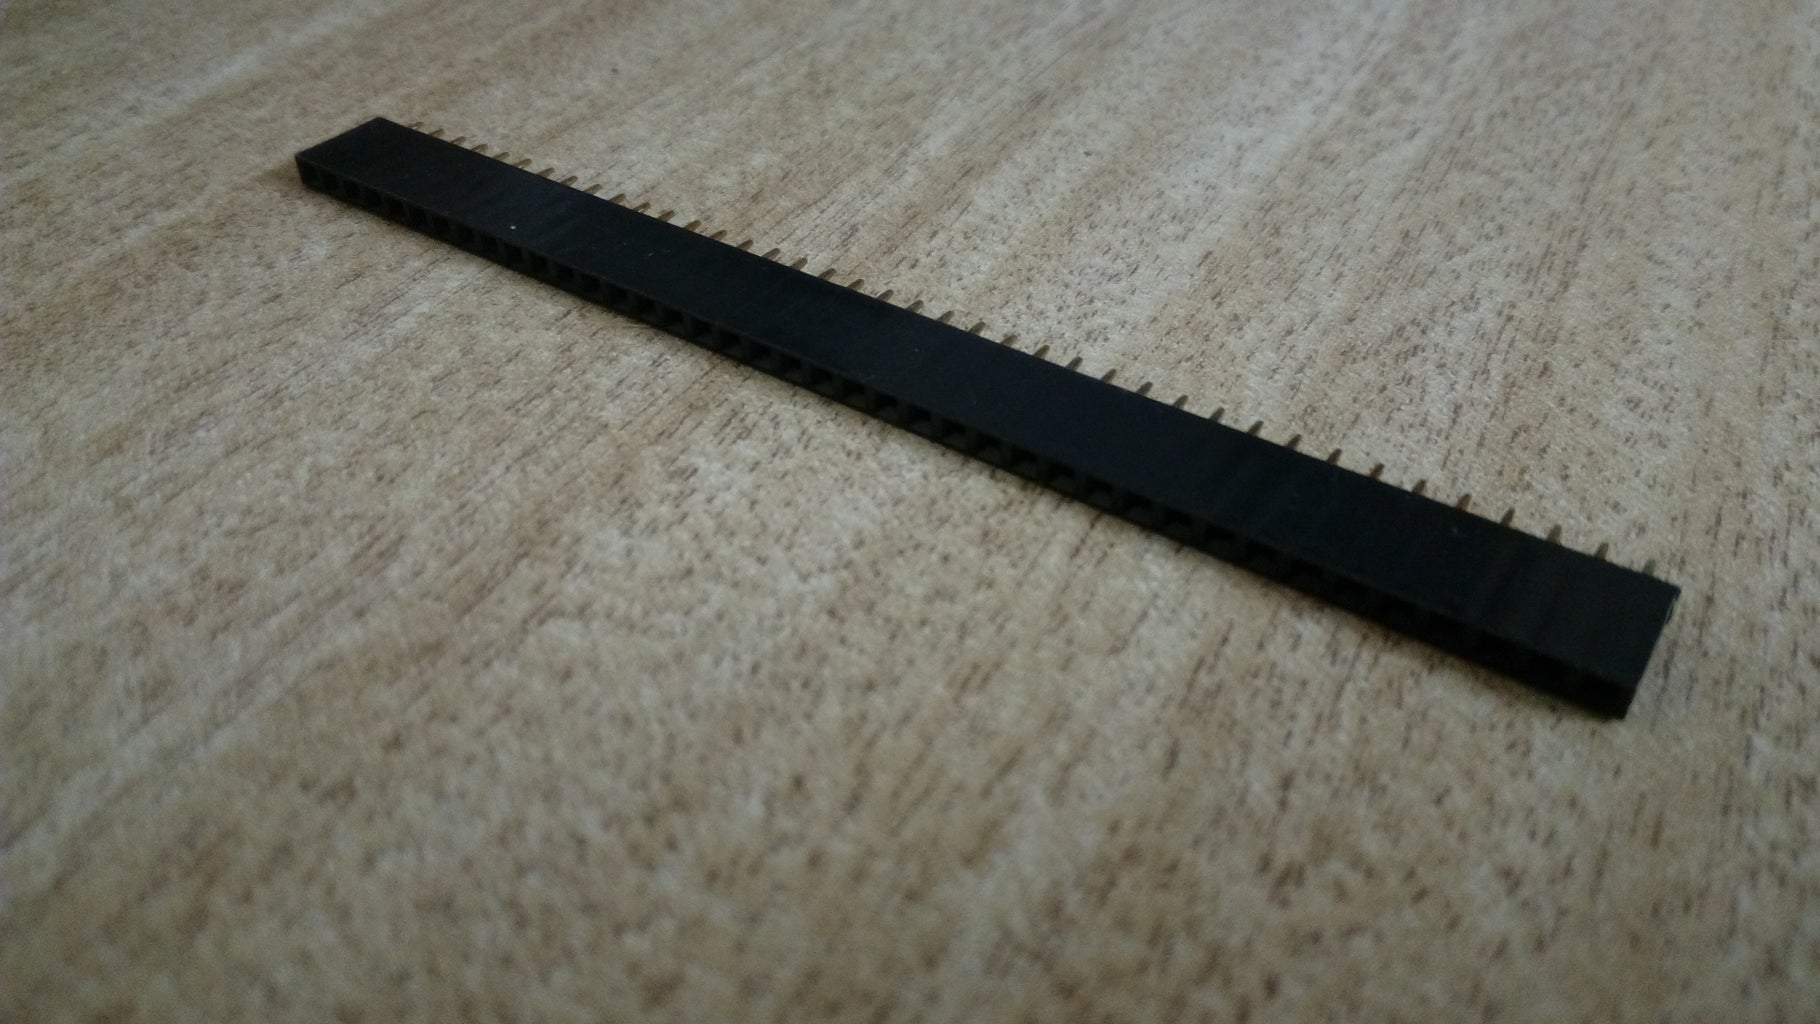
6) Female Header
7) Electric Mic - 2 Pc.
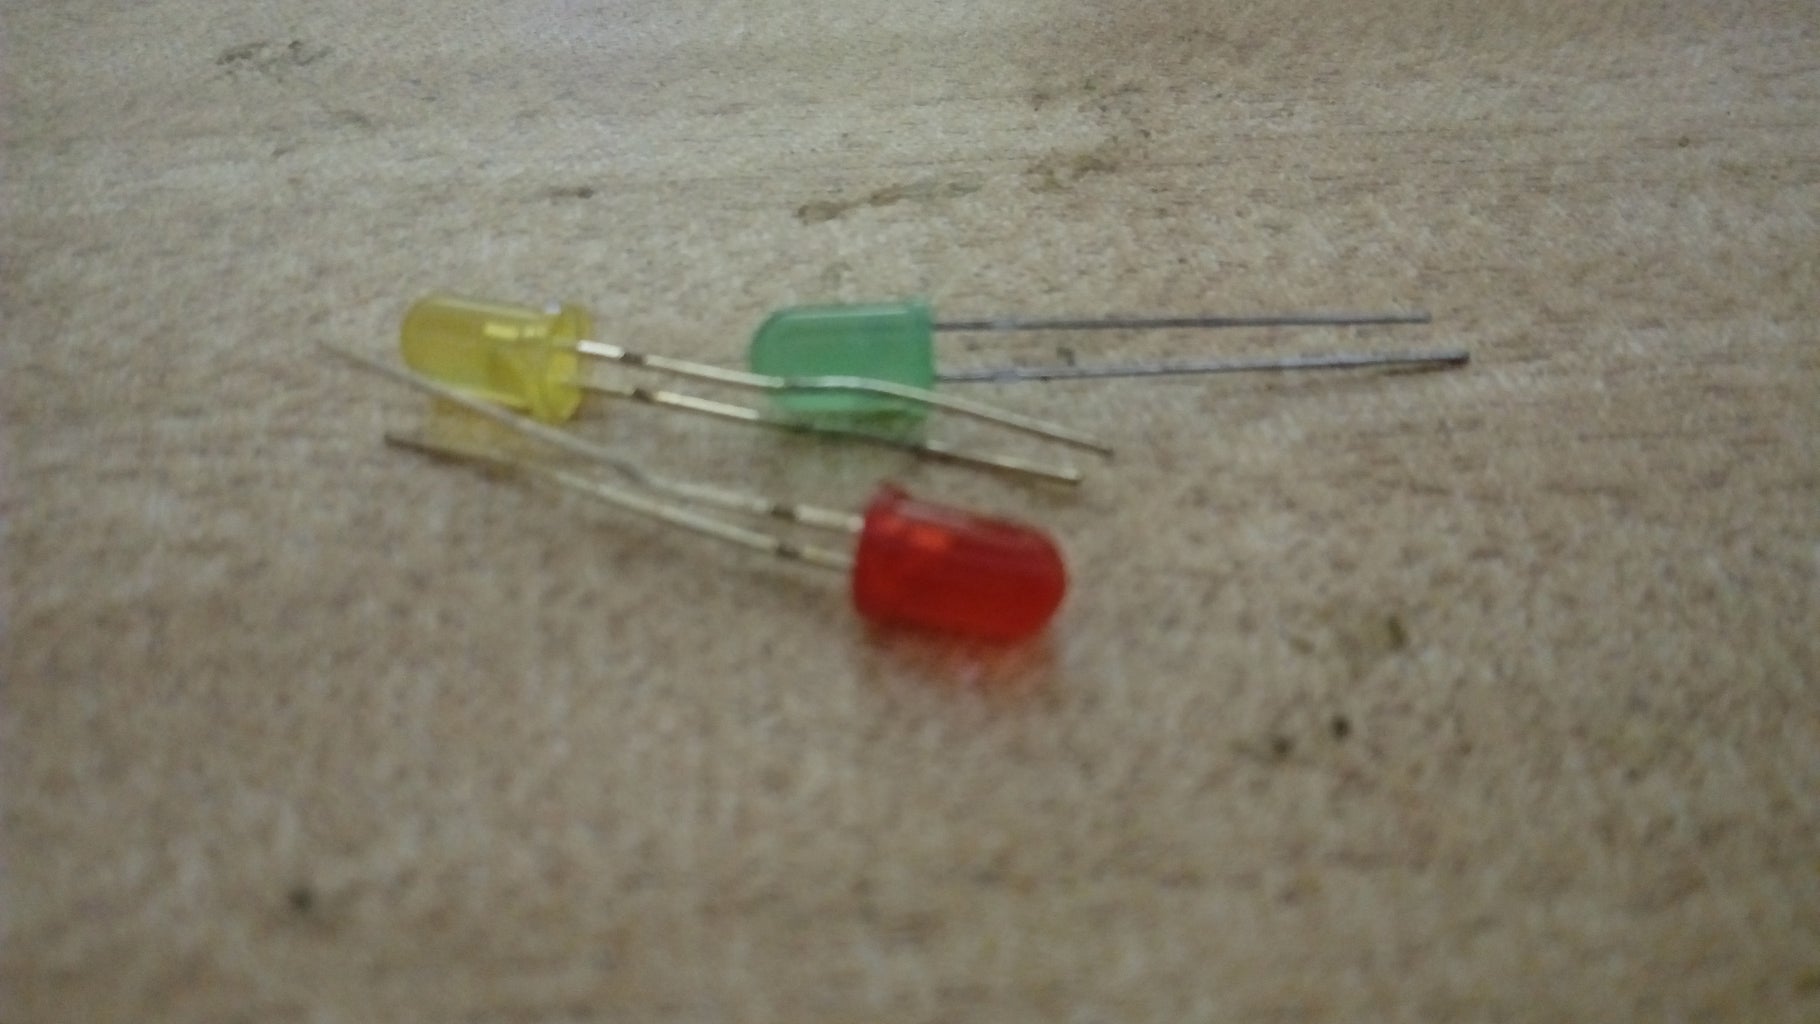
8) LED - 5mm LED for indication ( Any colour ) - 2 Pc.
9) Copper Board : 2 X 3 ( inches ) - 2Pc.
10) IC holder : 8 pin IC holder - 2 Pc.
Step 2: Circuit Diagram


This is the circuit diagram of Sound impact sensor. Using this circuit diagram you can connect the components on zero PCB or dot matrix PCB.
Or if you want to do it on higher level then you can do it on copper board by
using other image which is same circuit diagram as first but its done by using circuit designing software for PCB etching.
Step 3: Implementation of Components


1) Resistors :
Resistor don't have any polarity, so you can connect it in any position.
2) Capacitors :
Capacitors have polarity like positive & negative terminal. So the longer leg of capacitor is positive terminal & shorter terminal is negative. Connect appropriately & carefully with same polarity.
3) IC holder :
Attach IC holder on circuit board. Bend its legs from opposite site, So that it'll be perfectly fitted on board & do solder each leg is it carefully without shorting with adjacent leg.
4)Transistor :
To identify the terminal of transistor the image is given, refer that for better consideration and connect according to it.
5) Electric Mic :
Electric Mic also has polarity. The mark which is given in image indicates negative polarity & other is positive.
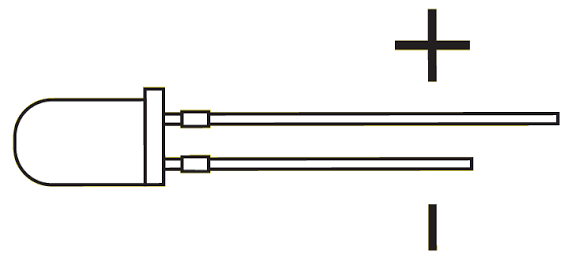
6) LED :
LED has polarity like other components. Longer leg is positive terminal & shorter is negative. For more detail refer image given.
After soldering all components carefully insert IC at appropriate position.

![Tim's Mechanical Spider Leg [LU9685-20CU]](https://content.instructables.com/FFB/5R4I/LVKZ6G6R/FFB5R4ILVKZ6G6R.png?auto=webp&crop=1.2%3A1&frame=1&width=306)


