

Introduction: IoT Class: Combining Inputs and Outputs


Let's go through one more example to cement your new knowledge. In some cases, you may find your project needs to both trigger internet action and displays internet data. This lesson combines techniques we've learned in earlier lessons to make a pair of devices that communicate with one another. This is also a great example to base your project on if you want to trigger an internet action and display some feedback about that action, whether on the same device or another. We'll use the Internet Valentine project as a case study throughout the lesson, which flashes the LED and buzzes the pager motor on both devices when buttons on either one are pressed.
Step 1: Establish Feed(s) First
The project design workflow for any IoT project starts with the data. Both the Arduino sketch and IFTTT applets look to the feed on Adafruit IO for interaction, so let's define that first. We can break it down as follows:
- three input states: off, button 1 pressed, and button 2 pressed
- correspond to three output states: off, LED flashes, and motor wiggles
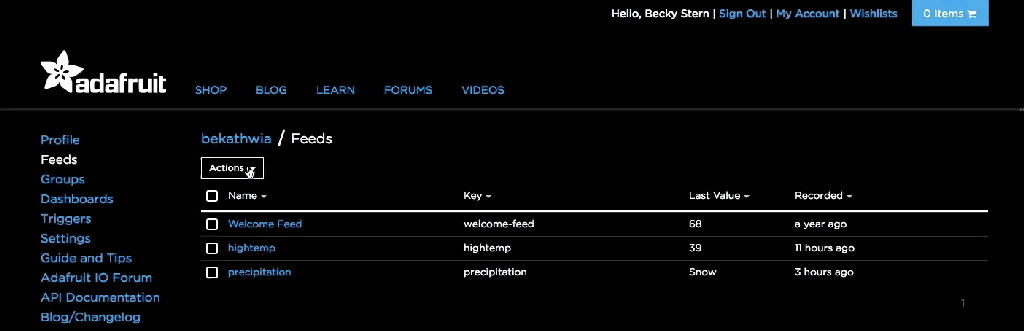
Let's reuse the "command" feed from the Circuit Triggers Internet Action lesson, or create a new feed with a name describing what your data represents.
Step 2: Create Two Identical Circuits
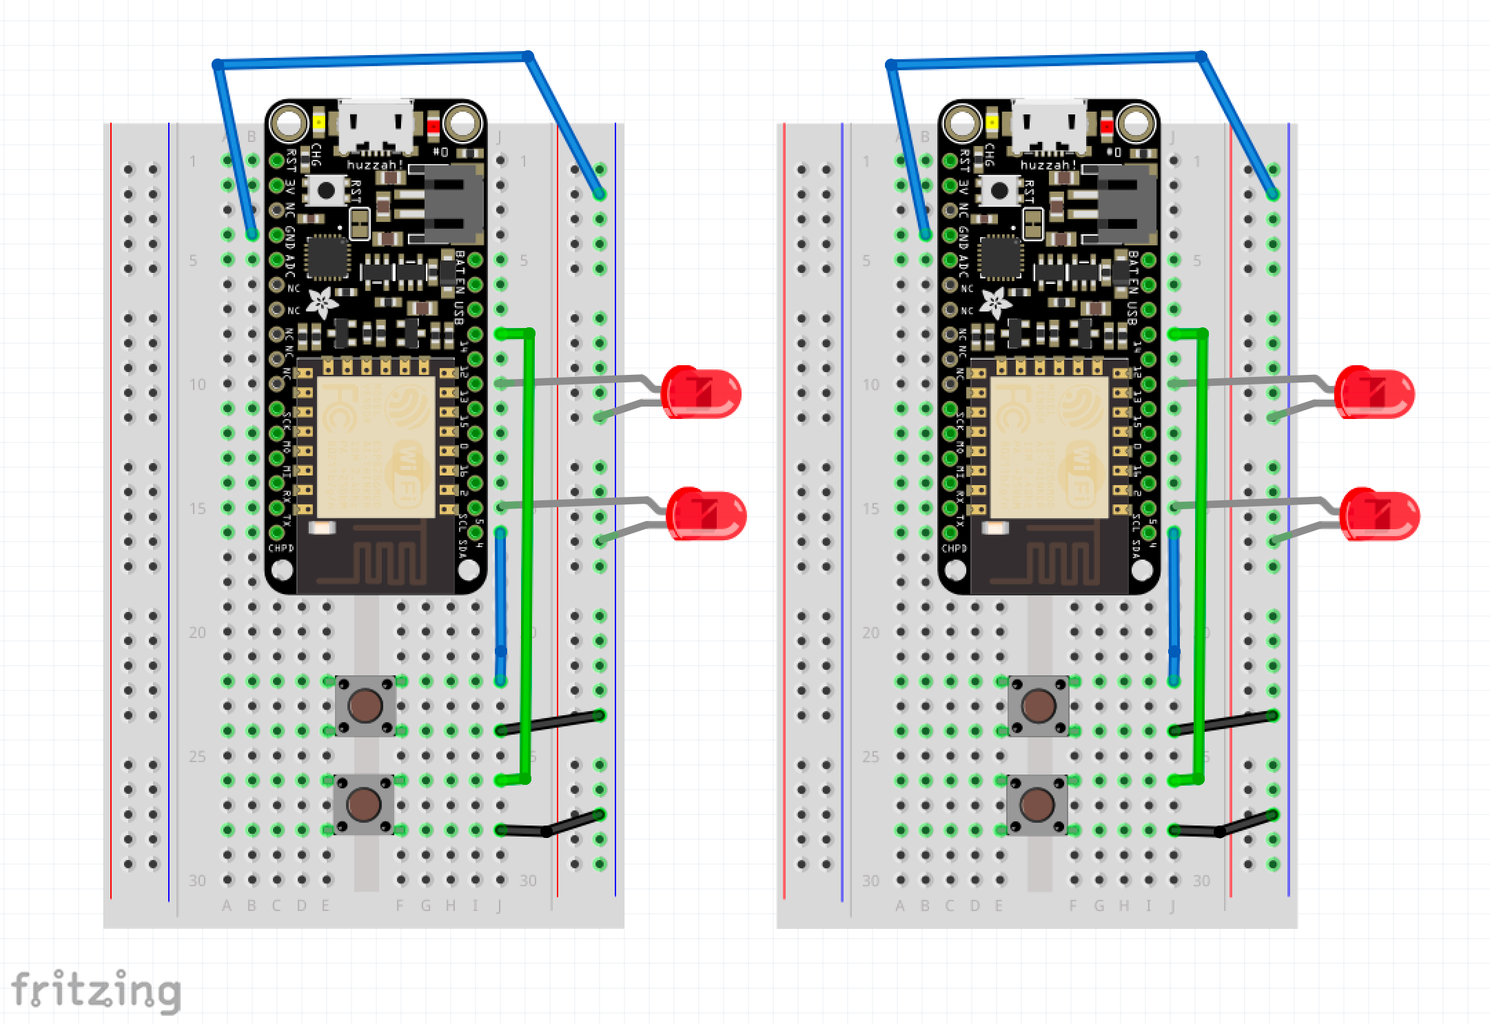
Build the same starter circuit as we've been using all along, but this time add a second pushbutton and LED.
If you've got an extra set of parts, build a second identical circuit. Or shake things up with the inputs and outputs of your choice— shown here is just an example of two digital inputs controlling two outputs.
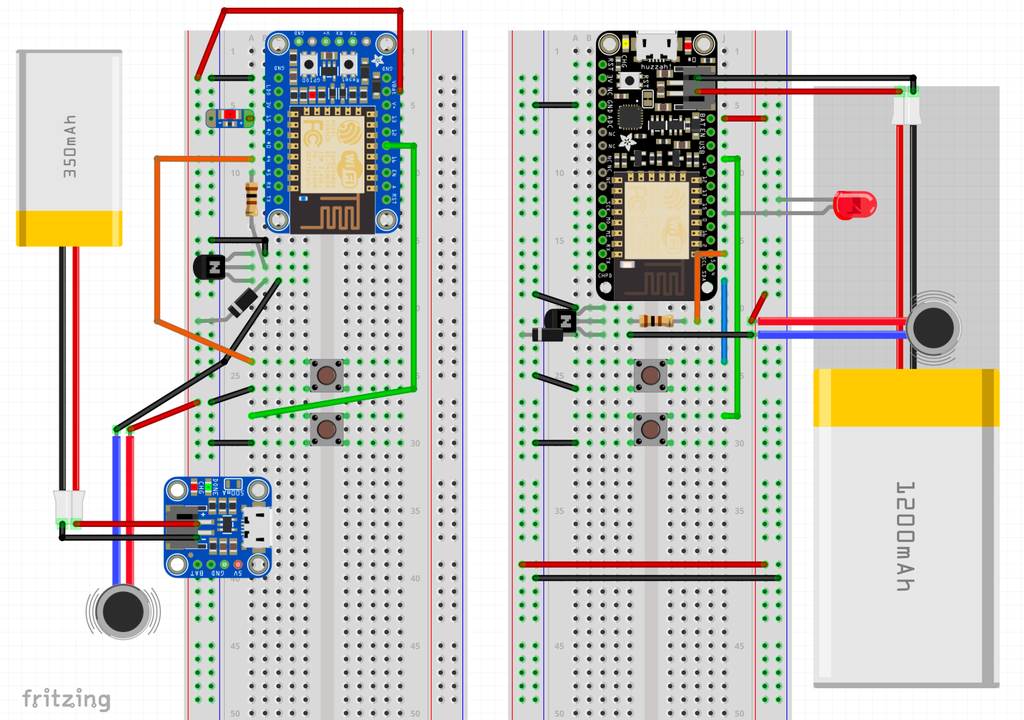
If you're feeling fancy, add a transistor/vibrating motor instead of a second LED.
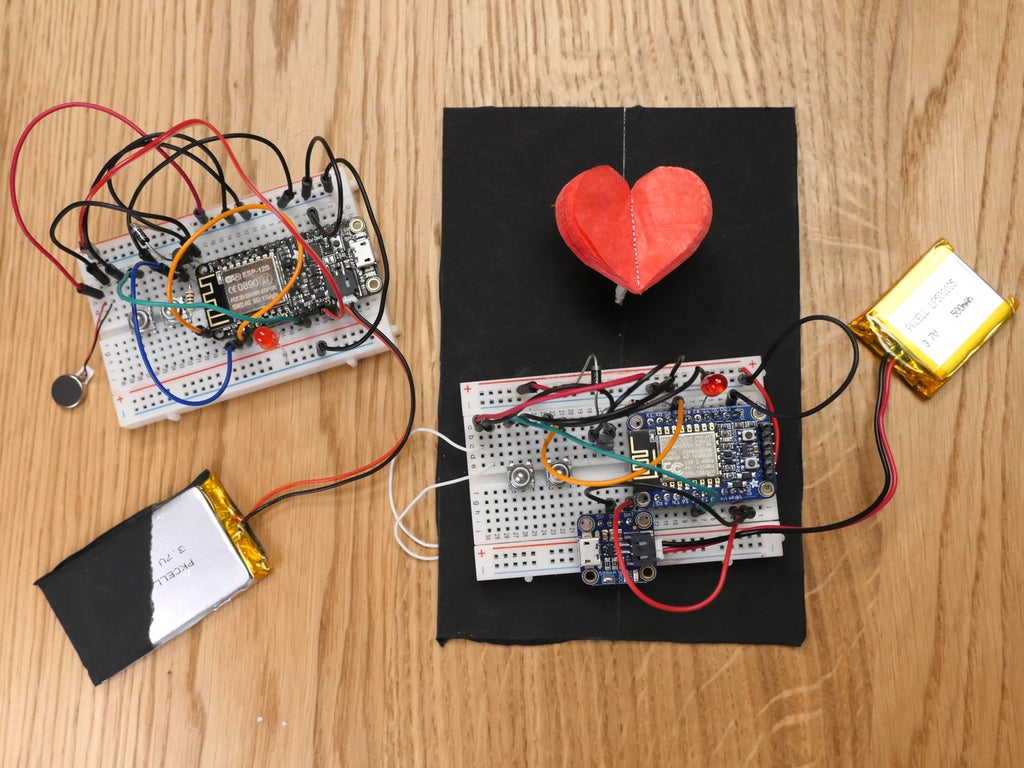

Power the boards via USB or with LiPoly batteries (adjust position of power wire between USB and BAT accordingly, if you are using it for something like NeoPixels, a motor, etc.).
Step 3: Input/Output Code
Download the example sketch and open it with the Arduino IDE. Customize the Adafruit IO username and password as well as your wifi network name (SSID) and password. Be sure you have the "ArduinoHttpClient", "Adafruit IO Arduino", and "Adafruit MQTT" libraries installed, and upload the code to your board.
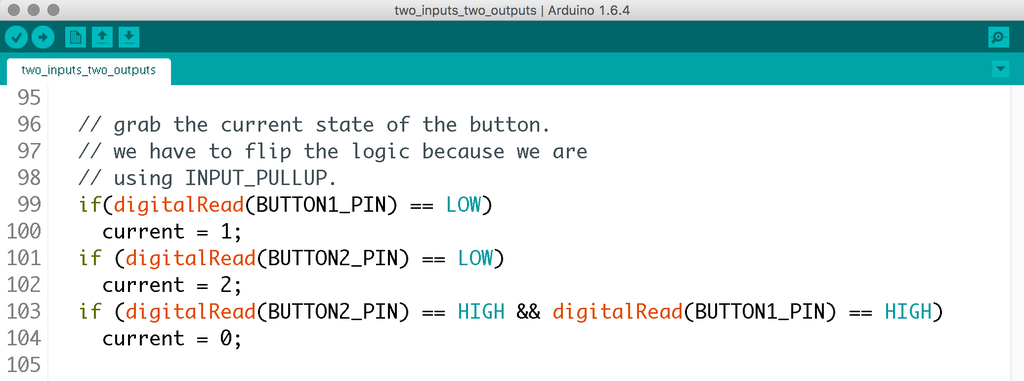
This section looks very similar to the first button code you used with Adafruit IO, but with a second button and if statement. Now the feed data will contain three different values depending on the state of the buttons: 0, 1, and 2.
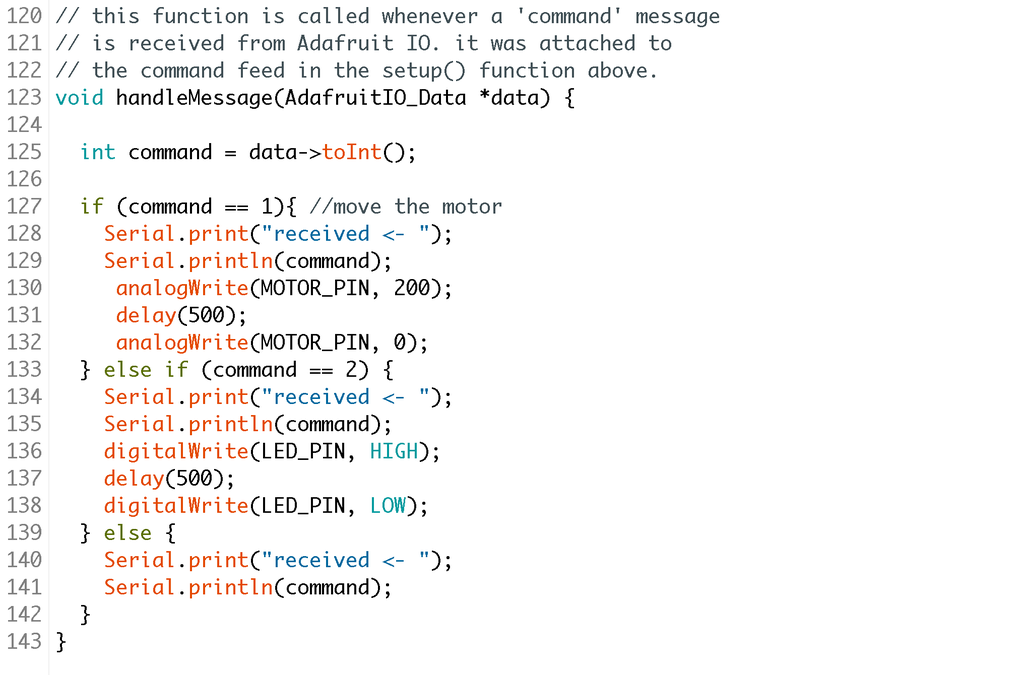
Later on, the handleMessage function checks for each of these three states and either buzzes the motor with analogWrite();, flashes the LED, or does nothing but print to the Serial Monitor.
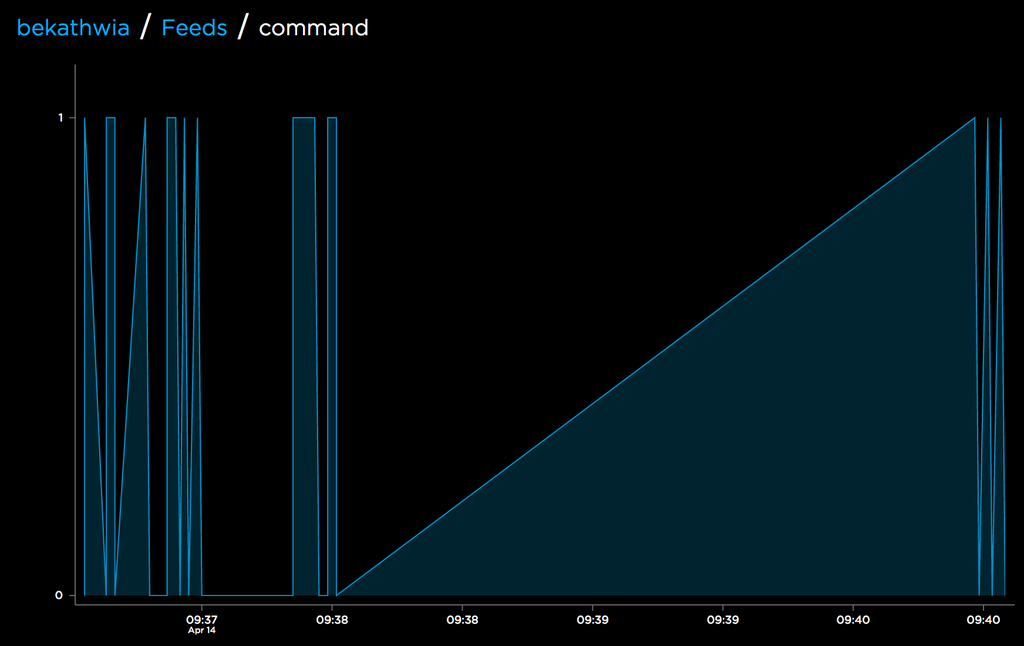
Put the same code on both ESP8266 circuits and observe the way they behave. For example, how long do the messages take to echo back from Adafruit IO, and how much does that time vary? You can move one device to a friend's house (don't forget to update the wifi network details in the Arduino code) and experiment some more.
Attachments

Step 4: Taking It Further

Now that you've come this far, you should feel confident in adapting the examples in this class to your own inputs and outputs. You could add another feed and modify each device's code to only control one another (no local feedback), or hook up an IFTTT applet that sends different messages based on which device sent the trigger.

You may find that one ESP8266 project is not enough to satisfy your new curiosity. Check out the projects in the collection below for more inspiration, and don't forget to explore more examples in the Arduino software under File -> Examples -> ESP8266WiFi and File -> Examples -> Adafruit IO Arduino. Additionally, check out the following sites for new DIY IoT projects posted frequently:
Thank you for coming on this class journey with me! I welcome your feedback and look forward to seeing your own projects. Please post up Instructables documenting your designs (and enter them in our frequent contests). If you liked this class, here are some more you may enjoy!
Internet of Things Class table of contents:


