

Introduction: Component Tester UNO Shield


Hola Folks!!
In my past component tester projects - Component Tester in a keychain and USB Component Tester I received many comments and messages asking for an Arduino compatible version of the component tester. The wait is over folks !!!
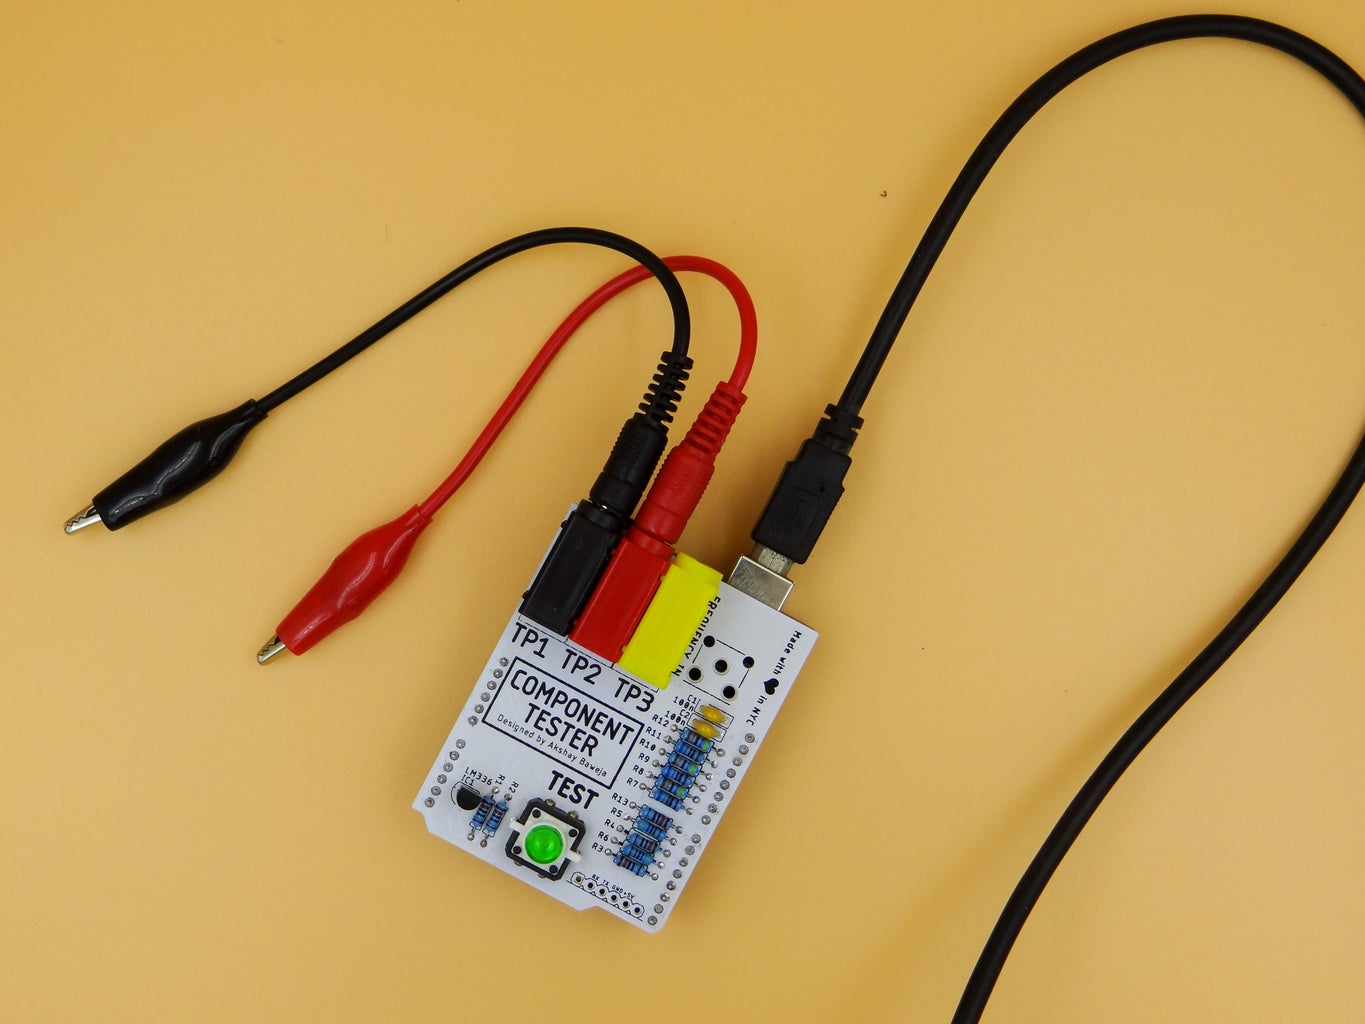
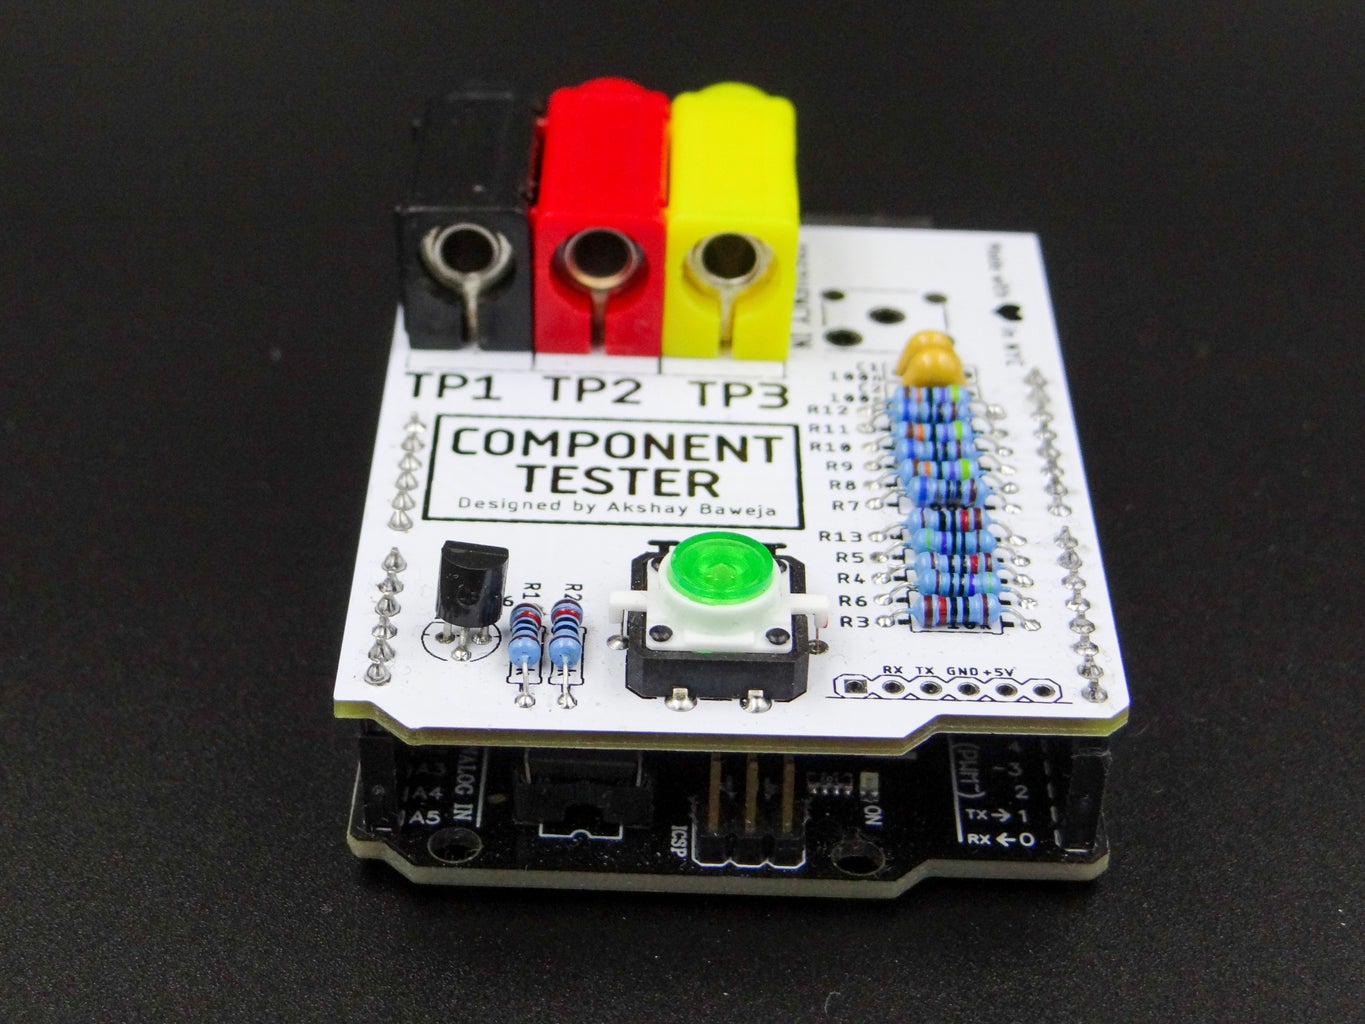
Presenting Component Tester UNO Shield...🥁 Similar functionality as of USB Component Tester, with all through-hole components and a little button to trigger the test from the board itself. It gives you the flexibility to upload the code via standard Arduino UNO USB cable. So, you don't need to re-flash the bootloader. Though Arduino's bootloader limits some of the functionalities and capabilities, still, I would argue it is a great addon to anyone wanting to convert their Arduino UNO in a Component Tester.
This project is inspired by AVR TranistorTester by Markus F.
This Project is Sponsored by PCBWAY
Here I would like to take a moment to thank PCBWay for sponsoring this build and providing me with their great quality PCBs. I got PCBs in all white soldermask and they look amazing 😍. If your project requires PCB, do check them out. You can get 10 custom PCBs for as low as $5 with a wide range of customization options to chose from, such as soldermask colors, a wide variety of thicknesses, surface finishes, and copper weights. They also offer assembly services for your custom projects for a pretty low price. The delivery service is blazing fast, I got my boards delivered in 4 days from the date of order.
Supplies
Components (all components are PTH/ Through Hole)
- 1x Arduino UNO with Cable
- 2x 100nF Capacitor
- 1x LM336-2.5V voltage regulator
- 4x 10kΩ Resistor ±1%
- 2x 470Ω Resistor ±1%
- 3x 680Ω Resistor ±1%
- 3x 470k Resistor ±1%
- 1x Male Header Strip 2.54mm
- 3x 4mm Banana Jack Female [AliExpress/ eBay]
- 1x 12mm Momentary Switch SPST with LED [AliExpress/ Amazon]
- 3x 4mm Banana Jack to Alligator Clip/ Test Hook Wire
Tools
- Soldering Iron
- Soder Wire
Step 1: Getting Your PCB Manufactured


I used Autodesk Eagle to design the circuit board for the project. You will find schematics and design files attached below. Alternatively, you can also go to PCBWay (redirects you to the project ordering page) to directly order your high-quality boards.
Attachments

Step 2: Soldering Them One by One...🤓


⚠️ Always remember - "If it smells like chicken you're doing it wrong" ⚠️
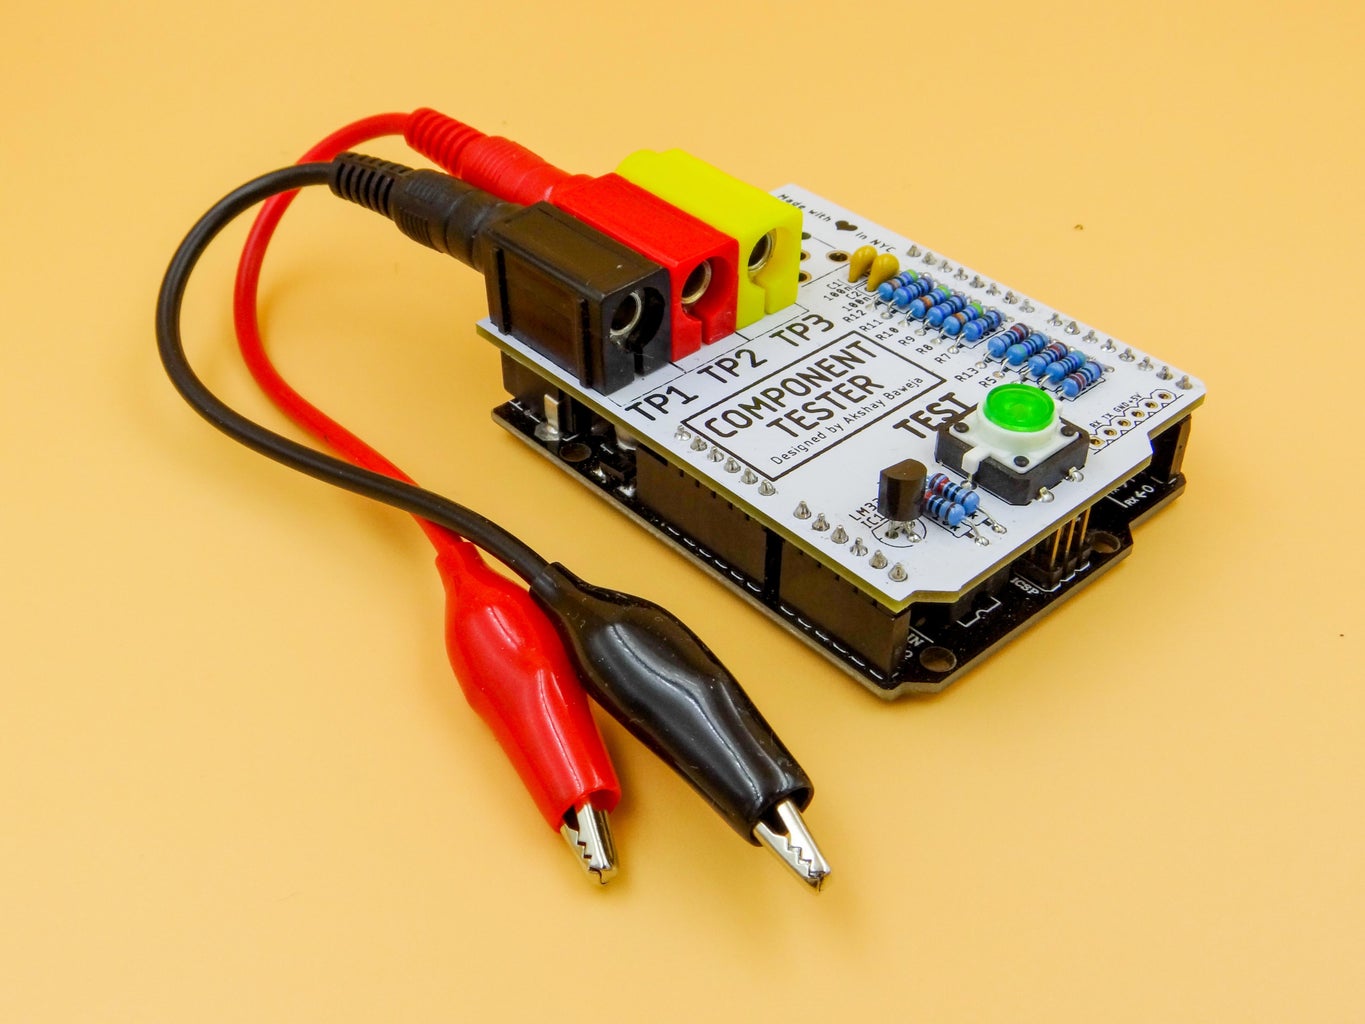
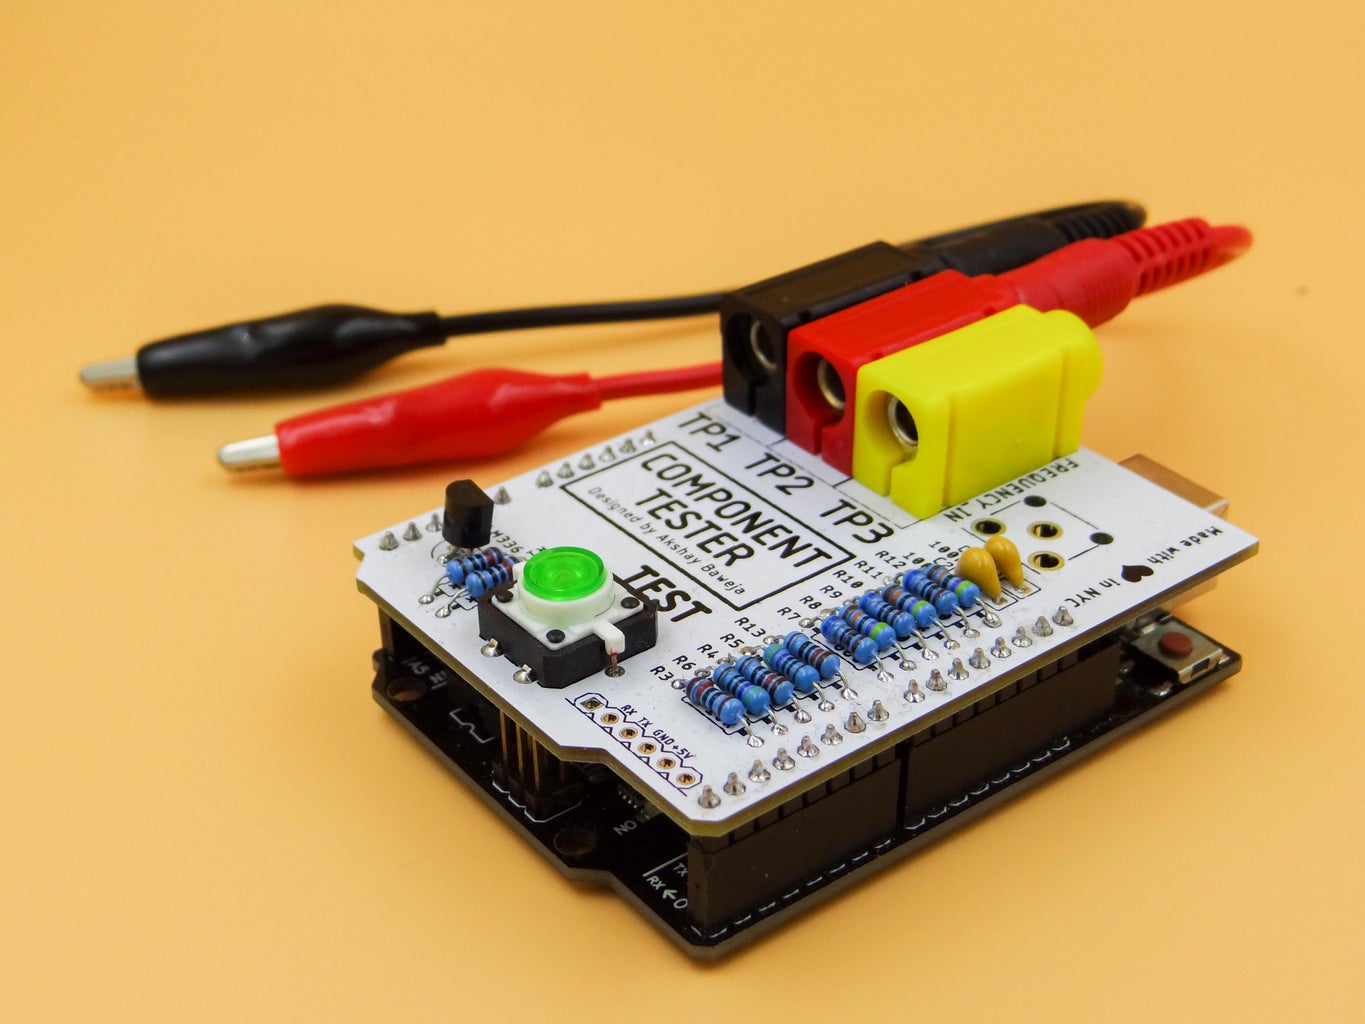
To begin with soldering I started out by soldering the resistors and capacitors first followed by the button and transistor. Followed by the 4mm banana jack binding post and male headers. Following the above mini-steps while soldering will make it easier for a neat looking board without lose or hanging components.
Step 3: Uploading the Firmware
Follow the instructions in the video to upload the firmware. The code is available at Project's GitHub repository.
Commands -
make all
make flash
Step 4: Testing 3️⃣...2️⃣...1️⃣...!!
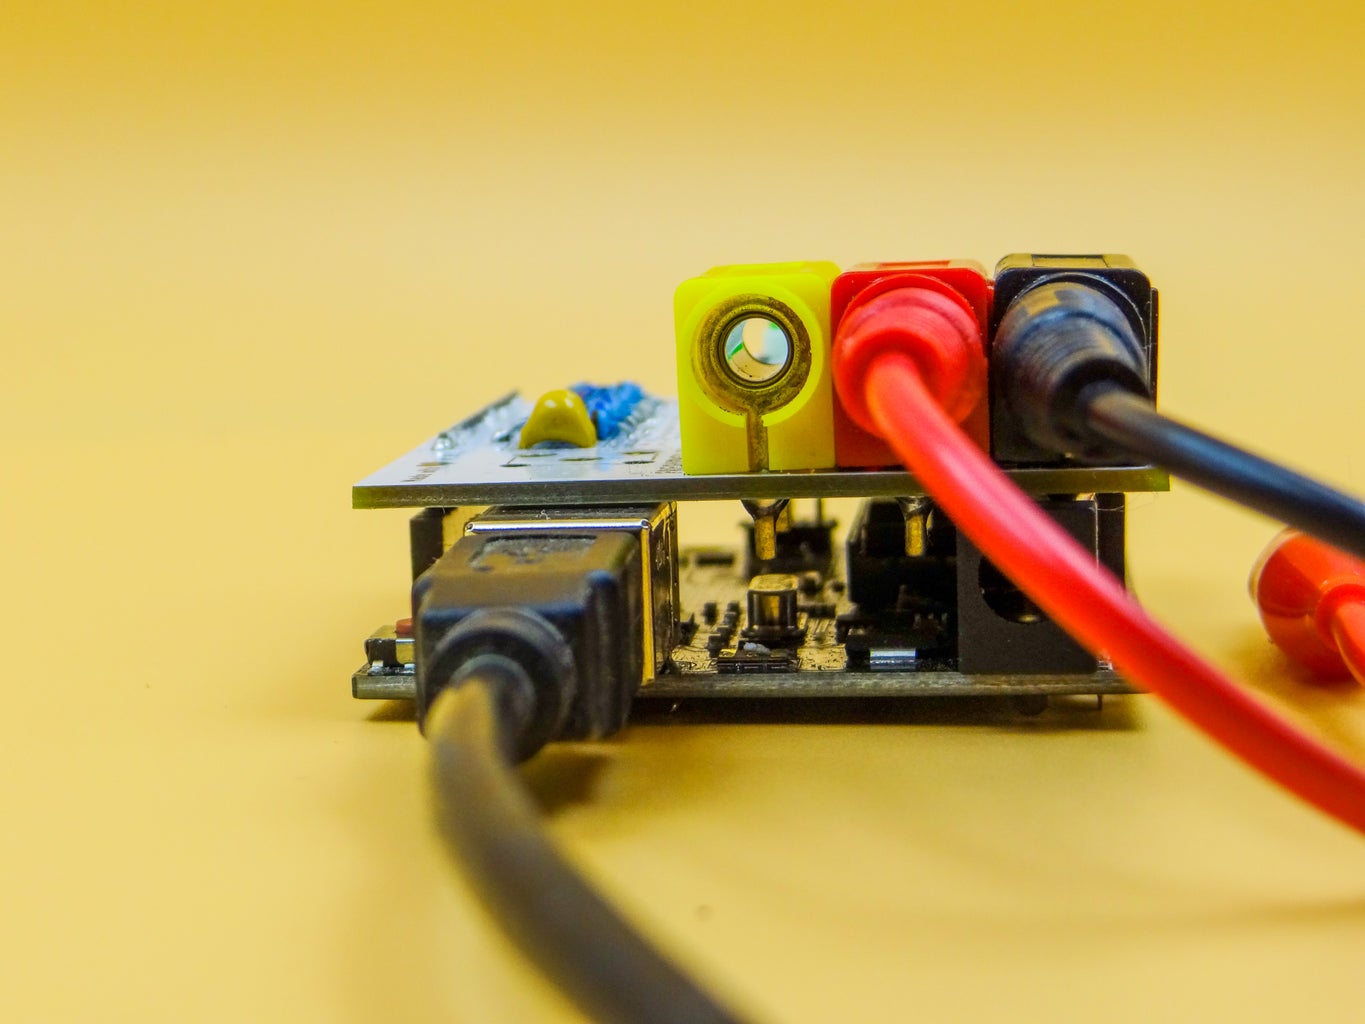
- Hook up any component of your choice to the test leads.
- Connect UNO to PC
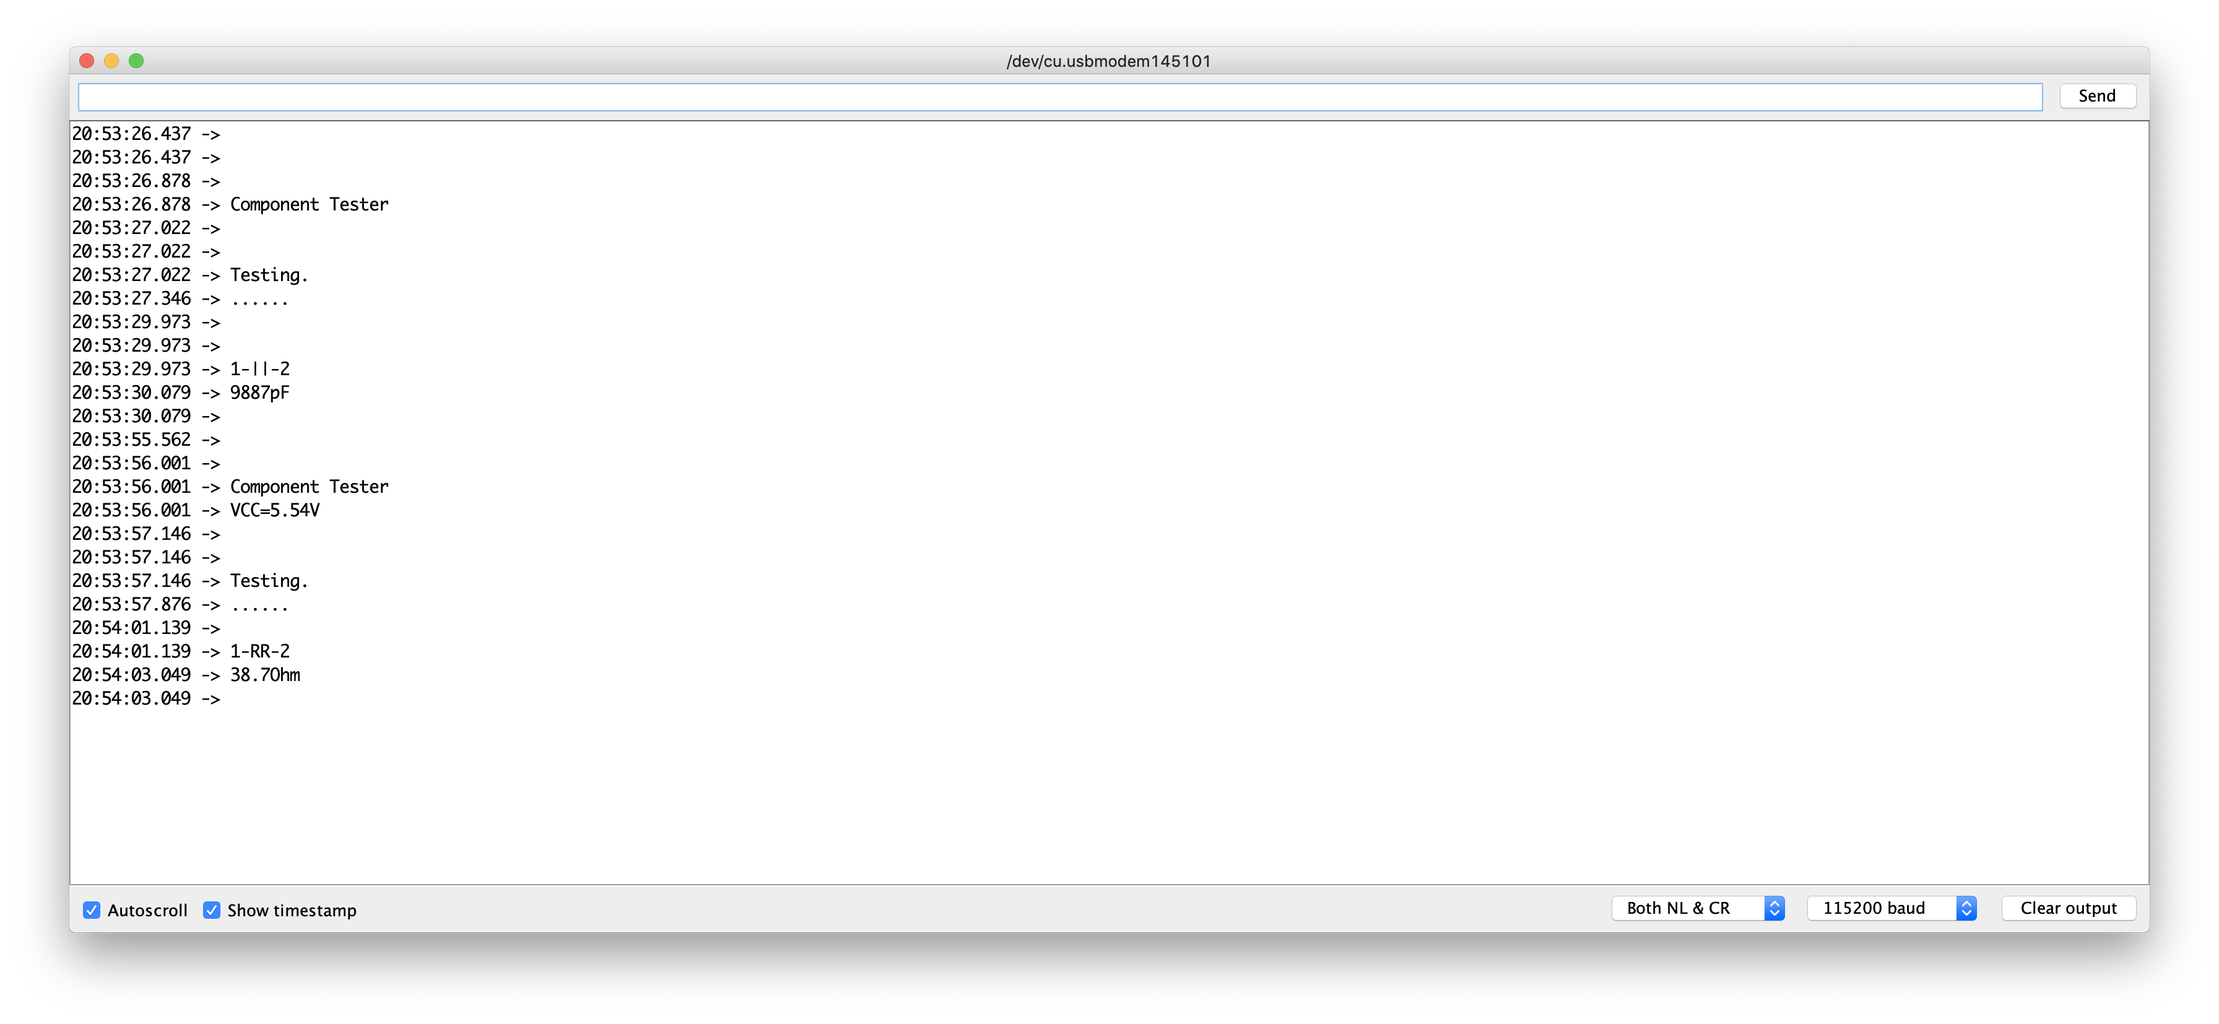
- Open Serial Monitor in Arduino IDE
- Baud Rate - 115200 bauds
- Press the TEST button on the board
You'll see the test results popping up on your Serial Monitor :)
Step 5: Tadaaaaaa You Made It 🥳


Wooohoooooo!!
You've made your own DIY Arduino UNO compatible Component Tester 🎉🎉🎉
NOTE:
This is still a work in progress... The future update will support voltage measuring, frequency counter, and frequency generator.
Stay Tuned for future updates 🤠

Participated in the
Remix Contest


