

Introduction: DIY Makeup Stencils


I'm not a makeup artist, but I go to a lot of costume parties and I love doing elaborate makeup on myself. Customizing your own makeup stencils opens up a whole new world of amazing looks. Stencils can make it easy to create patterns like scales or stripes, achieve small details, create perfect geometric shapes and a myriad of other fun effects. With these stencils and the right makeup, you can create elaborate all over face and body decorations without needing an airbrush (though using these stencils with an airbrush would be fantastic too).
If you have access to a laser cutter, the possibilities for stencil designs are endless, but you can create some really wonderful designs by hand as well, so don't let lack of technology stop you from transforming yourself into a magical creature for your next festival, con or costume party.
Stencils modeled by: Levity
Step 1: What You Need


To Make the Stencils:
- Acetate or a similar clear plastic film about .005" thick - acetate is a good choice if you are using a laser cutter because it can be safely cut without releasing harmful gases. Always check that your material is safe to laser cut.
- Inspiration for your stencil designs
- A computer with a vector design program (if you are laser cutting or just like designing digitally)
- A laser cutter or a small sharp exacto knife - if you don't have access to a laser cutter you can always send your files to a laser cutting service like Ponoko, or go find a maker space in your area and learn to use a laser cutter, you'll meet a lot of great people.
- Masking tape and a scrap piece of plywood or cardboard (if using a laser cutter)
- Paper and a pencil
- An exacto knife, a rotary hole punch and a cutting mat (if cutting by hand)
- A photo of your face or a simple scale drawing of a face to help size your stencils
To Do Your Makeup:
- A base foundation and powder to match your skin (this is optional but will help your stencils show up better)
- Loose powdered shadow in the colors of your choice - I tested my stencils with a few types of makeup and face-paint and found that loose powder type colors like Kryolan Body Makeup Powder were the most effective. Water activated paints like Kryolan Aquacolor can work as well and are great for creating base colors, but they are a bit harder to apply to the stencils and tend to bleed if too watery.
- Powder, blush and eyeshadow sized makeup brushes
- Makeup sponges
- Baby wipes
- Water
- Makeup setting spray to help your designs stay on longer
- A friend - while you can certainly apply these stencil designs yourself, it is definitely easier if you have help, so find a friend who wants to play with your face!
Step 2: Make a Face Croquis

A croquis is a template used as a base for designing anything that goes on the body, makeup artists call them face charts. You don't need one to design stencils, but I found it useful to plan my looks and figure out the right sizes, shapes and placement for my stencils. While I was at it, I thought I might as well create a croquis that looked like my own face.
To do this, all you need to do is find a good head-on photo of yourself and trace over it to create a simple template. I did this in Illustrator, but you could do it by hand with tracing paper. Most importantly, you need to make sure that your croquis face is about the same size as your own face. You can eyeball a measurement from your chin to the top of your head, or just make the croquis head about 9" tall, which a standard size for an adult human head.
Step 3: Design the Stencils


To come up with my stencil designs I looked for a lot of inspiration online. I tried not to take my designs straight form clip art, but there are a lot of great sources for vectors online if you want to use pre existing patterns.
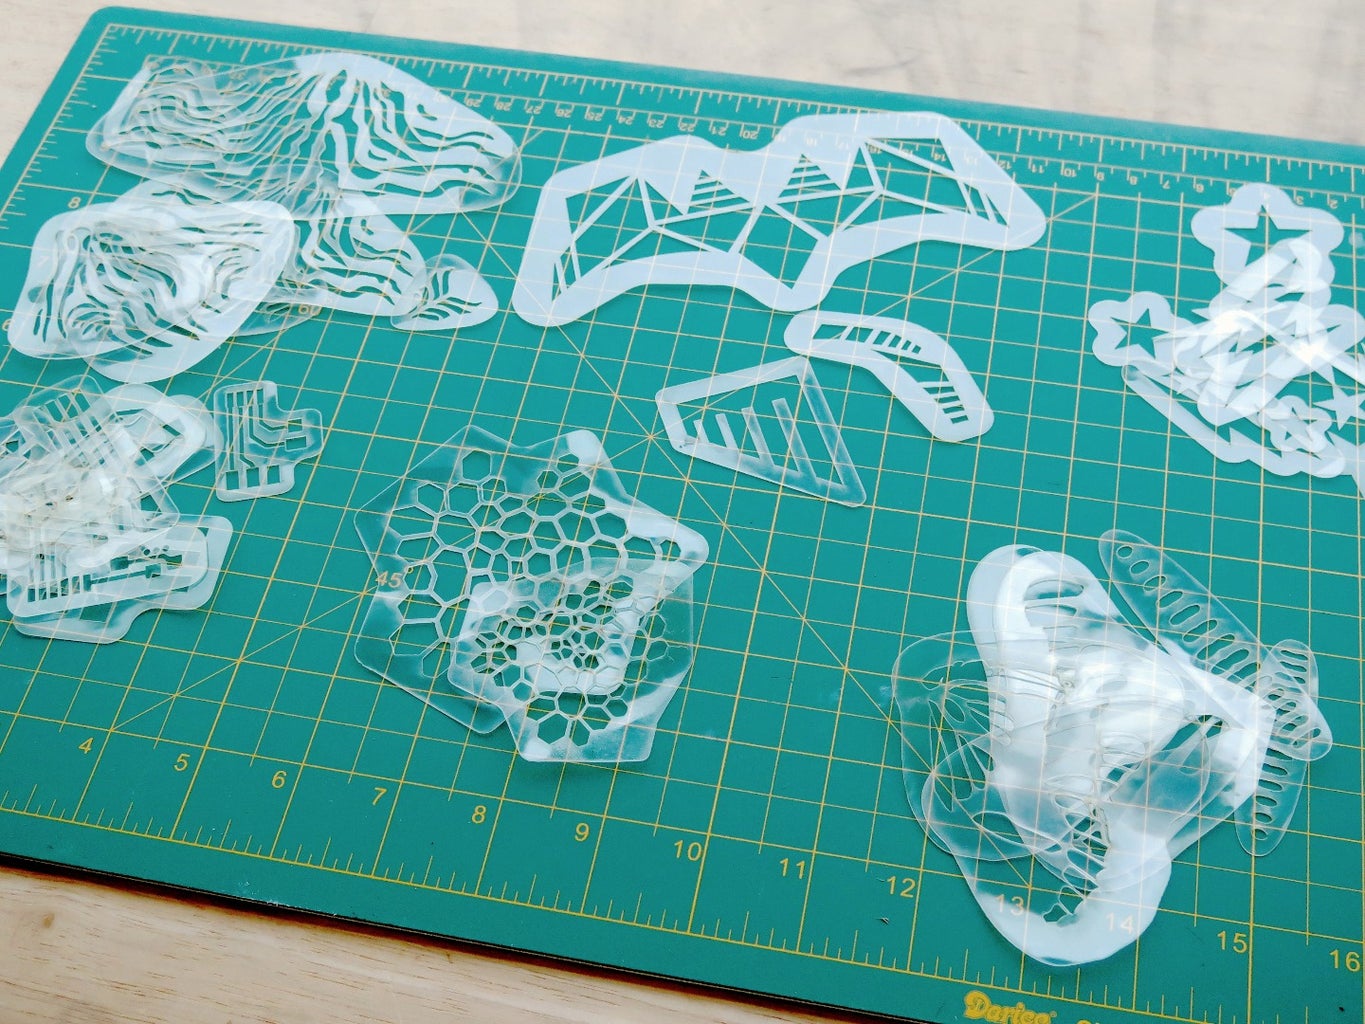
Once I had my inspiration, I worked in Illustrator, and on paper to create patterns that would look good as stencil designs. I played with resizing them and moving them around on my face template. I kept in mind that I needed to make the designs slightly wider than it seemed like they should be in order to accommodate the curve of the face. After creating larger designs, I broke them down into smaller elements and made separate stencils out of these. This would allow me to assemble designs in different configurations when I was working on the actual face.
I made sure none of my designs had "islands" or unconnected design elements that would fall out once the designs were cut. I also tried not to have long cuts, or pieces with loose ends within the designs. Smaller isolated open areas will stay more flush against the face and help prevent the makeup from bleeding when it is applied, so I used the eraser tool to strategically divide up some of my larger shapes. Very tiny details will usually be lost, so I didn't design anything to small.
To make the designs into stencils I drew a line about 3/8"-1/2" around the outside of each, and set all the line weights to .001 in Illustrator.
If you are planning to cut your stencils out by hand, you will need to simplify your designs. Straight lines and geometric shapes are easier to cut by hand than curves, but dots and some small curves can be easily cut out with a hole punch. The level of detail you want to attempt is really based on your own dexterity with an exacto knife.
Attachments

Step 4: Cut the Stencils


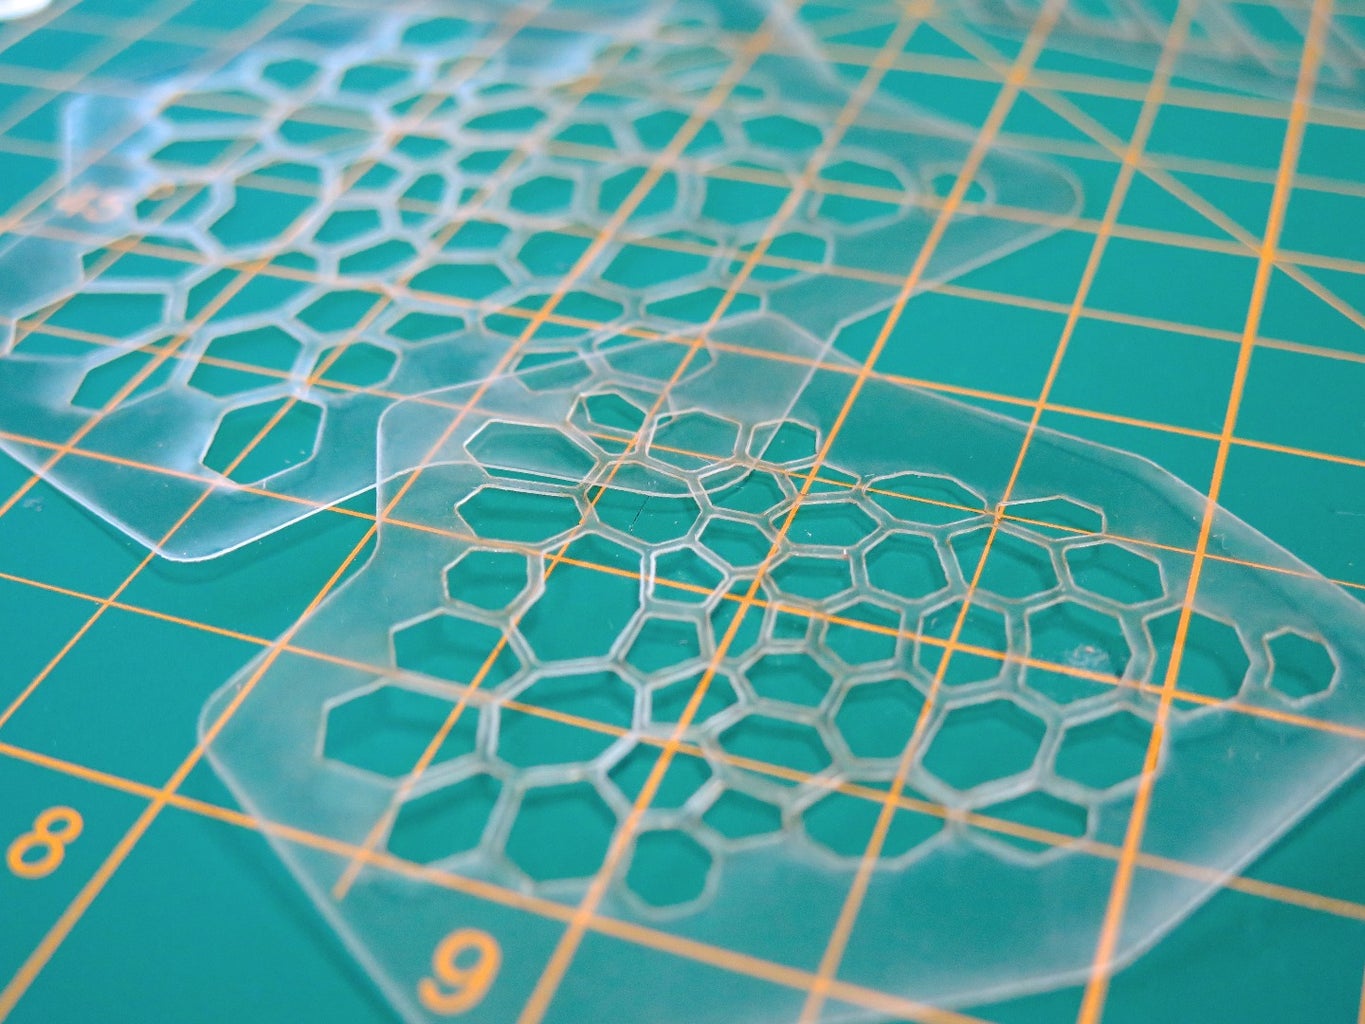

I cut most of my stencils out using a 120 Epilog laser cutter. Before putting my acetate into the laser, I taped the edges down to a piece of thin scrap plywood to keep it flat and in place.
I used these vector settings on my laser cutter, but laser settings can vary wildly, so always test first:
Speed: 90
Power: 7
Frequency: 600
I tried cutting some of my simpler stencils out by hand and found it worked pretty well. I printed my designs right onto acetate first and then used an exacto on a cutting mat to cut them out. On some of the smaller curved corners it helped to punch holes before cutting.
Step 5: Put Your Face On


Before applying the stencils, I recommend starting with a base of foundation and powder. This will help the colors show up more intensely and will also give the stencils a tendency stick to your skin a bit, which with make the designs come out cleaner. You can even try using an eyeshadow specific base in areas where you know you will be applying the stencils.
After the foundation, add any other base colors you want as part of your complete look. It can look nice, and help your designs stand out better to have a contrasting color under your stencils. I mostly used Kryolan Aquacolors for this and applied them with damp makeup sponges.
Step 6: Stencil


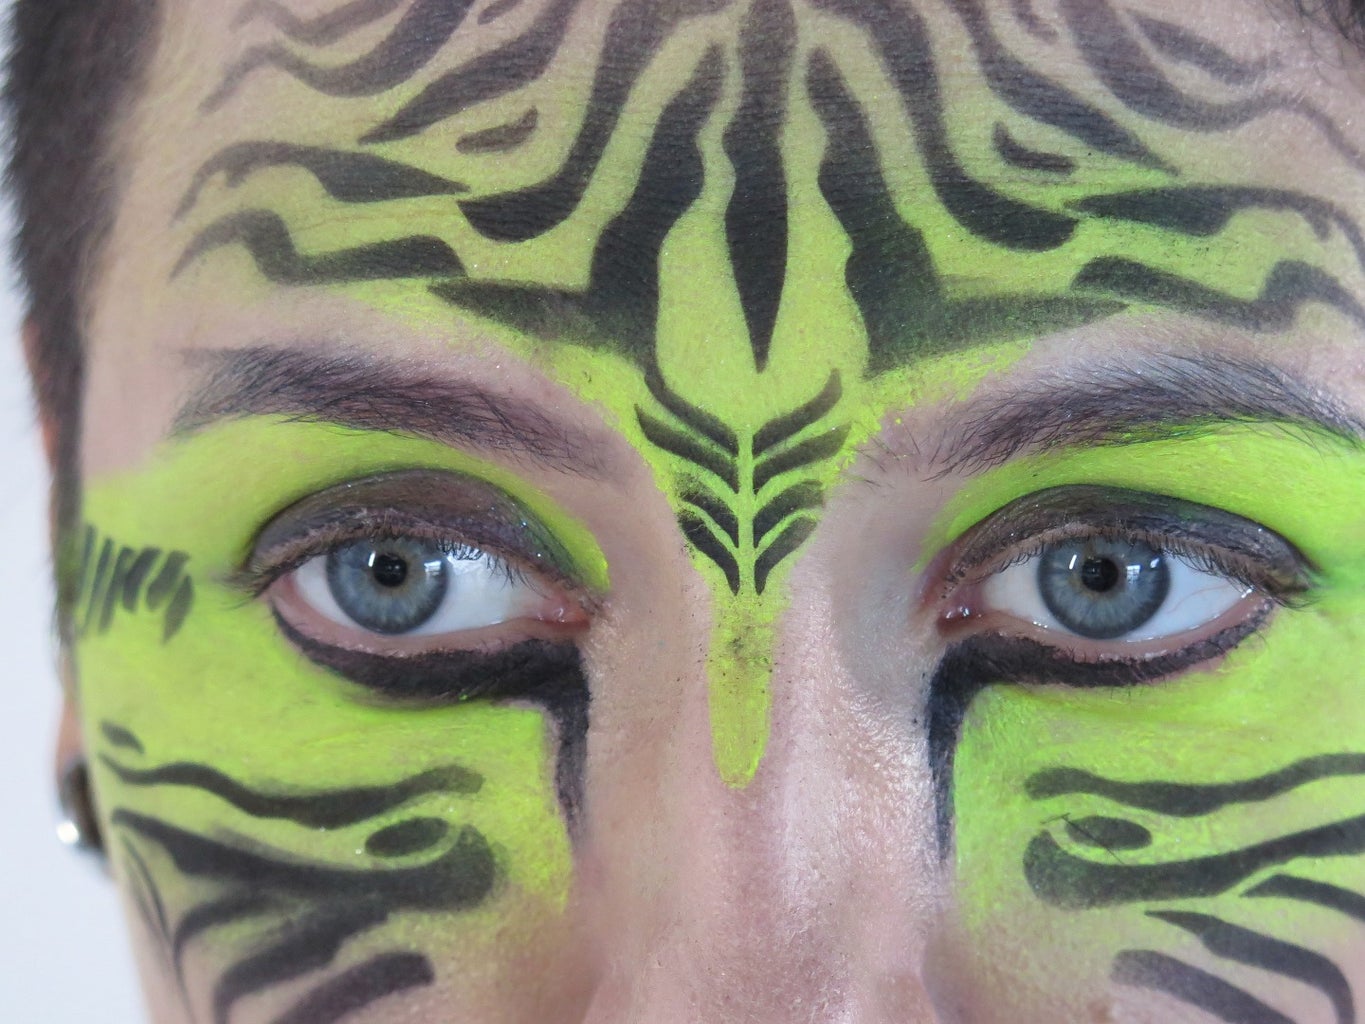


Once you have all your base colors applied, it's time to add your stencil designs. You can certainly do this yourself, but it will be easier if you let a friend to it for you. My friend Levity was kind enough to let me use her beautiful face as a canvas to try my designs.
To apply the designs, hold the stencil down against the face and use an appropriately sized brush to pat powder down over the cut-outs. Make sure you tap excess powder off the brush first, and use an up and down stippling motion, not a side to side sweeping motion, to apply the color. If you are using a water activated paint, make sure it is not too wet, and dab it onto the stencil with a sponge.
It is a bit tricky to get the stencils perfect, and a little practice helps. But when you get it right, the results are really beautiful and fast.
You can create nice fading effects by lightening the application of the powder towards the edges, and even blend several colors within one stencil. You could also strategically layer stencils on top of each-other to create multi colored designs like the plates of a screen print.
There are so many possibilities with this technique, and I'm really excited to keep experimenting with more designs. I think using this technique will really take playing dress-up to a whole new level.

Participated in the
Summer Fun Contest


