

Introduction: DIY Songbook


MATERIALS:
- A Toilet paper roll
- Paper sheets
- A Card
- A different kind of paper to decorate the covers (wrapping paper, wallpaper,...)
- Glue
- Thread and a needle
- A Ribbon (optional)
TOOLS:
- Ruler
- Needle
Step 1:

Take a toilet paper roll. With a cutter or a pair of scissors cut the longest side once. Open the roll and leave it under a heavy book or something quite heavy so it flattens out.
Step 2:


To make the pages you need some paper sheets and a ruler. Measure the flattened paper roll to determine the size of the notebook pages.
Then draw the pages on the paper sheets according to previous measurements. Make sure you draw them in pairs, next to each other (you will need to fold them later).
FYI, mine measured 7.4x8 cm.
Step 3:


Cut the rectangles in pairs. Fold them and turn them into a booklet (see pictures).
Step 4:


Place your booklet on top of the notebook covers (the paper roll) and hold them together with clothespins or something similar.
Now sew the pages onto the roll tube.
To do so, take a ruler and mark some spots on the notebook spine (evenly spaced). Then take a gimlet or something pointy to make a hole on each of these spots.
Step 5:


Take a needle and some thread (felt thread works great) and sew the pages using the holes you made in the previous step.
Step 6:

If the resulting pages are too big compared to the covers (which is quite likely), cut the extra millimetres out.
Step 7:


I used wallpaper to make the outer covers. I loved the feel so I thought It would be perfect for this. I cut it in the outer covers (same size as the inner covers made out of paper roll), I painted them with glass paint and I varnished them with spray varnish; but you can apply any paint or varnish that you wish.
Step 8:


Once the covers are dry, glue them onto the paper roll covers.
If you want to add a ribbon as bookmark now is the moment to do so. Place the ribbon around the notebook and then glue the covers (see pictures).
Step 9:


And now is when you can let your imagination soar. I use the notebooks for very different purposes but I decided to dedicate the first one to Black Sabbath as a few days before I bought Black Sabbath concert tickets. I thought it would be great to spend the flight to the concert location by listening to the set list while reading and learning the lyrics! So I turned the notebook into a songbook.
Naturally, this is only an idea, but I'll show you here the process and the results.
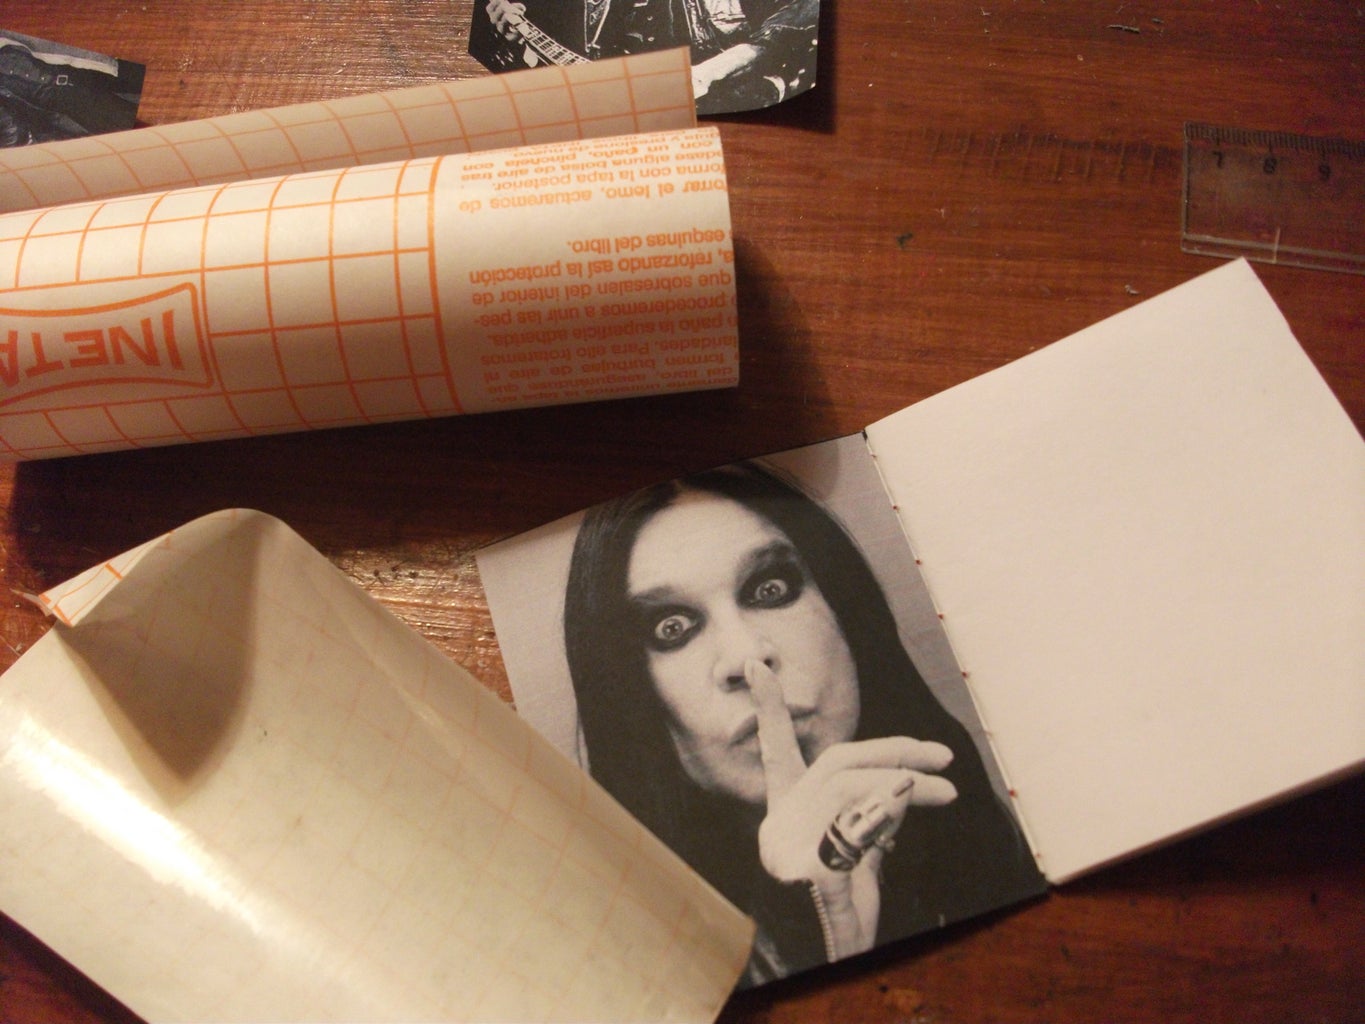
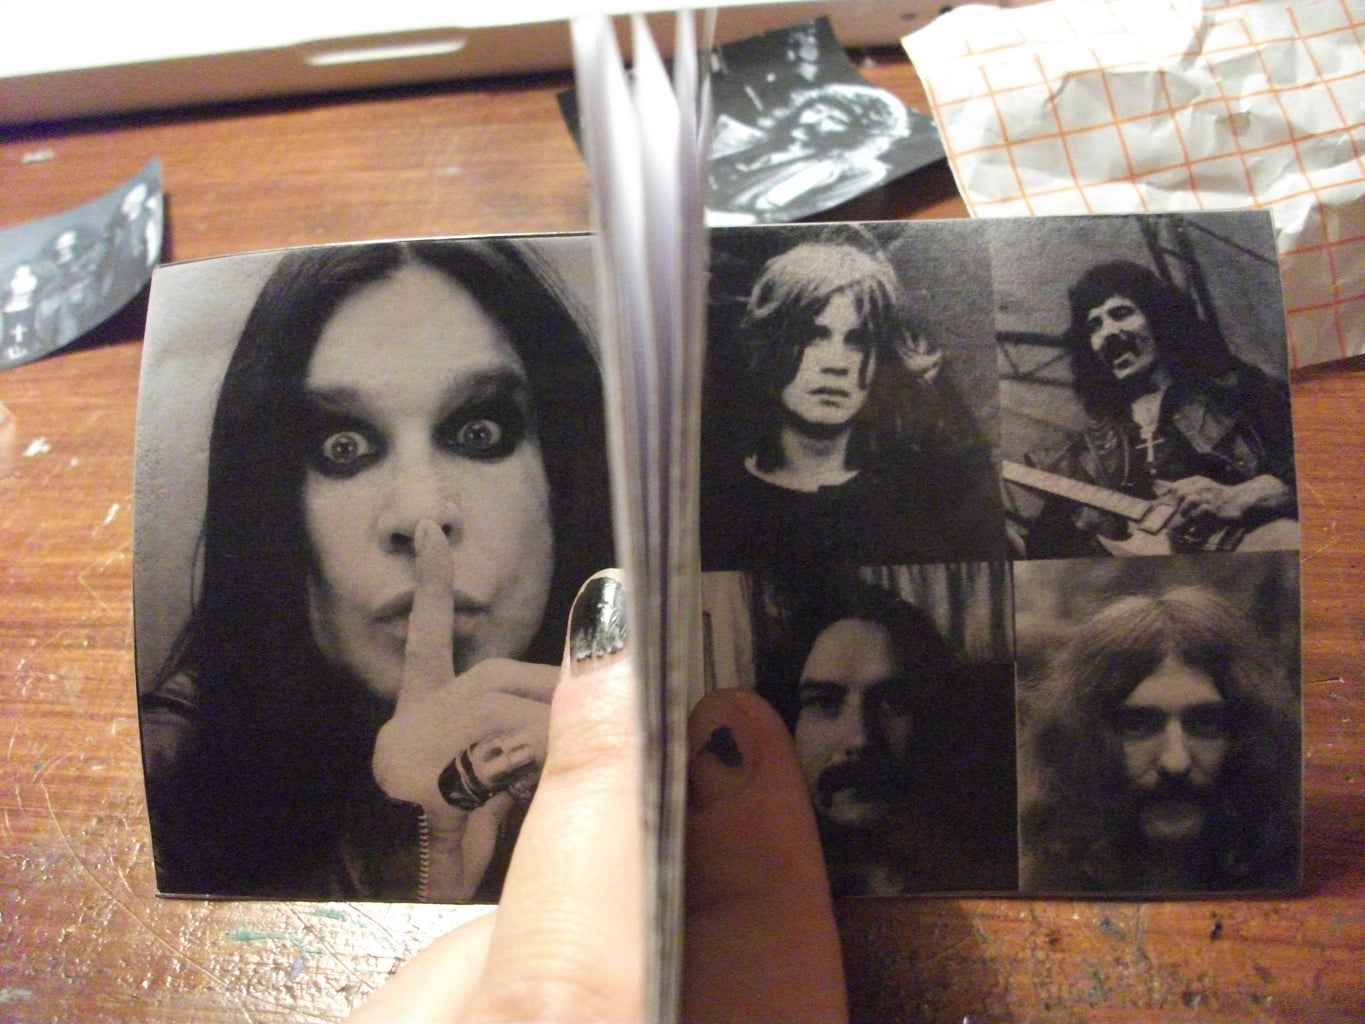
First, I printed some Black Sabbath pictures. I also prepared the lyrics with a word processor and printed them. To hide the inner, uglier side of the covers (where there is no wallpaper) I glued some pictures which I covered with sticky back paper.
Step 10:


Then I cut the lyrics, I burned the outline to give it a nice, vintage look and I glued them onto the pages.
Step 11:


Then I decorated everything using different techniques and materials (see pictures).
And lo, here it is!
Ready to learn the lyrics so I can sing them loud in concert!

Participated in the
Paper Contest


