

Introduction: DIY Very Cheap Arduino 4-pin Connector


In this instructables, we are going to make our own 4-pin cheap Arduino connector.
I was searching for female connectors in my area, but there are'nt any so I decided to build my own. There are pre-mades but its very expensive so I looked into my electronic parts sockets and when I measured the 8-pin socket it is perfect! So I decided to build my own. Enjoy!
Step 1: Prepare the Things We Need:

We will need:
Pliers or Wire Stripper
4 Solid or Stranded Wire (Desired Size and must be equal to all)
8-pin IC socket
Soldering Lead
4-pin Male Connector
Heatshrink Tube
Soldering Iron
Optional:
3rd Hand Helper
Step 2: Let's Start!


Let's prepare our 4 wires.
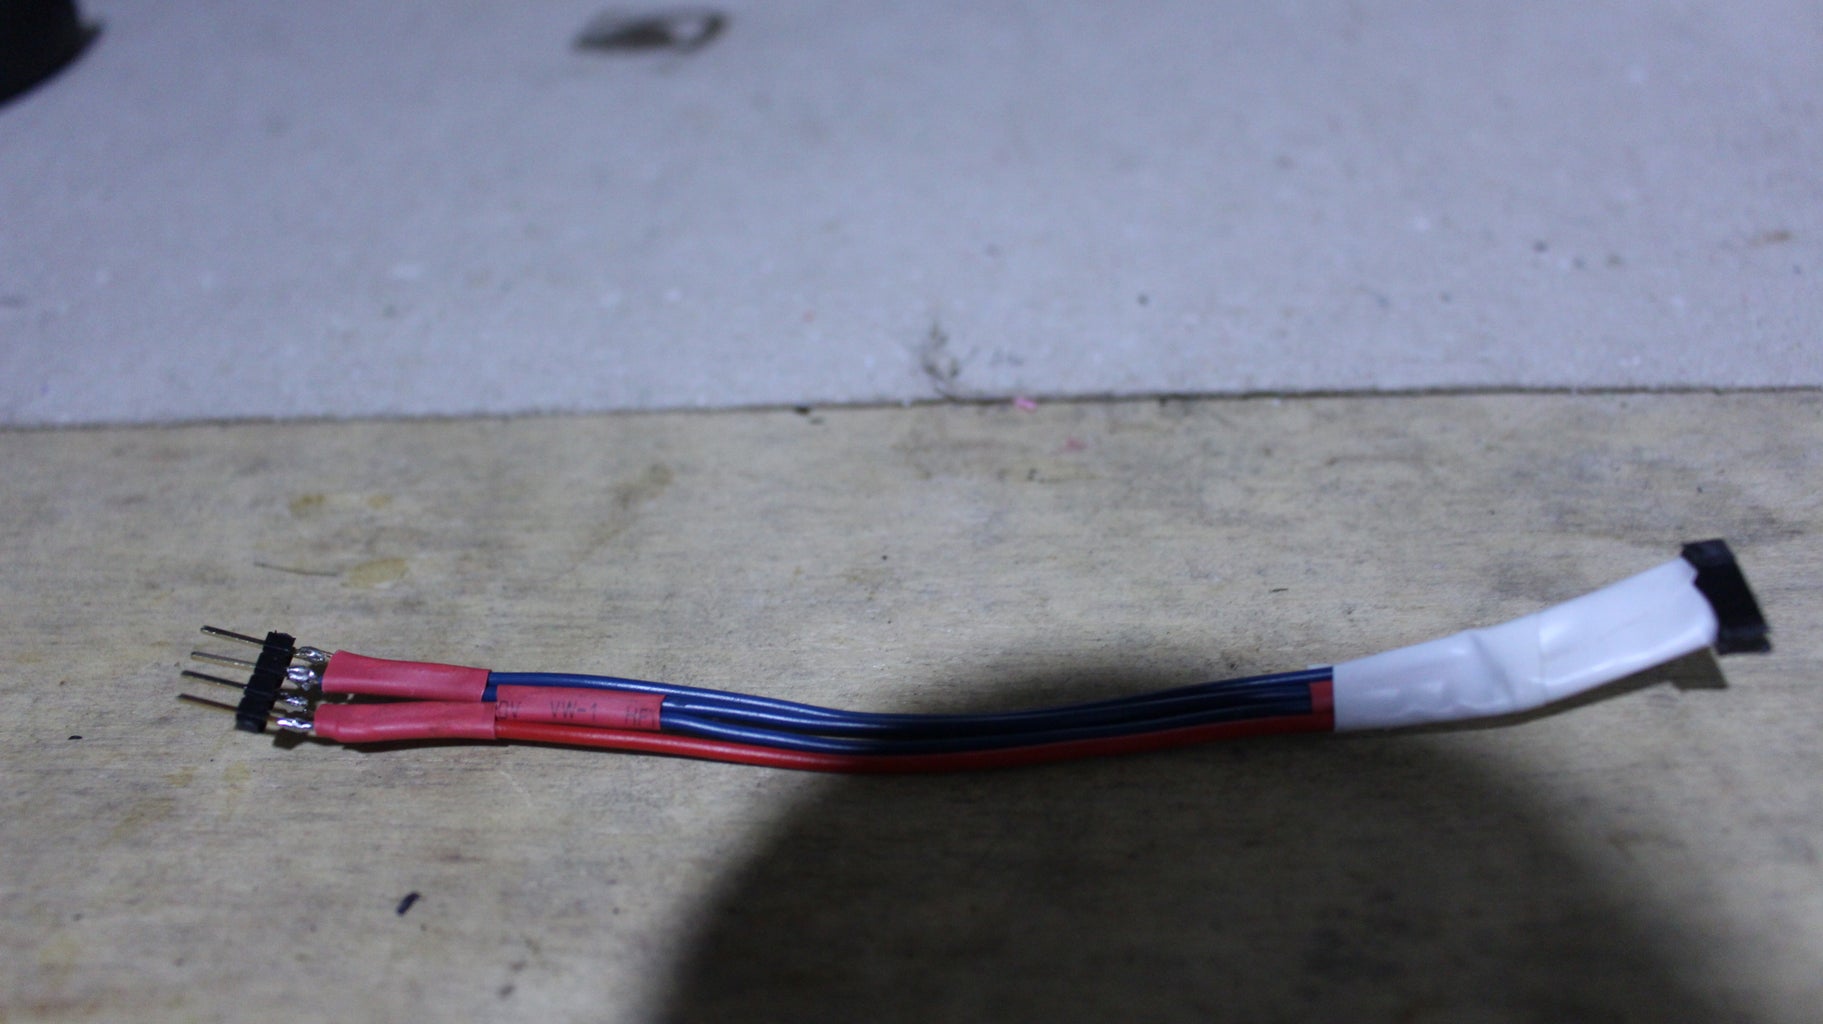
Grab your soldering iron and solder the wires to the 4-pin male connectors. Then insert about 3/4 inch Heatshrink Tubing to the 1st and 3rd wire. Apply heat to the tubes for it to shrink. This will avoid the wires from shorting.
Step 3: The Female Pins
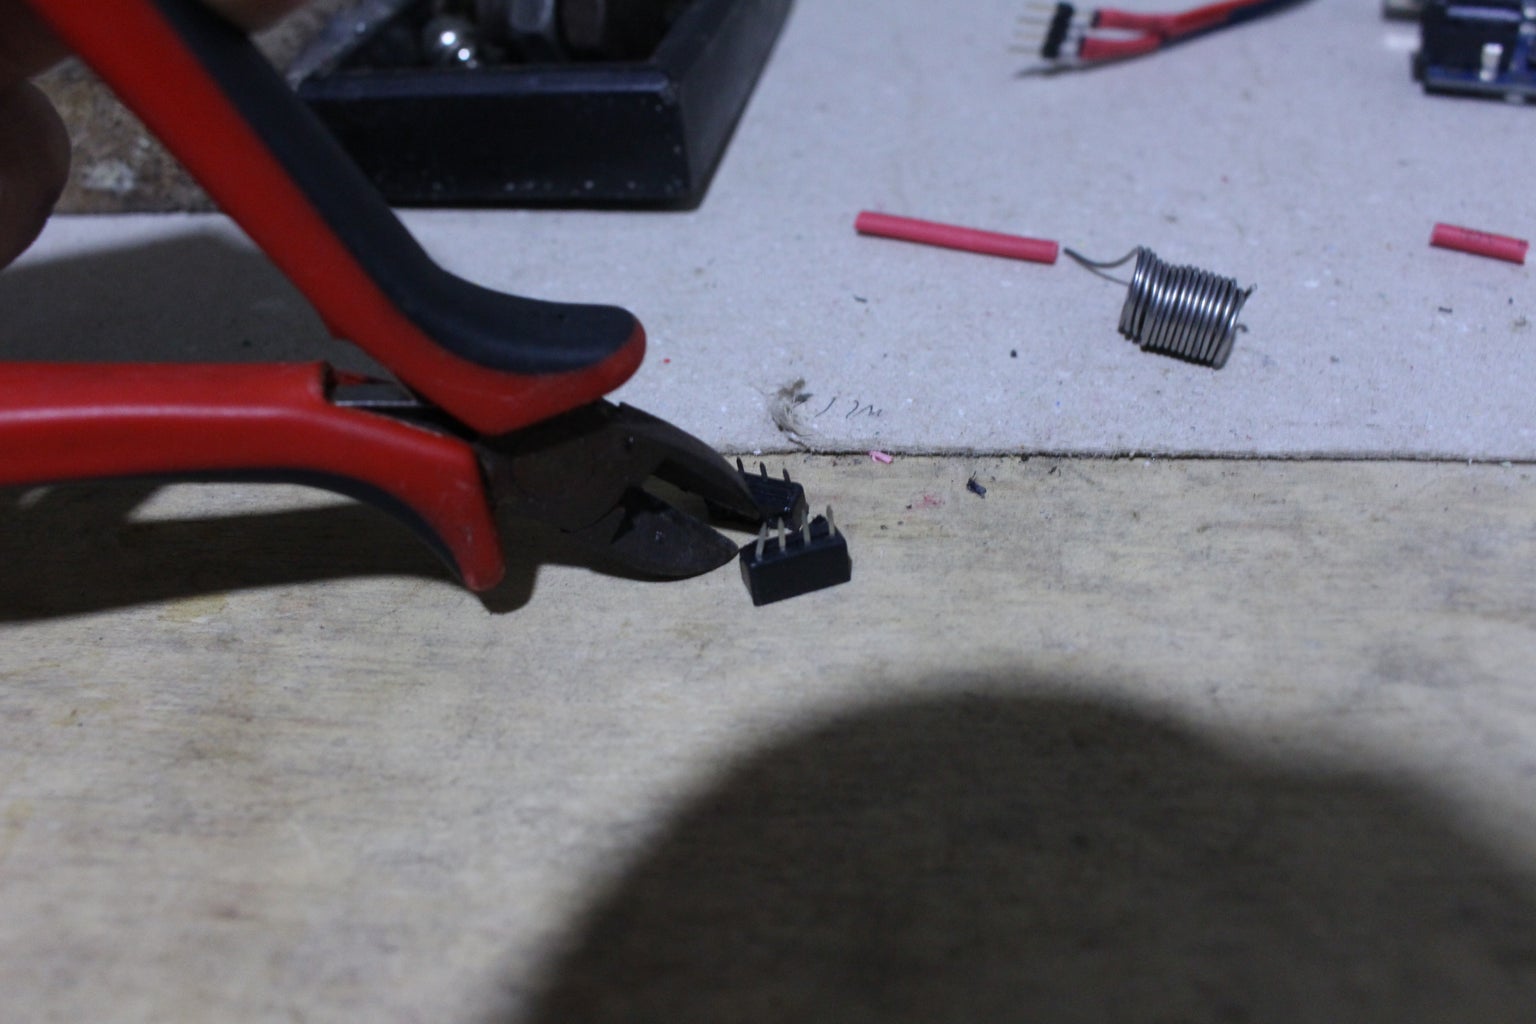


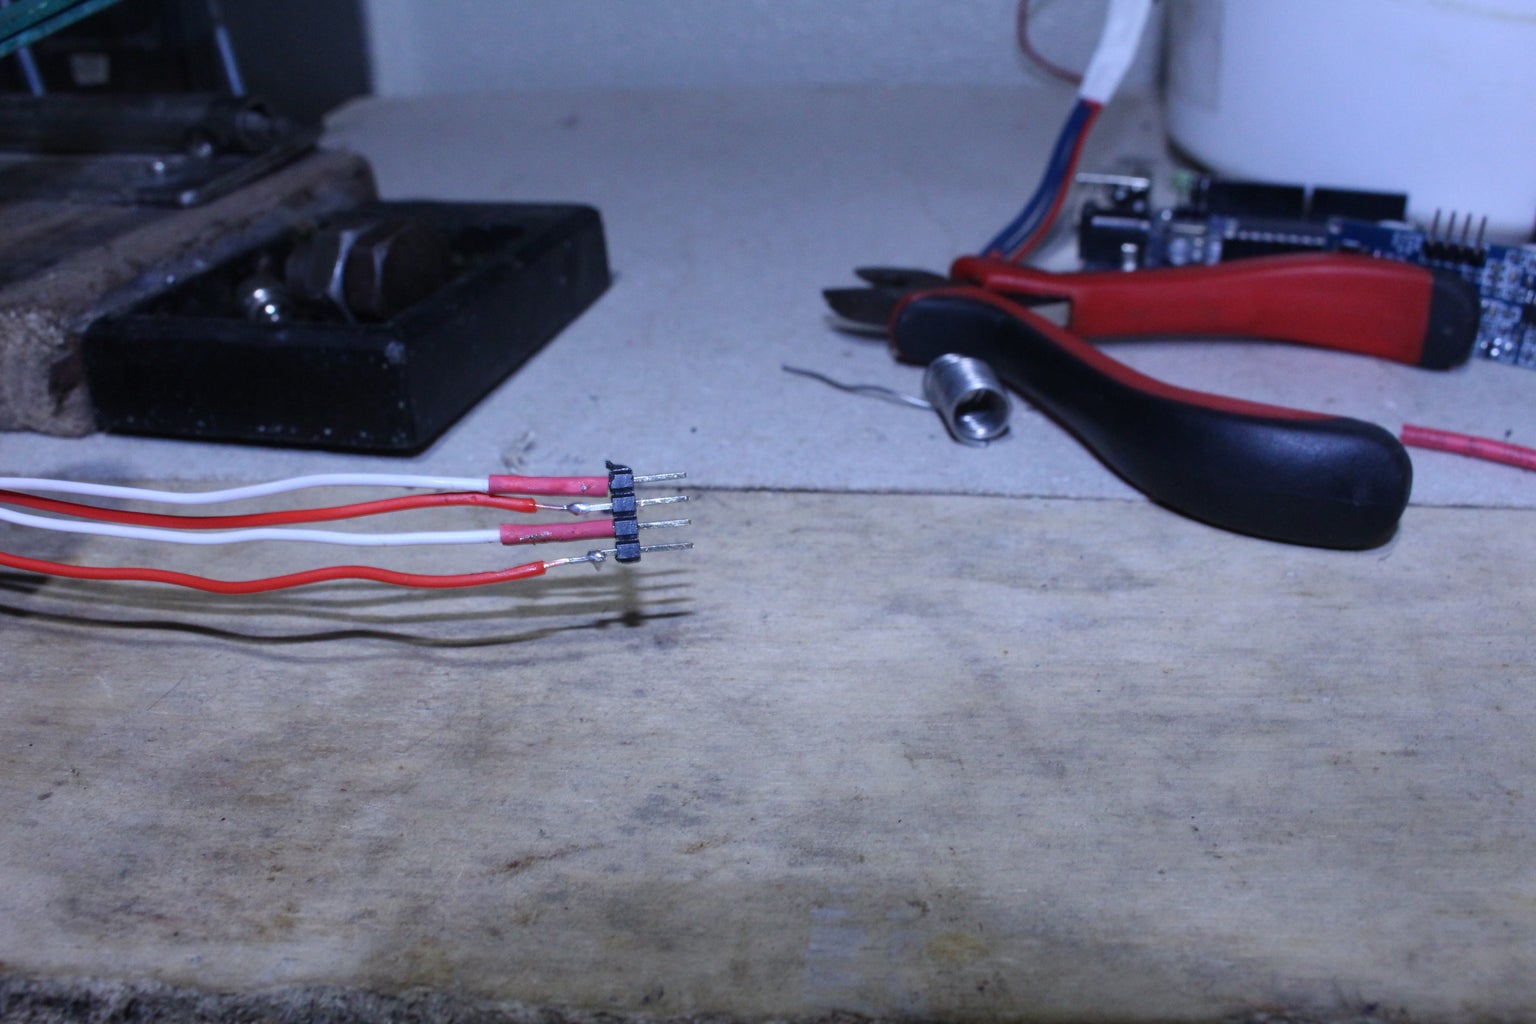
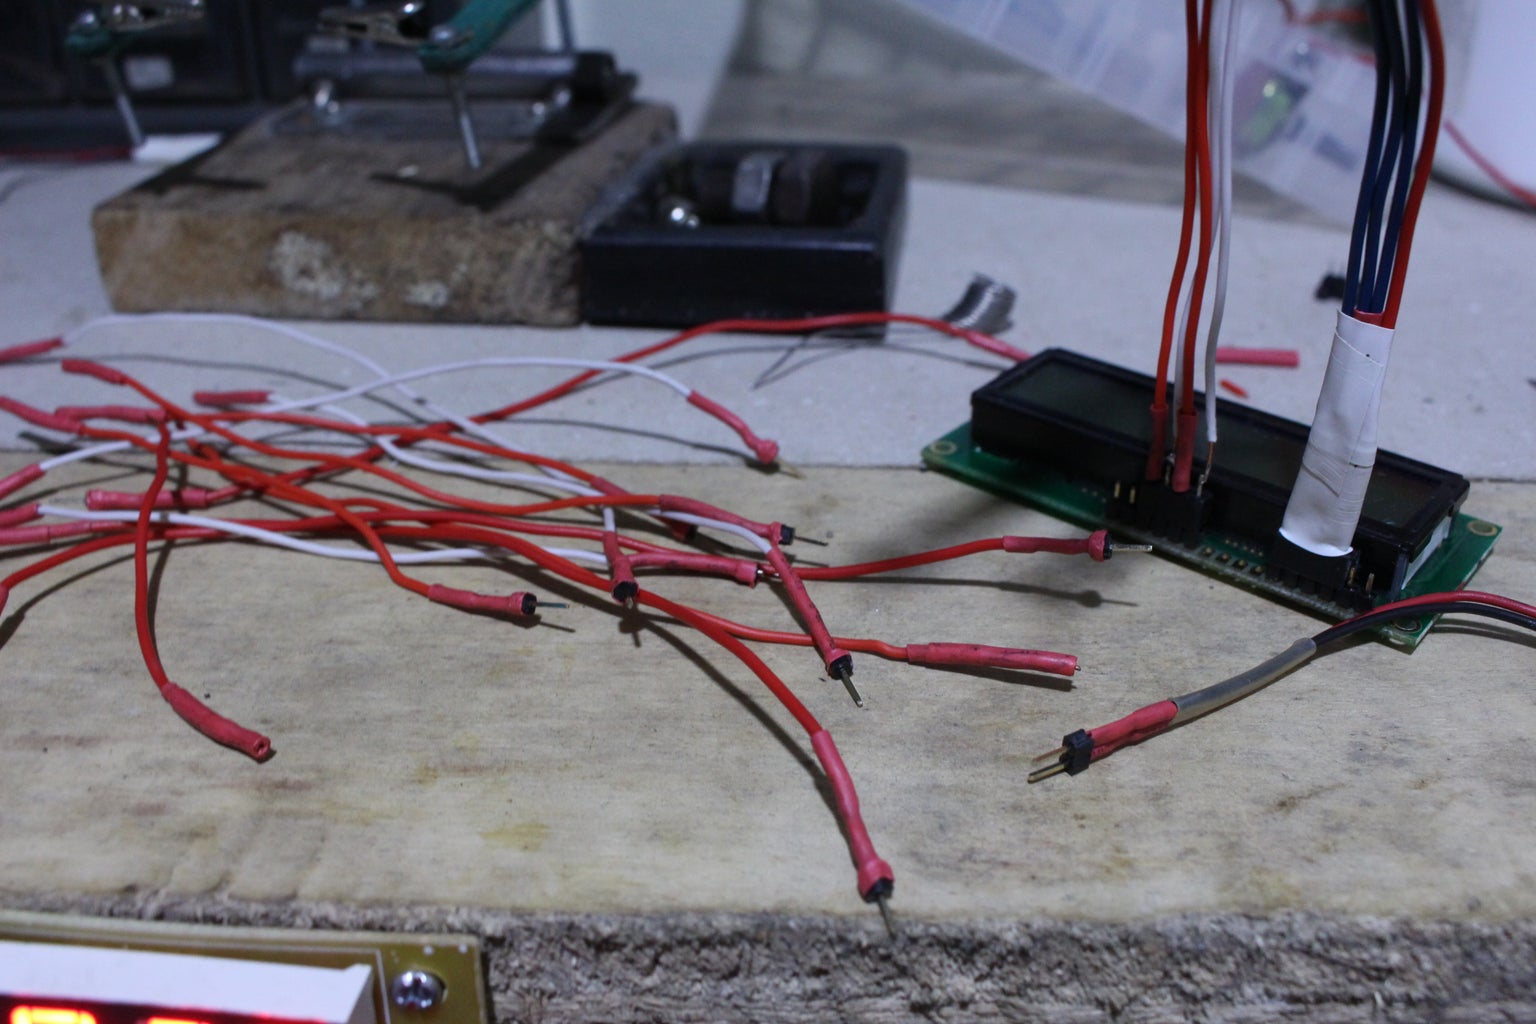
Grab your 8-pin IC-Socket and cut it into two. Cut the excess plastic in both sides. Insert first the Heatshrink Tubing before soldering the wires to the legs of the socket. Insert it in the 2nd and the 4th leg. Solder the wires to the socket legs. Now place the tubes in place or to the legs of the socket and apply heat to it.
Step 4: Done!


Cover the area where there are Heatshrink Tubes to make it stiffer and your Done!
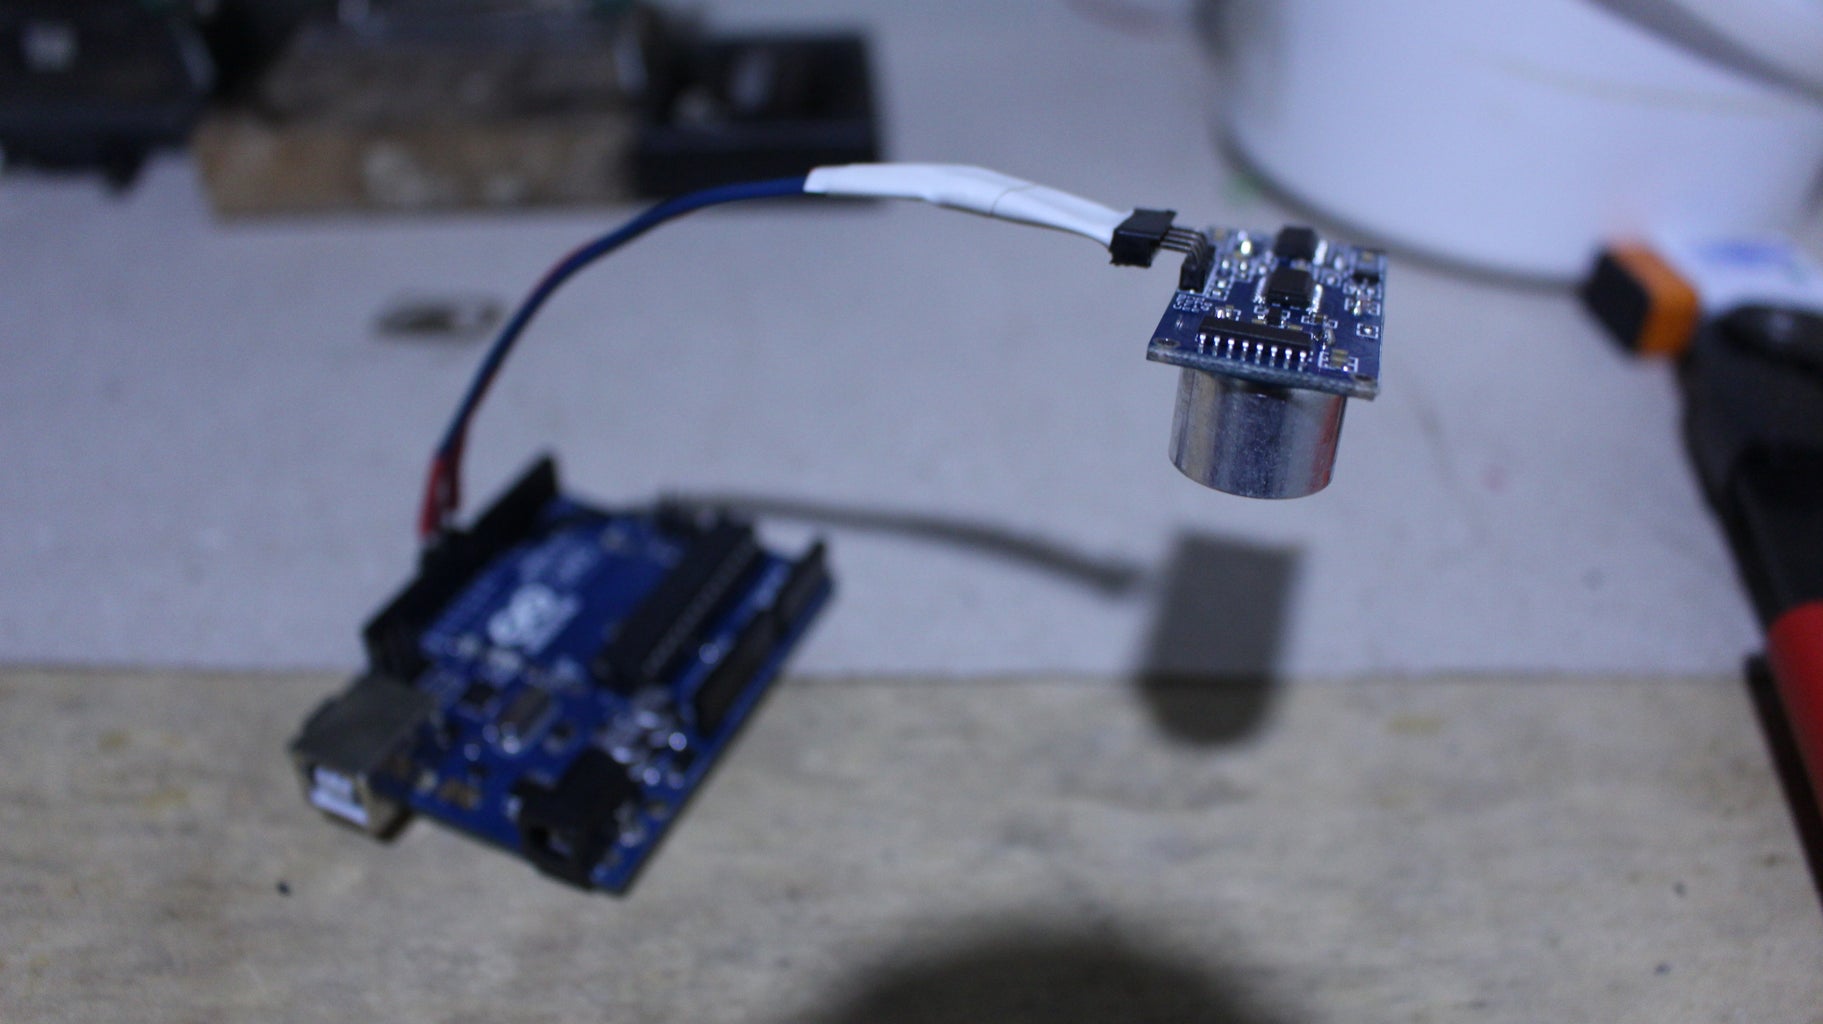
Look on how I use it.
Step 5: Upcoming Project...


INTRODUCING...
My DIY Arduino single wire connector!
Cheap as usual!
I will post it next month and it's so easy and cheap. Enjoy!
Thanks for reading!

Participated in the
Tools Contest


