

Introduction: DIY Circuit Board Creation


Ever wanted to lay out a simple circuit board but have no access to the tools or funding to use a propper fabrication service? well, I have a method that works on a very low budget.
This circuit will give new life to any old board. in this case, part of a monitor that has been sat in my garage for 8 years. Nearly everything is recyled, with the exception of the LED, Solder and glue.
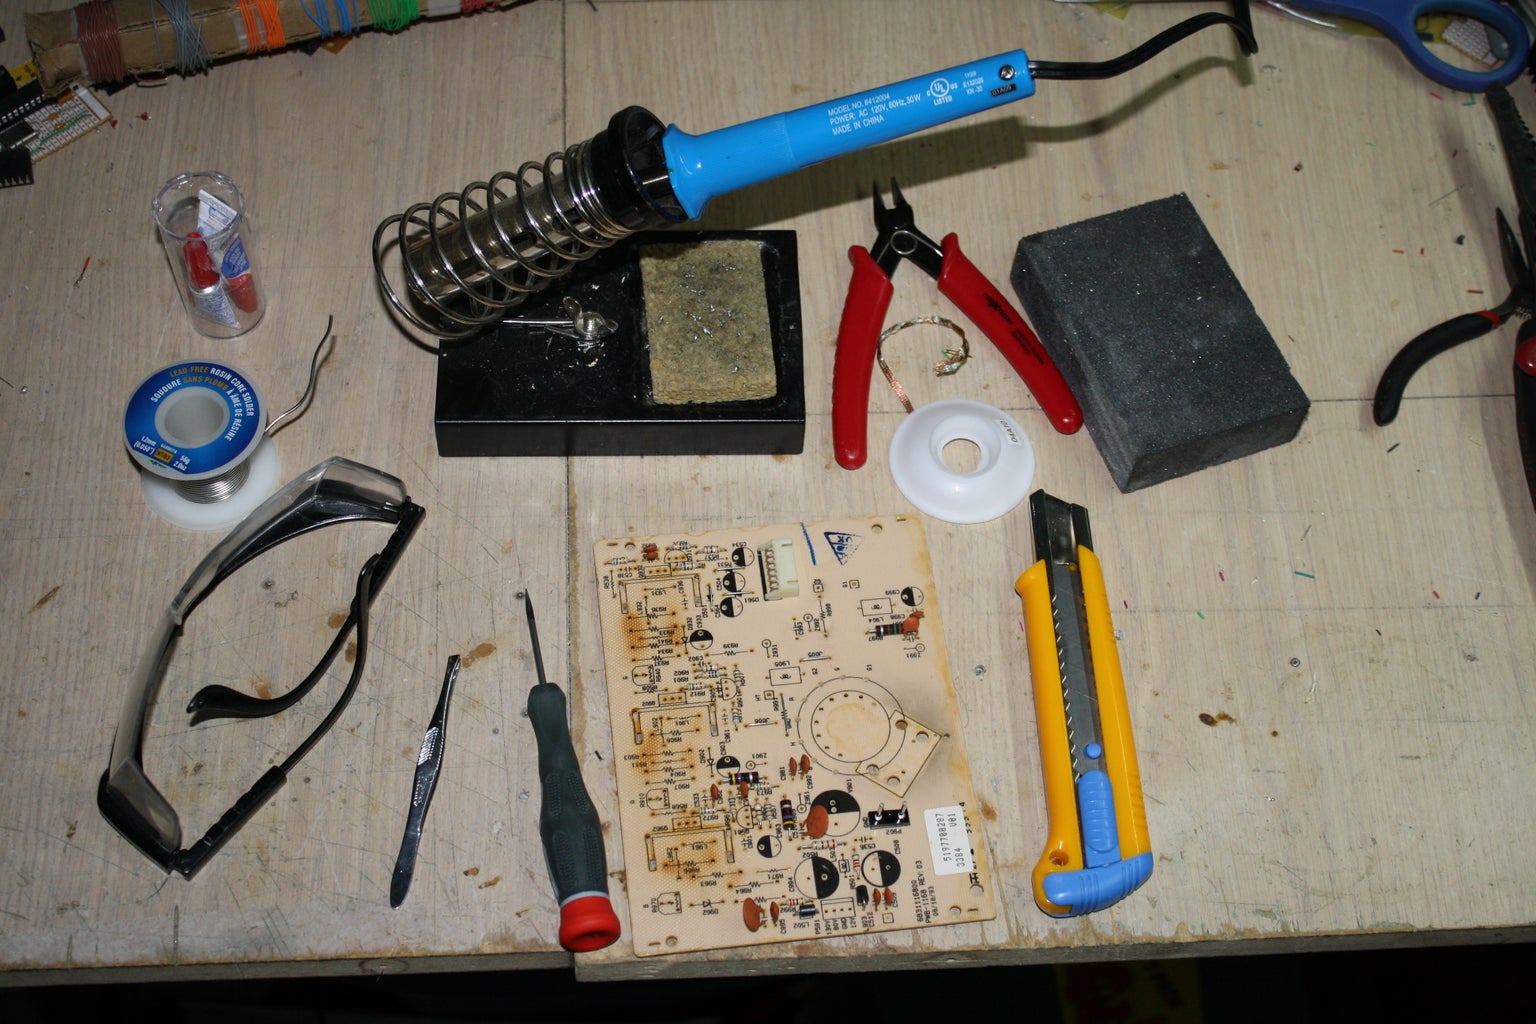
All tools (except soldering Iron, wick and sucker) were aquired from a dollar store.
Time taken: 30mins to several hours (depending on size of circuit)
Things you will need:
> An old circuit board (older the better, try get one with lots of long traces)
> A soldering Iron & Solder
> A pair of safety glasses (you never know you need them until you get solder in your eye!)
> Tweezers and/or pliars
> A sharp knife (xacto would be perfect but I settled for a dollar store box-cutter)
> Superglue (or crazy glue, anything that would make copper tracks stick to the board)
> Push-pin
> File and/or sanding block
> Solder sucker and/or solder-wick (I used both)
> A marker or pen for drawing on the board.
optional but recomended:
> Cup of tea
> Good sountrack to work with (I listened to Rammstein (Leibe is fur alle da) while doing this)
I started using this method about 18 years ago when I first got into electronics. As a 12 year-old you tend to not have much of a budget for PCB services or prototyping equipment. But what I did have was access to a lot of old equipment.
The board I selected for this instructable was from an old VGA monitor, so old it still had the old analogue adjustment dials (very useful bunch of 10K pots). The board is from the back of the CRT.
In this instructable I will show you have to prepare the board, remove the traces, recondition the board, add the traces and put together a simple flashlight.
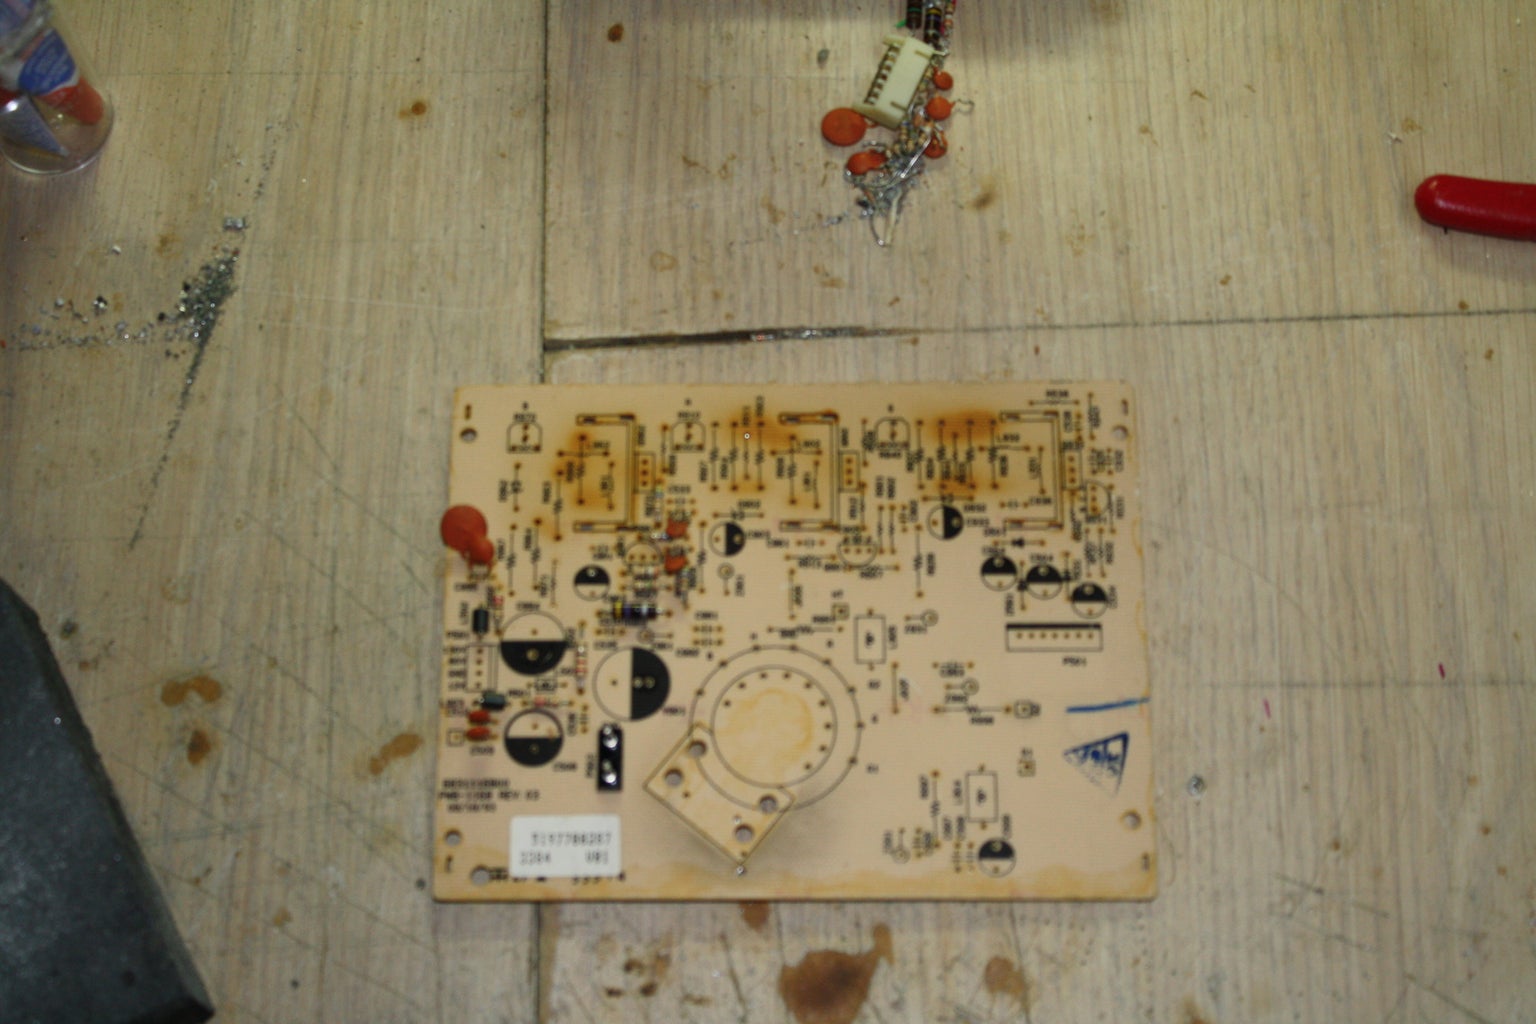
Step 1: Initial Board Preparation
Before we can do anything with the board we must first strip off all the components and as much of the solder as we can.
I removed the components using my solder sucker and took as much solder with it as I could in the process. The rest of the solder I "mopped" up with the solder wick.
Next we need to sand down the board, this will remove a lot of the excess solder as well as the solder-mask from the board.
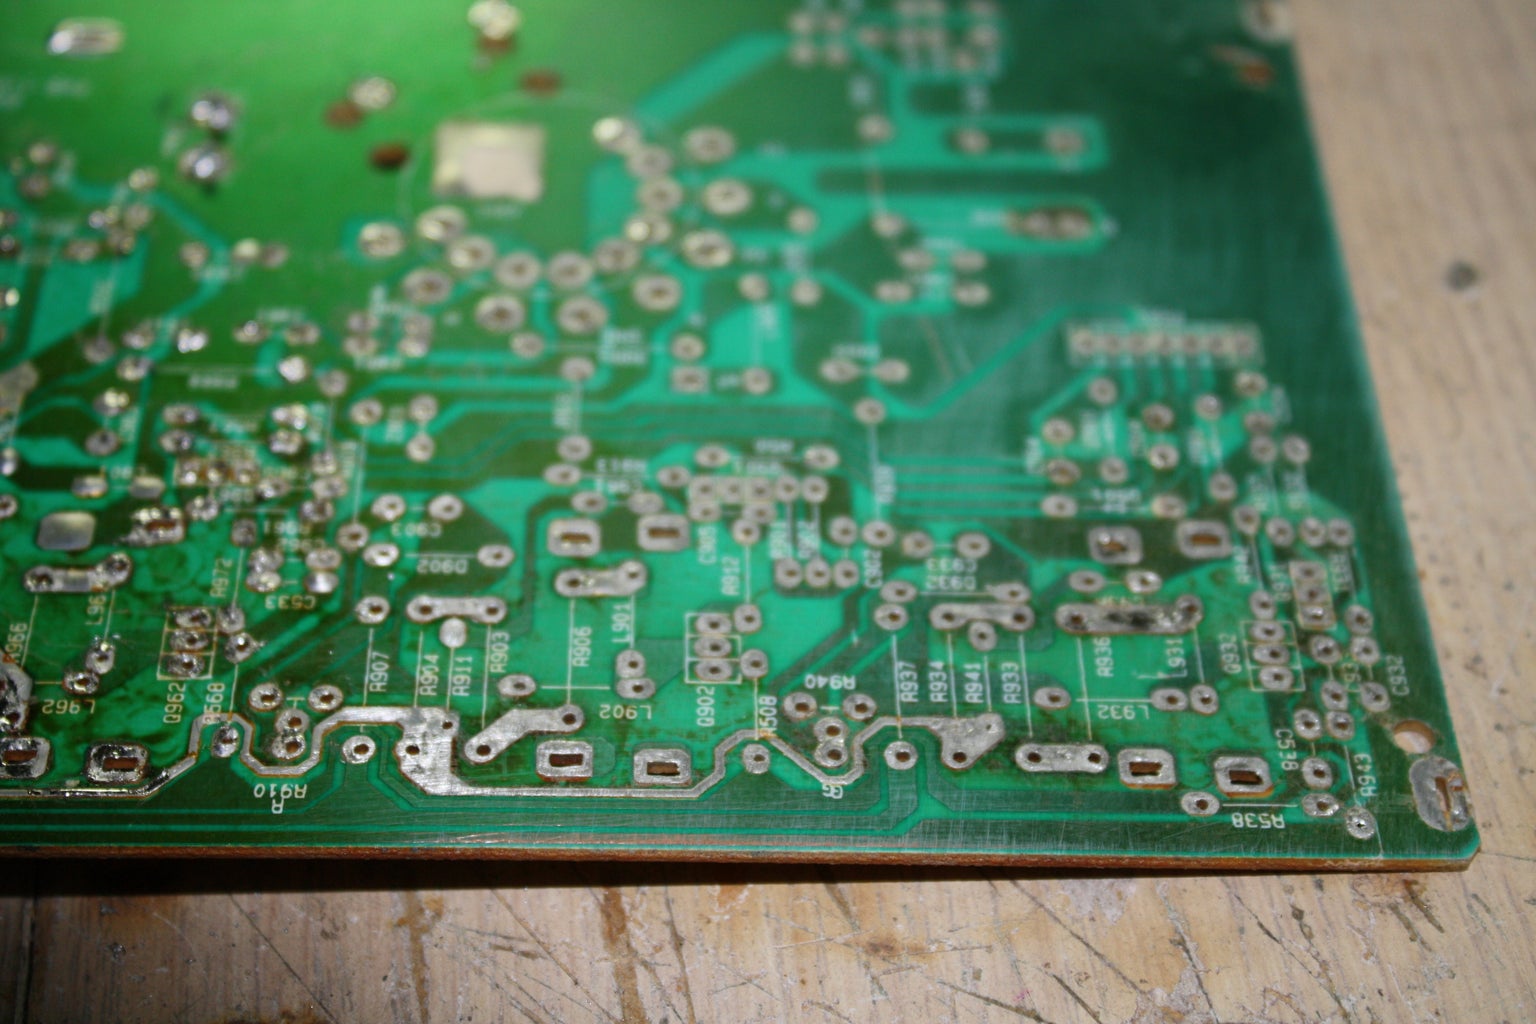
Step 2: Removal of Copper Traces


Here comes the tricky part.
This requires some skill with a knife and a lot of patience.
With your sharp knife you need to nick the track on an angle in order to pry up enough to grab.It takes a few times to do, but when you finally get it started pull gently and the track should peel nicely. In places where the tracks widen or branch off, you can use your knife to cut an edge so it will stay as a single peice.
I personally go for the long traces near the edges of the board.
When you are satisfied you have enough (or when you have stripped the board), we can move on to the next step.
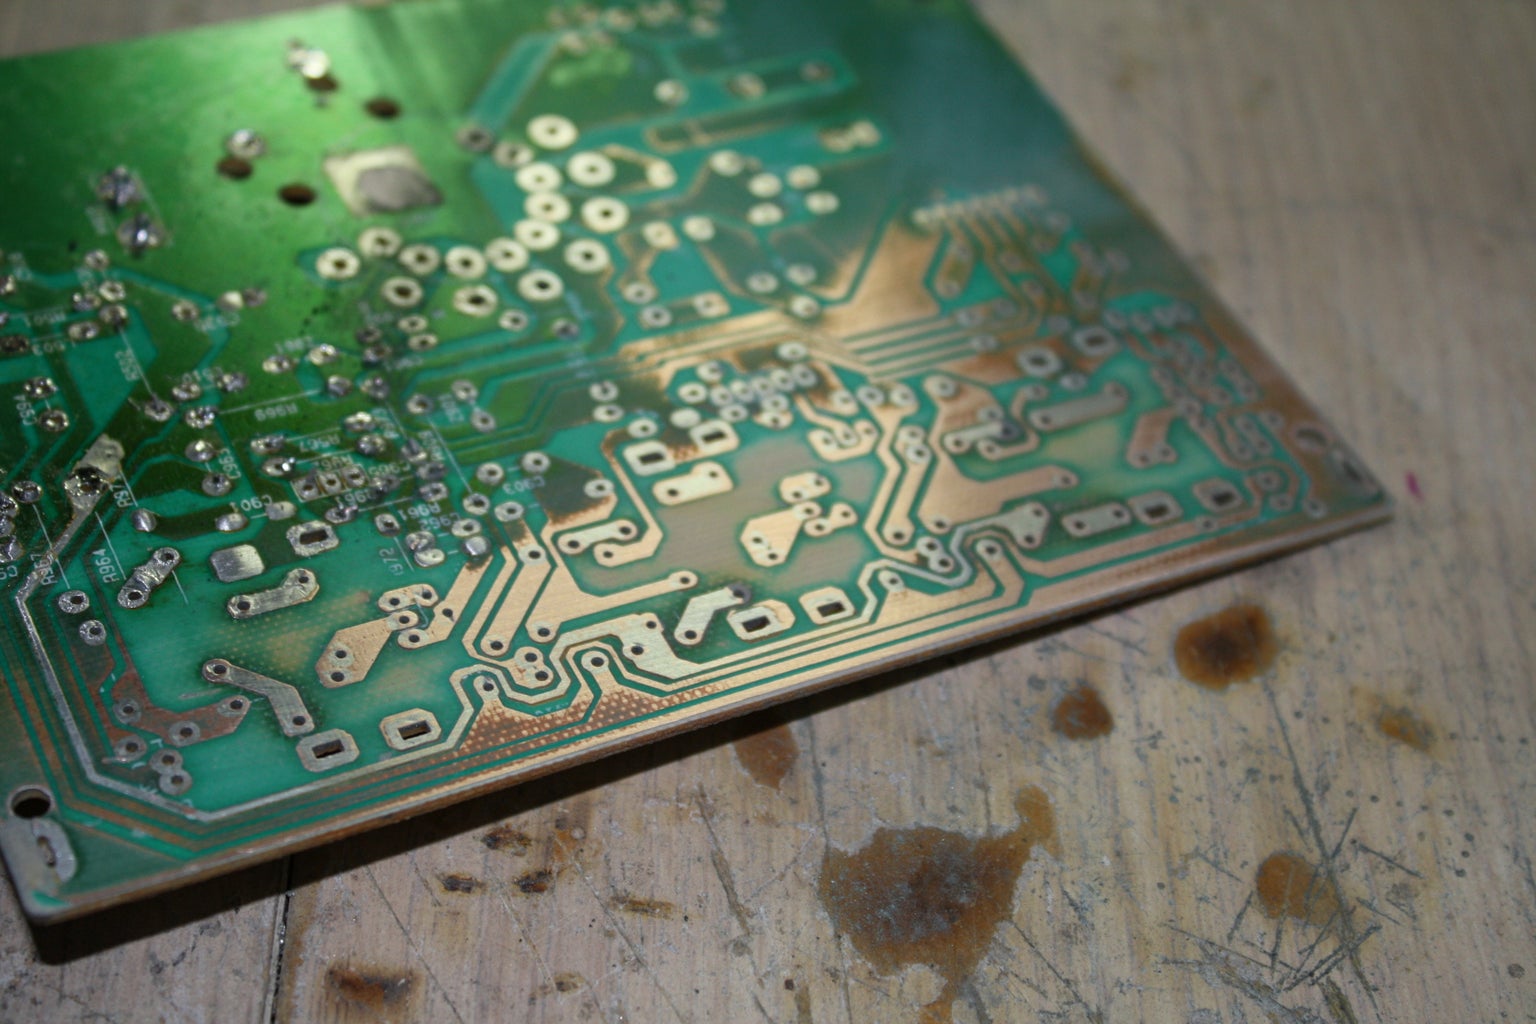
Step 3: Preparation of the New Board
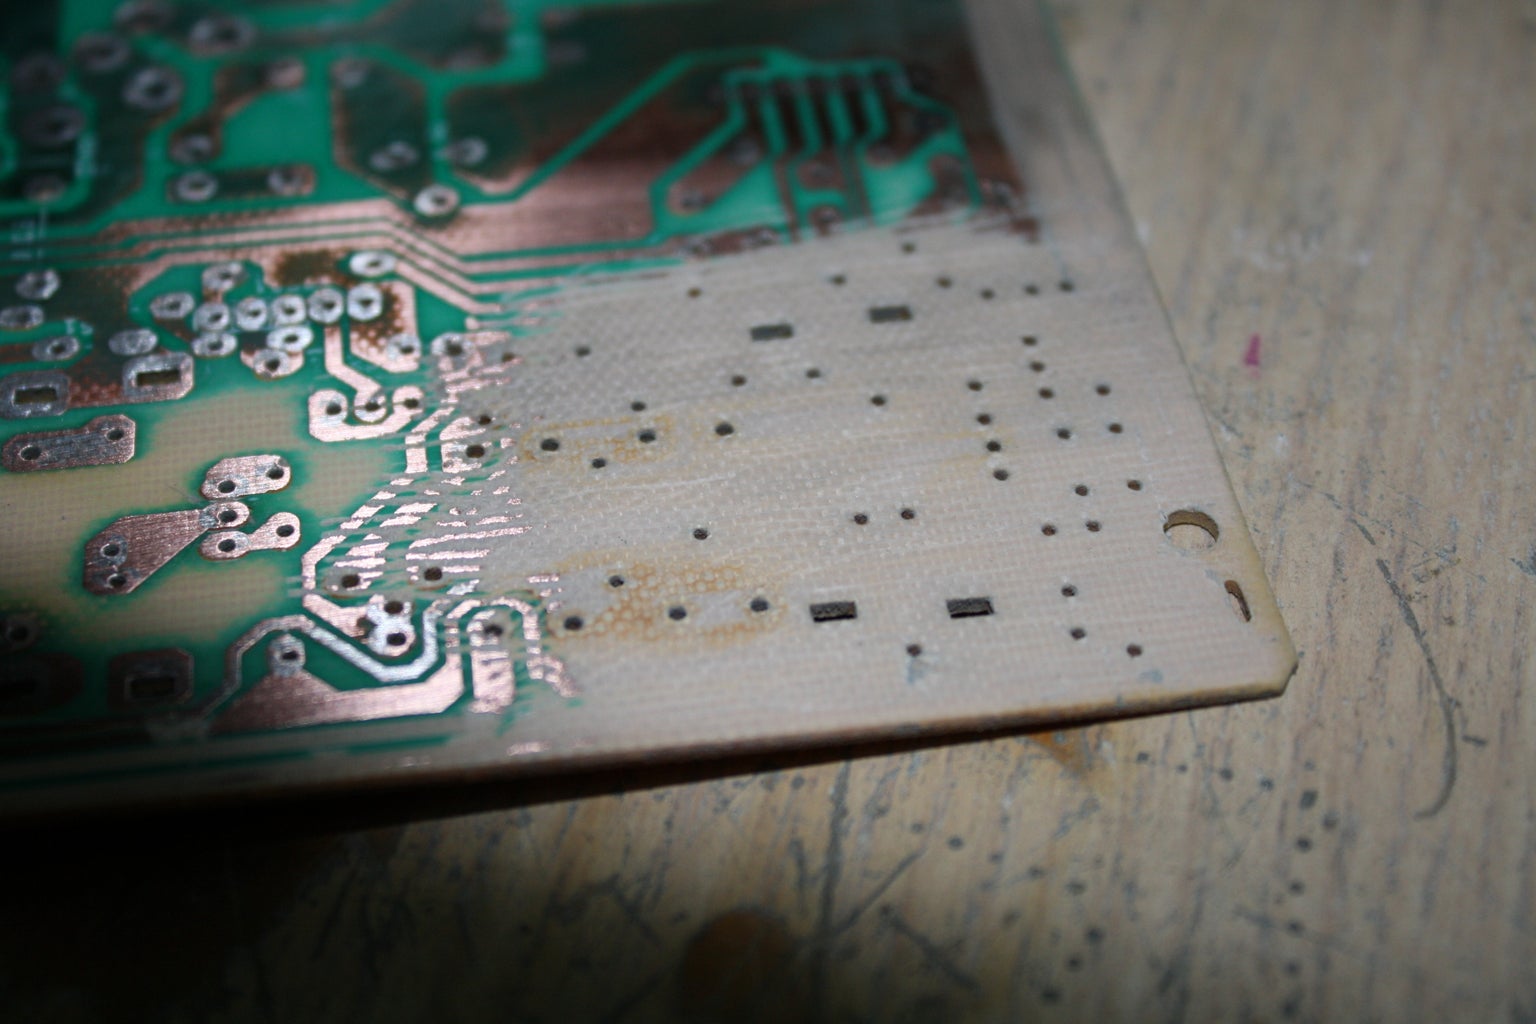

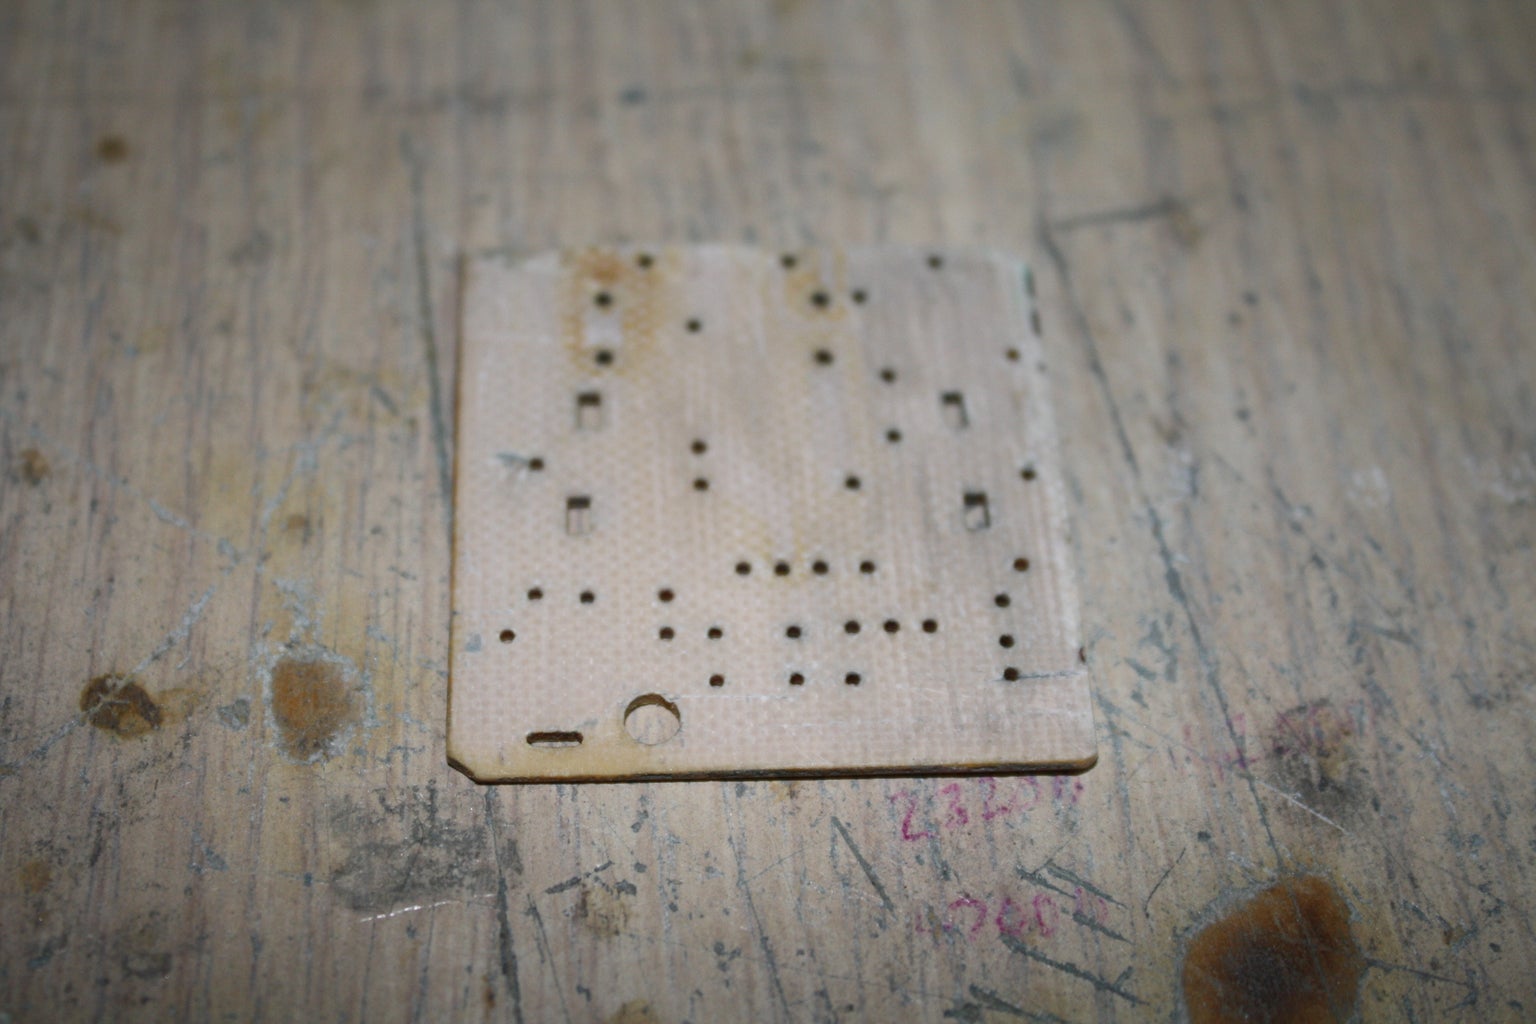
Ok, so now we have our copper traces extracted.
If you took off all the traces then you have an easier time for this step, if not (like me) then its a little more work.
You need to sand of any remaining copper, I used the tip of a file to scrape it all off then sanded it. I ommited the sanding of the silkscreen layer because I thought it would look nice to keep it but there is no other reason than cosmetics for that.
I used a largish board so I used a pair of tin-snips to cut out a small section of board that I wished to use, then I used the file to smooth down all the edges.
Step 4: Creating New Circuit
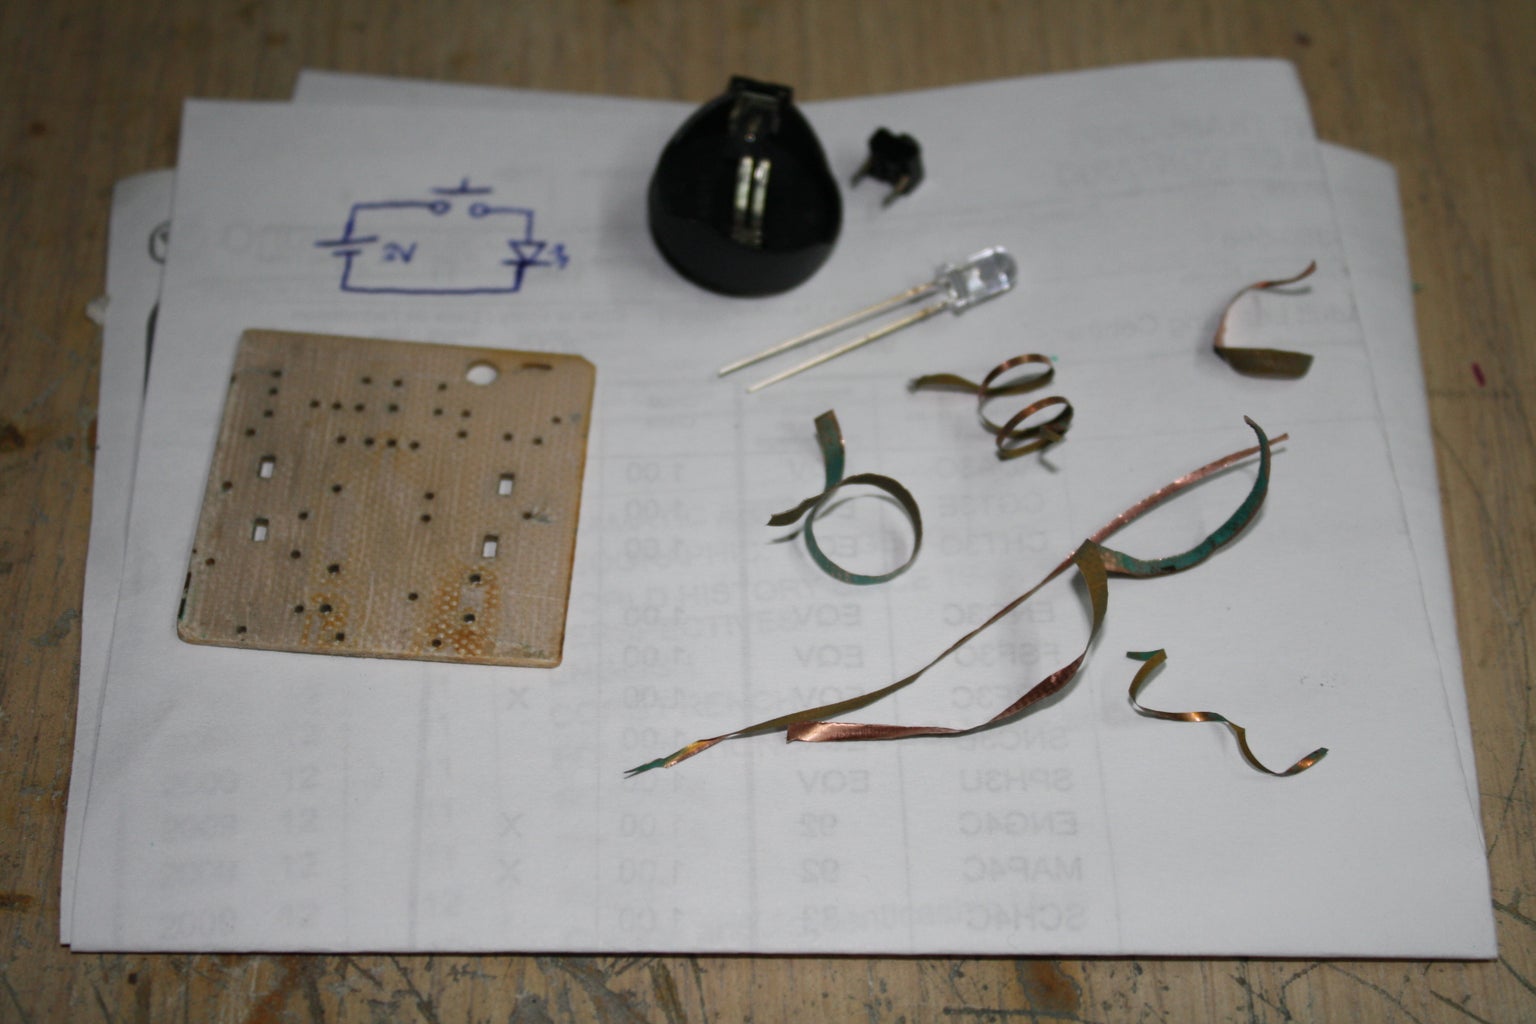

Now we have our blank canvas to work with.
Here we have three choices; use the existing holes, make our own, or both.
I chose to use the existing holes because I was too lazy to change the bit in my drill ;)
if drilling, you can drill now or after you have glued the traces down.
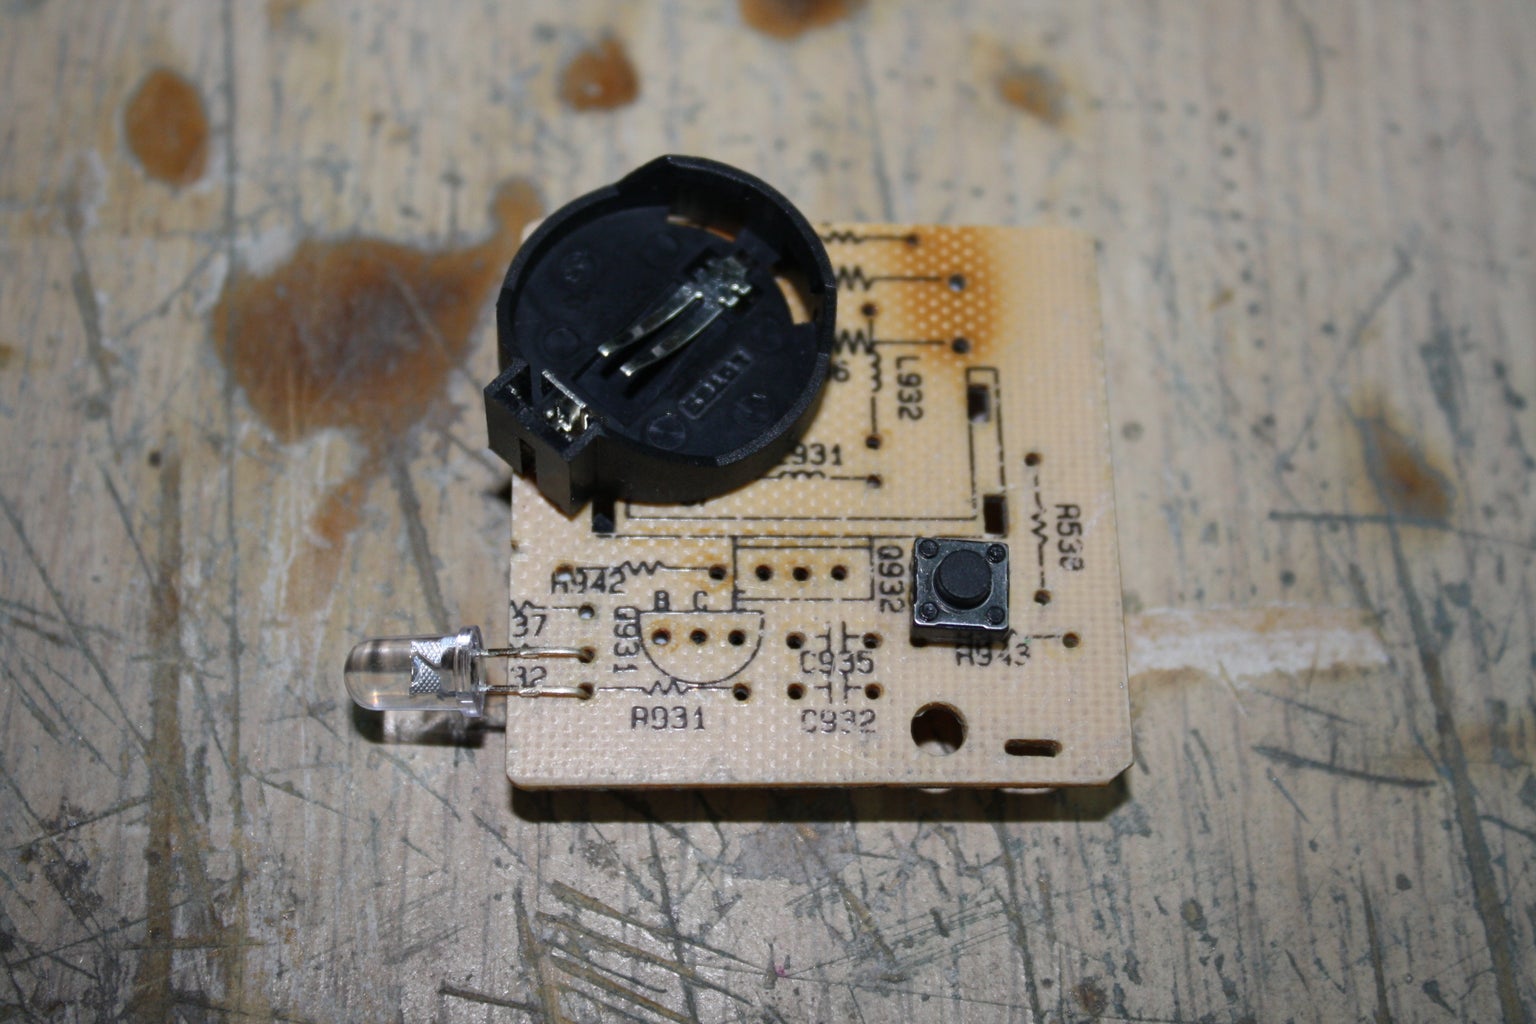
First we do a dry-run and put our components in their determined places.
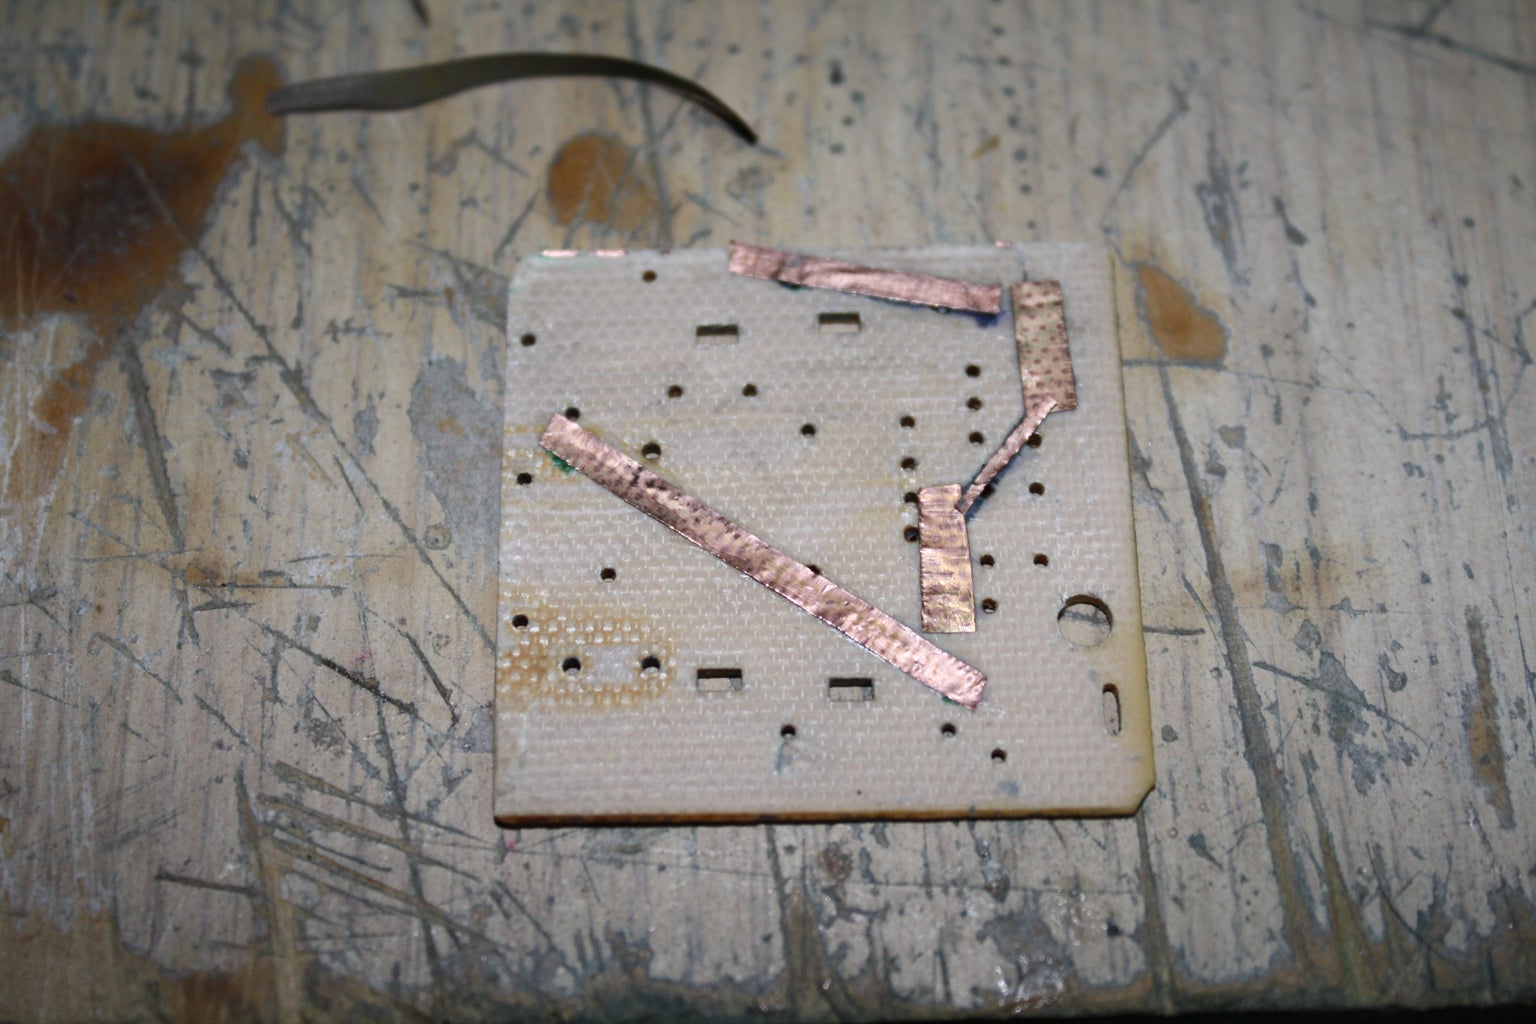
On the back we circle the holes we are going to use and draw our traces
Next we cut some of the traces to the size required to cover the lines and apply superglue along the drawn lines (I sugest doing one track segment as a time) then place the traces down and smooth them as much as you can before it dries. I try and cover up as much of the drawn lines as possible, this ensures that you are doing it correctly and it looks neater. I also make sure I overlap the hole by a mm or 2.
Give it a few minutes to dry and use a push-pin to poke holes through the copper to revealed the holes we are using. You can drill the required holes at this step if you wish.
Step 5: Preparing Circuit
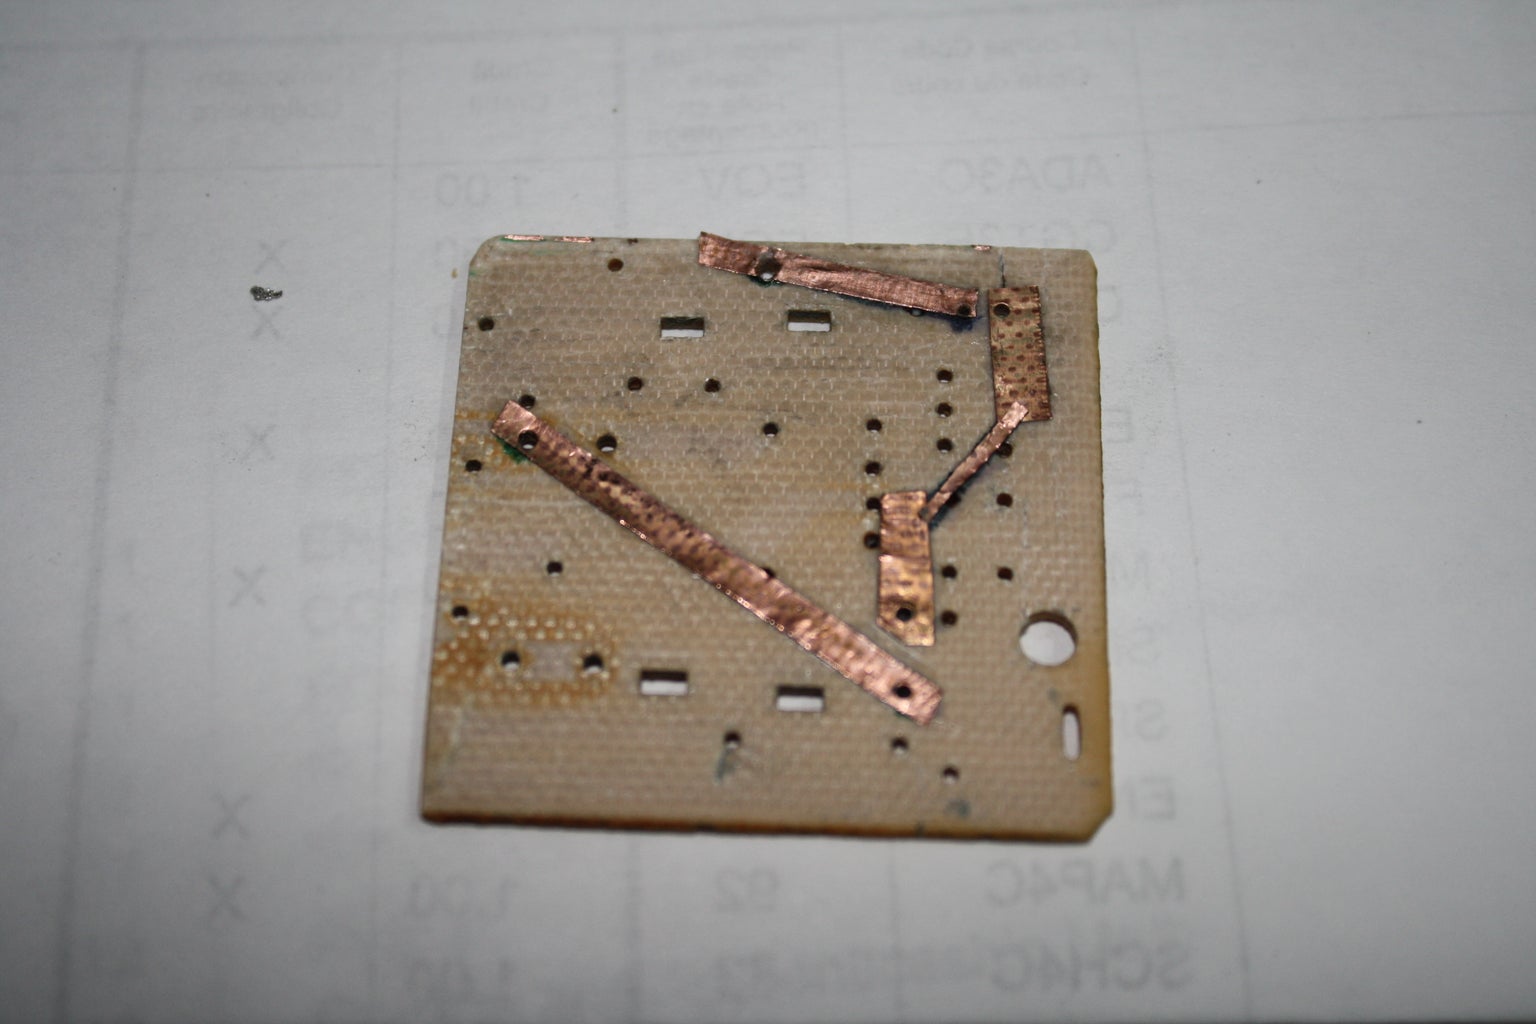

Ok we now have our DIY circuit board almost ready.
Check for any traces being too close and trim with knife as necessary.
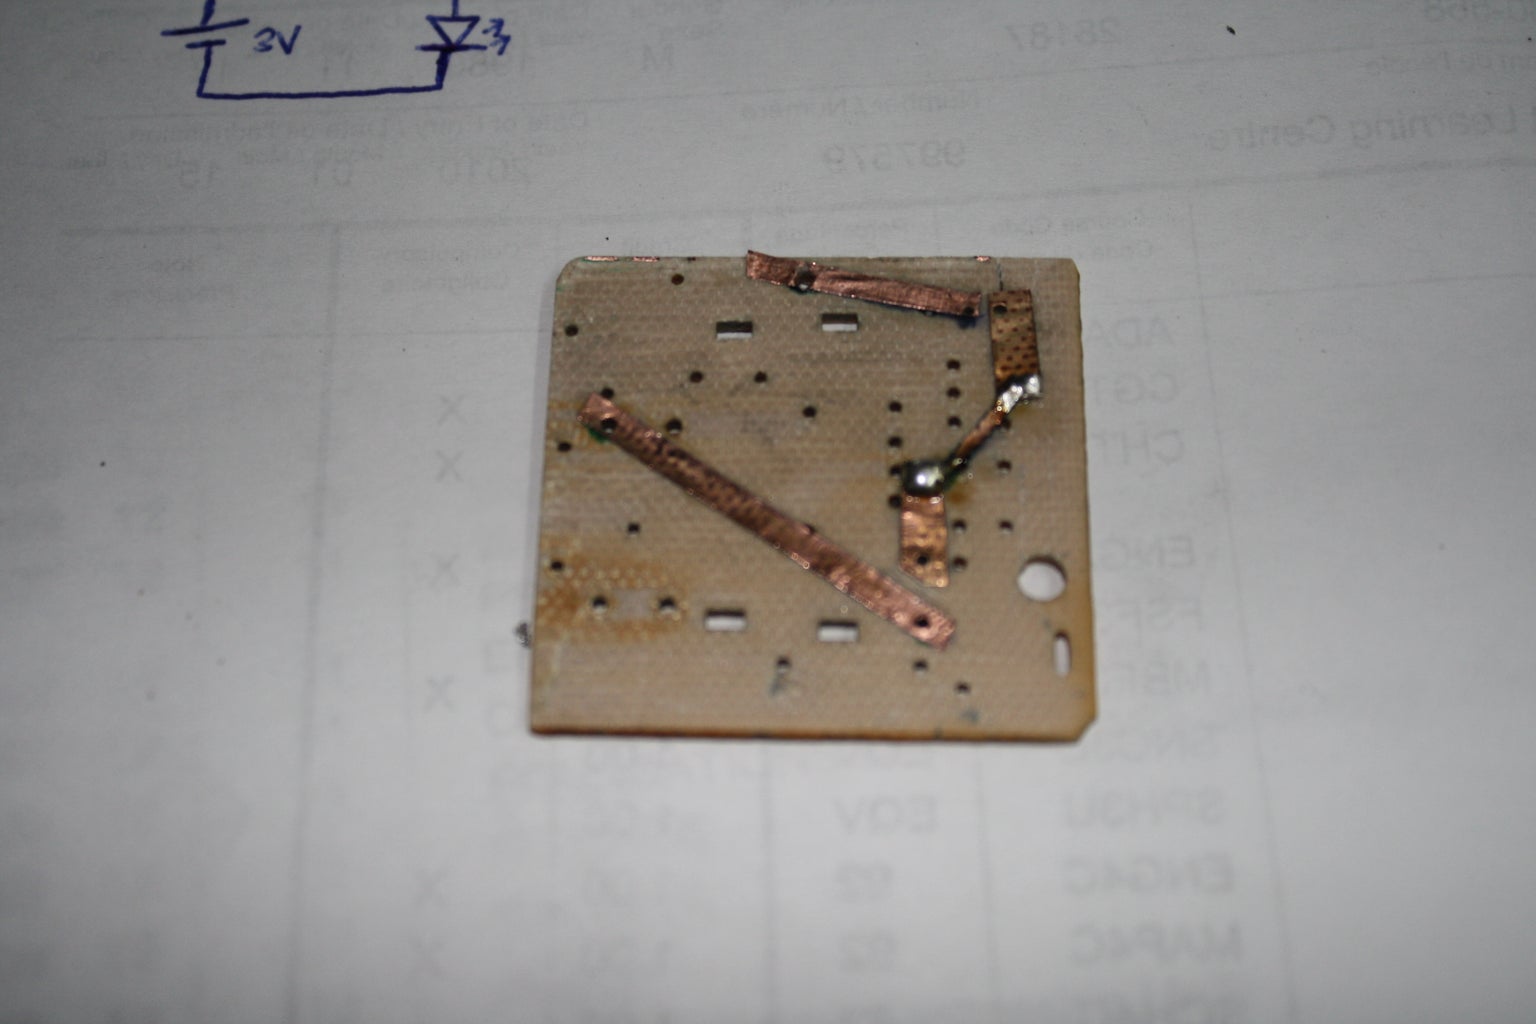
on the one track with the two bends, we have clued the traces on top of the other, this may not create a good connection so it needs to be soldered.
Do be warned that superglue doesn't like heat and may stop sticking the traces down, so be brief and take care not to let the traces move. Don't bother re-applying any glue at this point because we will be soldering again in a moment.
Now we can place all our components into the board, take care not to push up traces from the under-side, I did this once during construction but it wasn't too bad, I just pushed it down again and it was fine. now you can solder all your components in, taking heed of the fact that the superglue won't like it much.
Step 6: Testing and Admiring Your New Circuit.

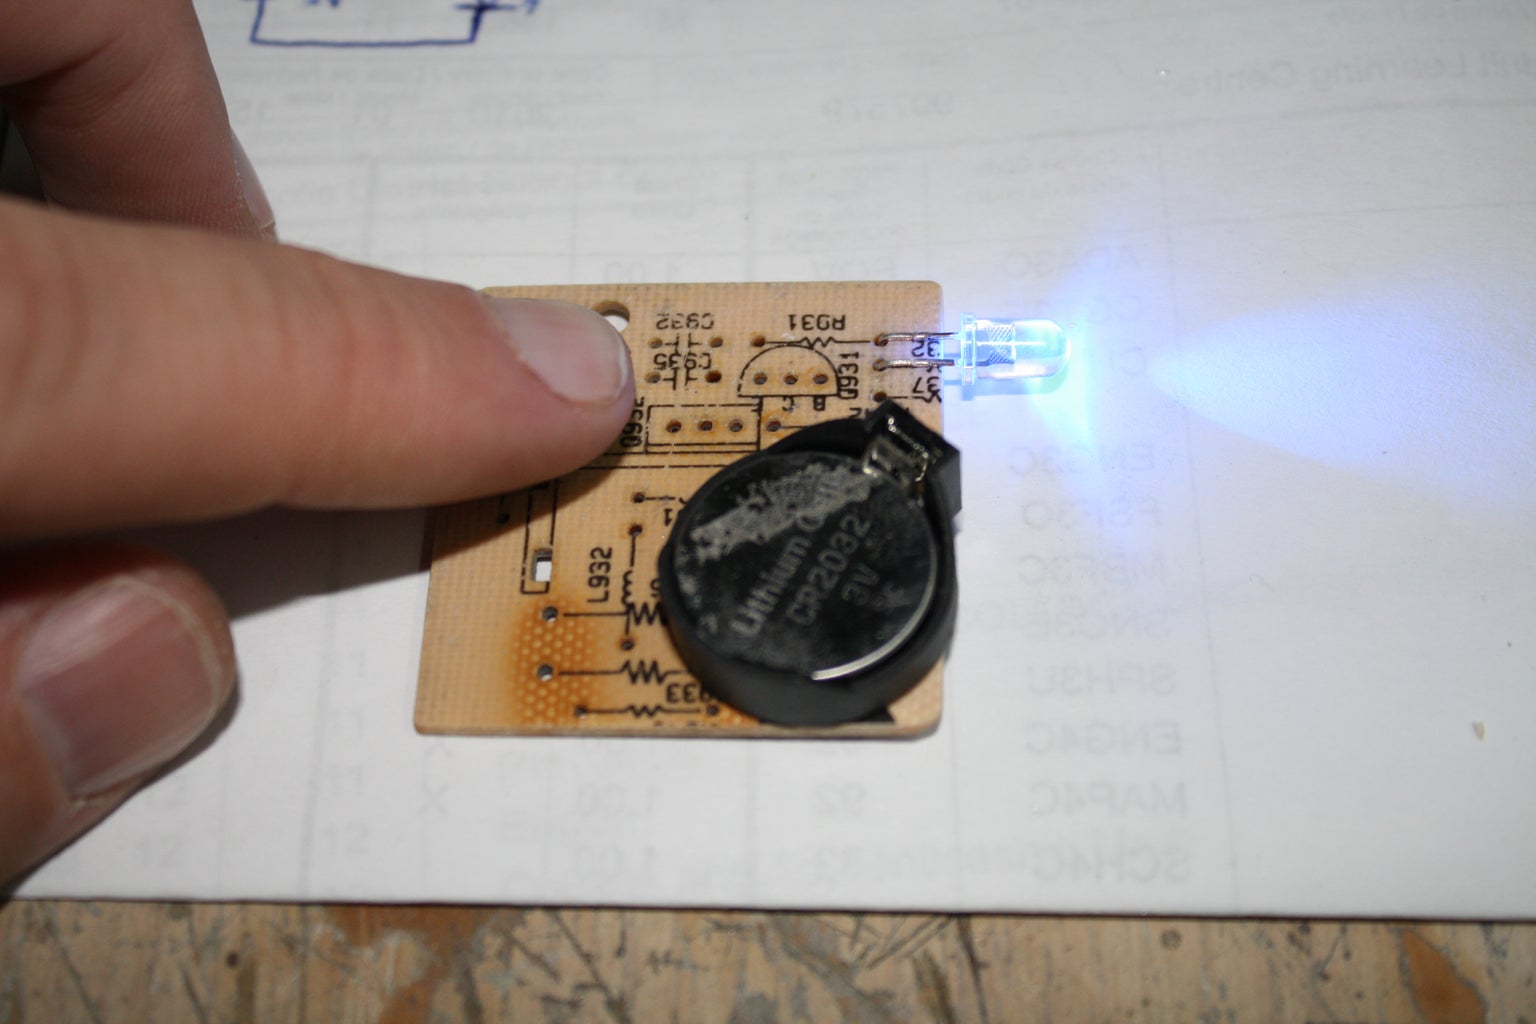

Ok, so now we have completed our circuit. Time for testing.
For my circuit I threw in a CR2032 cell and pushed the button, and all is fine :)
If this was a circuit for something other than example I would cover it in lacquer or something to stop the copper oxidizing, since we removed that protective layer during the extraction phase. You could also paint the board since the protective layer is gone, the board will absorb the colours better.
I hope this is useful to people.
If you have any sugestions for improvements to this circuit feel free to comment.
Thanks for reading
Dont forget to check out my Make your own solderpaste intstructable
Participated in the
Epilog Challenge


![Tim's Mechanical Spider Leg [LU9685-20CU]](https://content.instructables.com/FFB/5R4I/LVKZ6G6R/FFB5R4ILVKZ6G6R.png?auto=webp&crop=1.2%3A1&frame=1&width=306)


