

Introduction: Easy Paper Lanterns


Need a simple way to dress up a bedroom or patio?
Step 1: Supplies

- 12x12in scrapbook paper (makes 4 lanterns)
- Cutting mat
- Ruler
- Utility or X-acto knife
- Scissors
- Pencil
- Glue
- Tea (optional, but highly recommended)
Step 2: Marking and Cutting


Mark horizontal lines at 1.5, 4.5, 6, 7.5, and 10.5 inches.
Mark vertical lines every 1/2 in (I usually skip this step and just cut slits using the gridlines on my mat).
Cut vertical slits in the 3in spaces as shown.
Cut into 4 squares of 6x6 in.
Remove the first slit and save for later. Crease the top and bottom flaps halfway between the first two marks.
Step 3: Lantern Body


Apply glue as shown and create a cylinder.
Make a 1/2in slit on the top and bottom edges - this will help when folding them over.
Fold the edges inward and squish to create a rounded shape.
Step 4: Create Handle


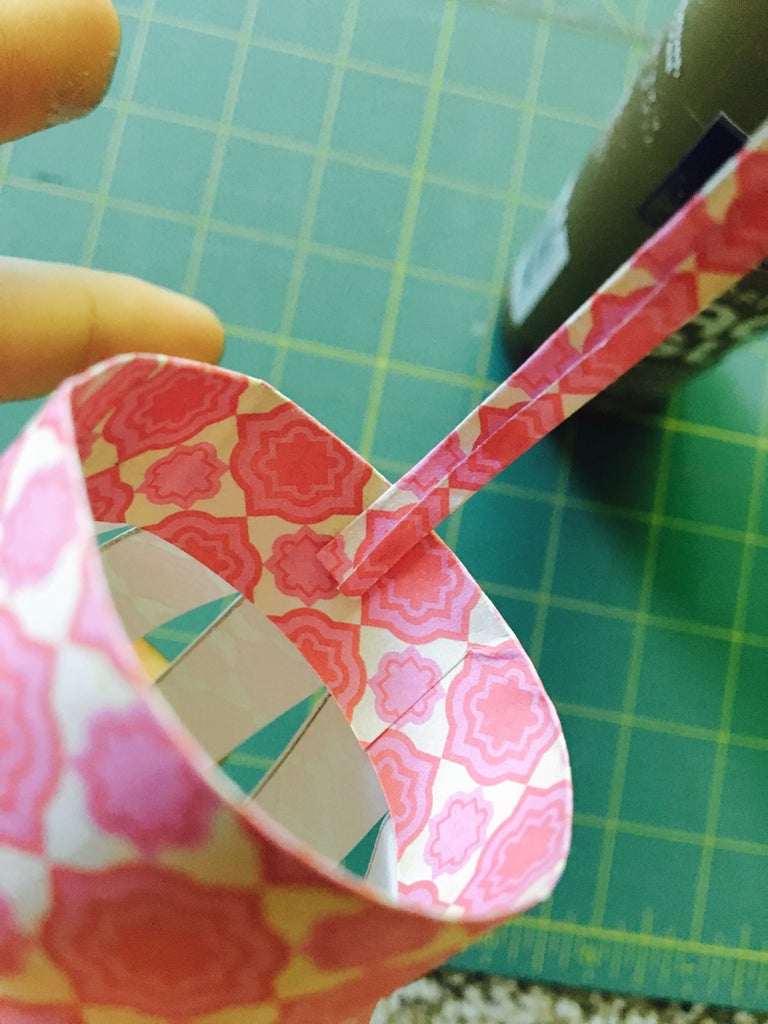
Fold the piece saved from earlier in half.
Fold edges inward to the crease.
Attach handle halfway down the inside of the lantern edges.
Step 5: Ta-da!

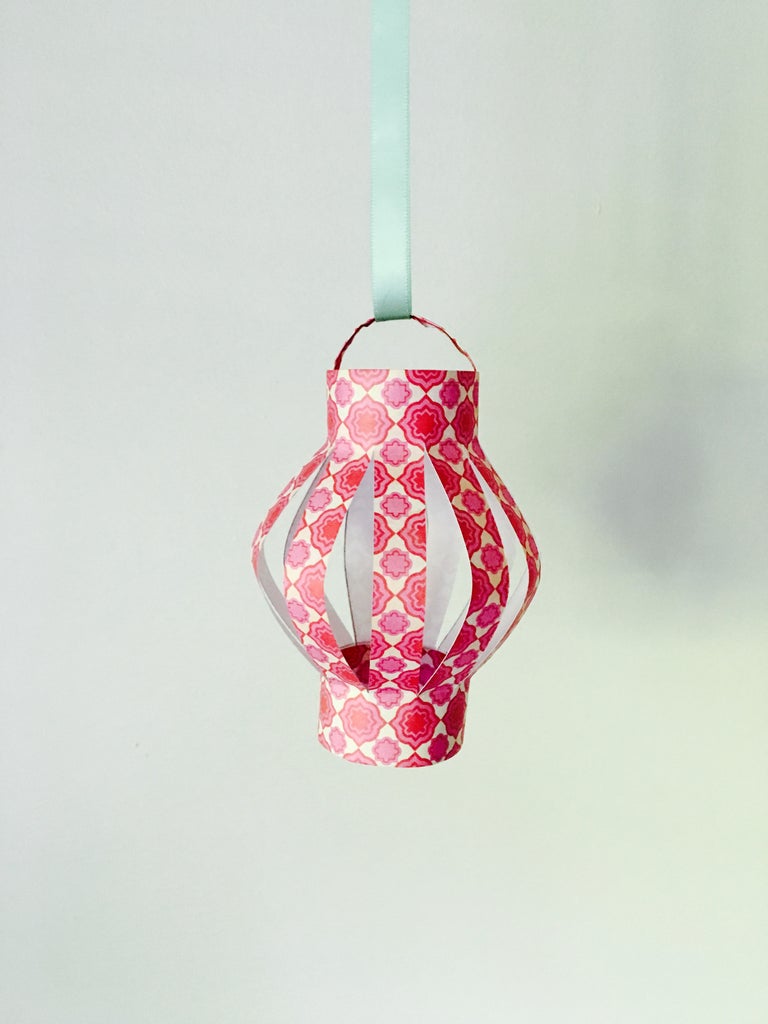

Enjoy your new lanterns! I strung mine on some LED lights and hung them on my back porch, but some rope or ribbon would look great too. :)

Participated in the
Backyard Contest 2016

Participated in the
Summer Fun Contest 2016


