

Introduction: Portable, Modular Electronics /Arduino Experimenters and Repair Lab Set Up.


This is a modular, portable lab setup that I use to enjoy prototyping and building electronic projects with the Arduino. I sometimes travel overseas, and take this with me to distract myself during the free time I have. I have built most of my arduino based instructables using this portable workstation system.
Because of different locations, travel requirements, and space constraints I have made the system modular, that is, a small compact system that fits almost anywhere, a mid sized (shoe box size) that fits in a suitcase, and a briefcase sized that contains a fully equiped electronics worstation.
Step 1: Equipment / Components

I include the following equipment in my full kit:
Equipment
Toshiba Tablet PC
Fluke 12 Multimeter
Parallax USB DSO
Arduino uno x2
Arduino NANO Clone
Arduino Mega 2560 x2
Raspberry pi
Components
Jumper wires
Digital and analog ic's
Resistors
Capacitors
Diodes
Leds
2.8" TFT Lcd displays x2
switches
Pots
Photo resistors
Thermistors
Transistors
5v motors
5v stepper motors
5 v servo
Tools
Wire cutters
Long nosed pliers
Battery powered soldering iron
Multi purpose tools
Parallax USB Oscilloscope
Radioshack pen oscilloscope
battery powered dremel tool & accesories
Black &Deker. 12v drill, jigsaw, sander.
Power
12 v Solar panel
12 Battery charger
12 power pack with USB charger & 90 watt, 110 volt inverter
USB Phone charger
Rechargeable. Bateries
6 x AA
6 x AAA
2 x 9 v
AA to C & D adapters
Communications
USB WIFI Router
USB HDD
Cat 5 cable
HDMI CABLE
RCA COMPOSITE VIDEO CABLE
USB POWERED 4 port hub
12v 5" monitor
21" autovolt TV / PC Monitor with HDMI, VGA, DVI Inputs.
USB RECORDER
Usb video capture
Usb card reader
SD memory card
Micro sd Card adapters adapters
Usb flash drive
Space pen(not shown)
Engineering pencil
Notebook
Flypen computer
Rulers / stencils
Optics
Pen microscope / telescope
Magnifiying glass
Battery powered iIluminated Gooseneck magnifier
Lighted magnifying glasses.
USB gooseneck LED lights
Misc
USB Gooseneck fan
Colapsable table
Reference
Reference books
Documentation
Storage
Step 2: Power

For power supplying, I have 4 options:
A 12 v solar panel, used to charge the power packs when there is no electrical outlets available. Otherwise you can charge the batteries from transformers, or USB PORT
ThE ENERCELL portable AC power adapter and 90-watt power inverter does double duty . You can use it to power AC devices (up to 90W) or to power electronic devices that can be powered by the USB port on the inverter. It powers USB devices like wireless phones, handheld games and MP3 players; it also serves as an inverter for digital cameras, some laptops, camcorders, wireless phones, and many other equipment. I have a larger unit that I use and carry if space in suitcase permits.
Duracell emergency phone power pack
Rechargeable. Batteries and 12v battery charger.
Power transformers (110-240 ac volt in, 12 v and 5 volt dc out)
Step 3: Tools

These are the tools I usually select to take with me, most of them are multifunction tools similar the leatherman and gerner tools.
See pictures for description.
Step 4: Power Tools


Power tools include. A rotary., Dremel type, tool and a drill / jigsaw / sander combo made by Black and Decker.
Step 5: Prototyping
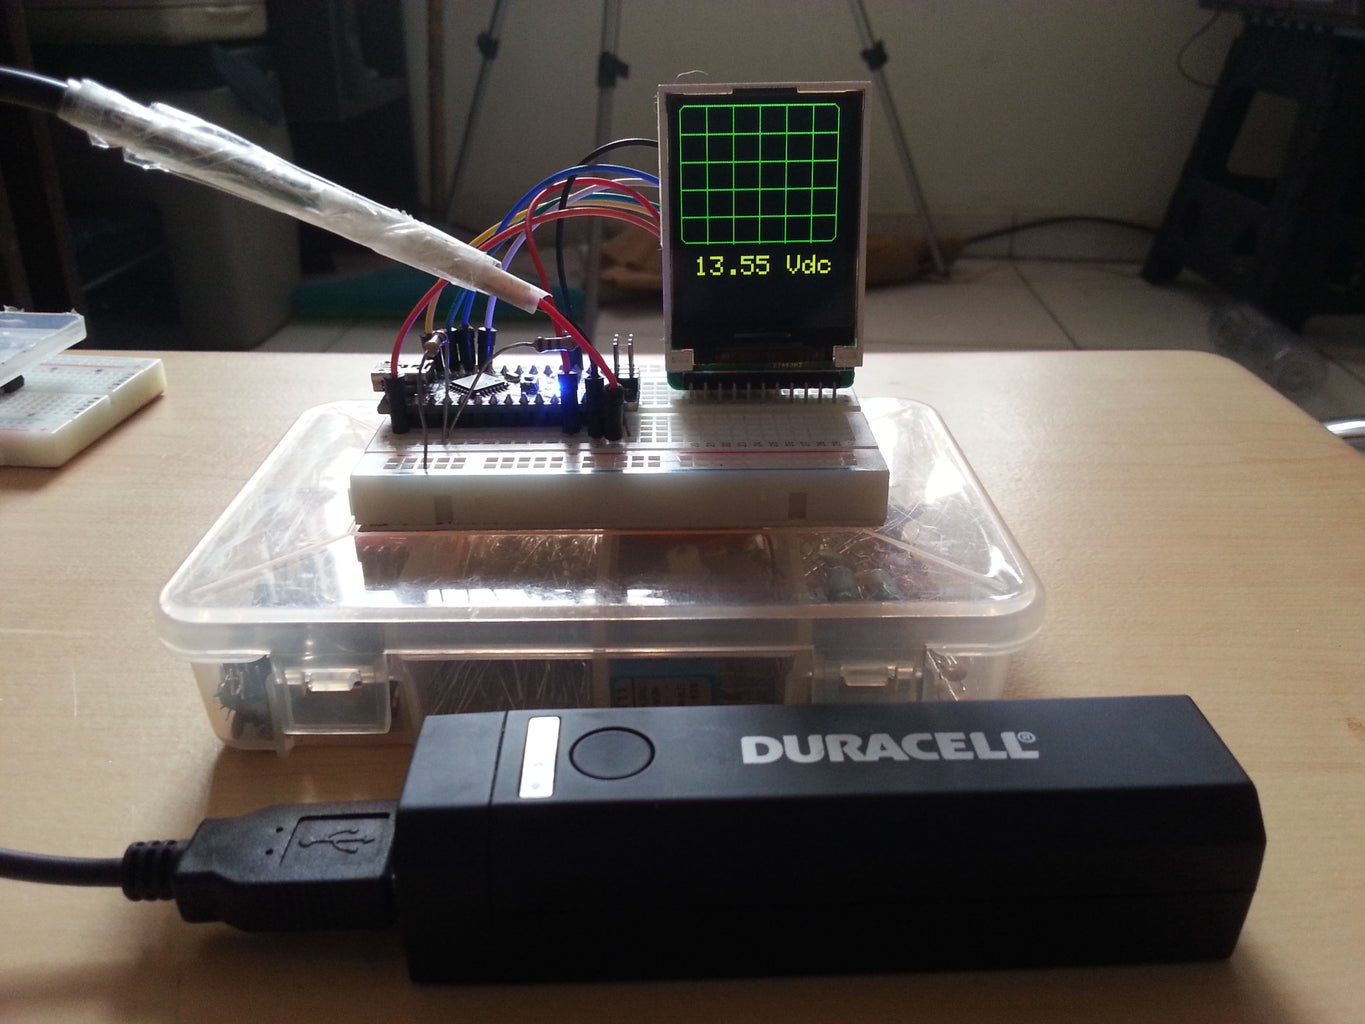


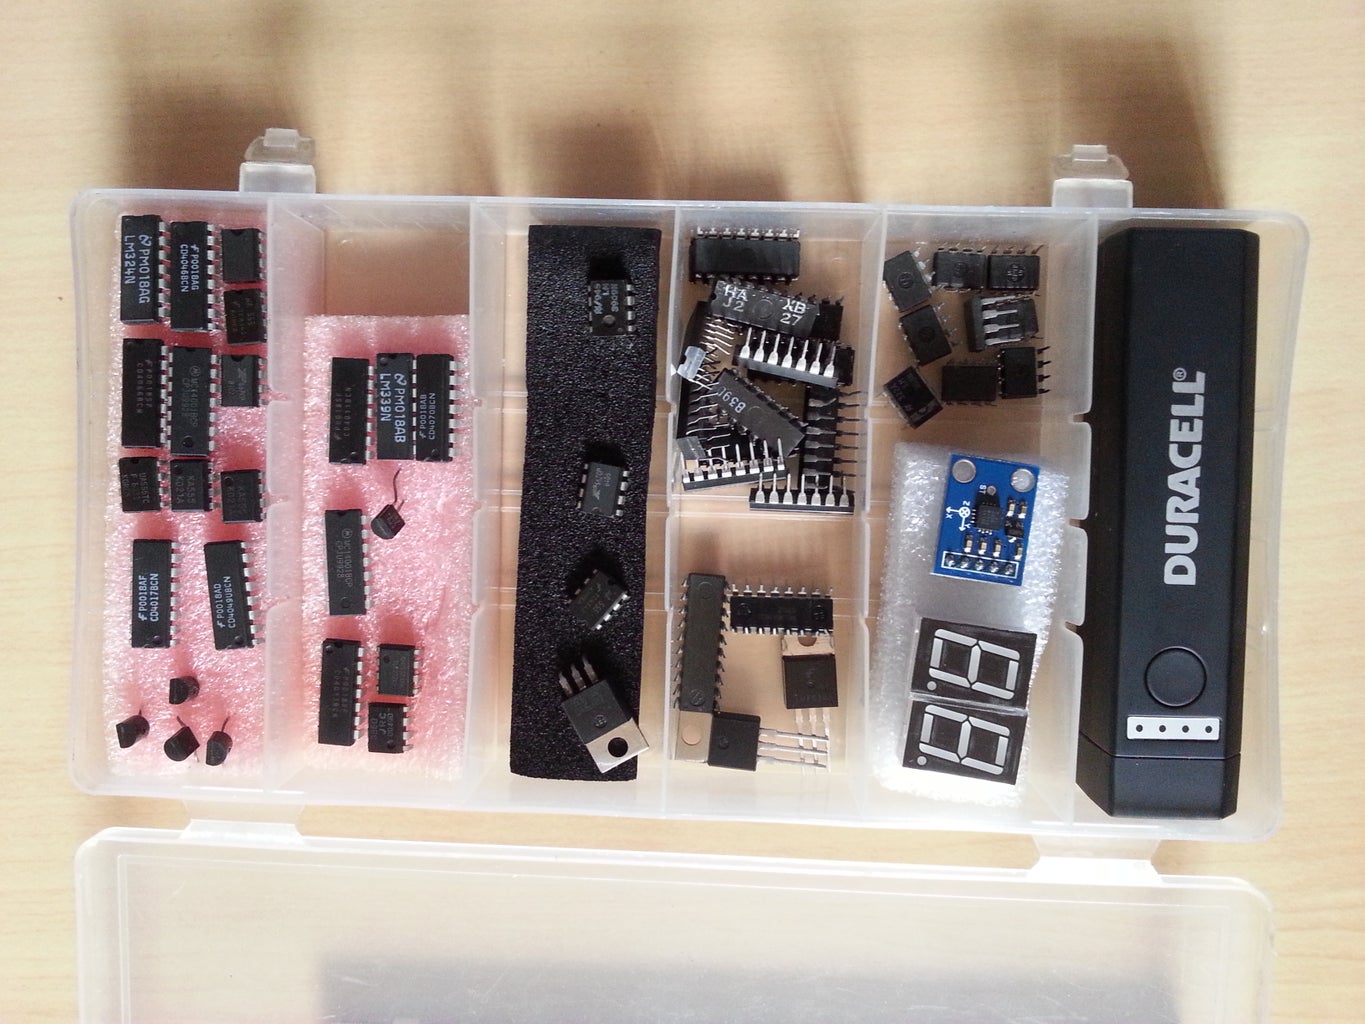
For prototyping, testing and designing circuits, I. Always carry two plastic tackle boxes filled with components one has a full sized solderless breadbord attached to the top, and the other a half sized bread board. The boxes are filled with the most commonly used components used to build circuits, plus my Duracell power pack. These two boxes are my small, compact system that I take anywhere I go.
They include an assortment of resistors, capacitors, sensors, motors, servos, and an Arduino Nano plus 2.8" color LCD display.
Check out my other instructables for details of some of the projects you can build.
Step 6: Reference

You can have all the tools and components, but you won't be able to do anything. Without knowledge. I always. Carry. My engineer. Mini notebooks with me they were sold by radioshack and authored by Forrest M. Mims III. They are a goldmine of information for experimenters and engineers. You can find copies of some of them here:
http://www.files.jedijf.com/(electronics)%20-%20Forrest%20Mims%20-%20Radio%20Shack%20-%2011%20vols/
Step 7: Communication

Communication equipent I carry with me include a
TP- link wifi router,
Hdmi cable
Ethernet cable
Wifi adapters
Hdmi to vga adapter
Usb cables and adaptes as well as a 4 port powered hub.
5" 12v video monitor with speakers meant for a car DVD player, used for Raspberry Pi
Mini wireless keyboard with mouse pad.
If you want more information on these components, check aut my BOSS INSTRUCTABLE. some are the same parts.
Step 8: Storage


I use a samsonite laptop case to fit most of the stuff I need. I fond this case in marshalls aeveral years ago.
The only things taht don't fit in here are the power tools. This is the full sized workstation. In a briefcase.
Step 9: Documentation


I always carry a notepad, some rulers and stencils, a drafting pencil, my space pen (not shown) to document Ideas, draw circuits, amd take notes.
I also take my fly pen fusion computer plus a fly paper. It is an interesting toy computer in a pen. It lets you draw things on special fly paper and then upload it to a computer. It also has a talting calculater calendar, reminder and many other applications. If you haven't heard of it google it.
Step 10: Adhesives and Cable Management

Several adhesives and cable ties included in my kit.


