

Introduction: Flip-It! - the World's Dumbest Game?


Origins: This is a game I developed over a couple of years 2018-2019
It was originally called "Stupid Flip" and came out of my interest in creating simple and fun interactive games that could also be used for teaching coding. This is about the simplest game imaginable and involves flipping an arm from one player to another with a card (token) attached to the end with a magnet.
The players gain points if their opponent 'drops' the card when attempting to flip it, or if they manage to flip with the exact force necessary to deposit the card on their opponent's side.
Although it's incredibly simple, Flip-It! is also strangely addictive and infuriating.
Initial prototypes were made in cardboard and used tubular ABS circuit board mounts as the bearings. These had an analogue scoring system (see pics).
Subsequent versions incorporate an MDF case, 3d printed components for the bearings, joints and magnet holders. The last step was to add electronic scoring.
This instructable relates to the construction of the CNC, 3d printed, electronic version. I developed this for a series of design/make workshops. The idea was that kids could develop their own themes for the game. The initial theme was to flip a 毽子 (JianZi) between two players. The JianZi is the Chinese weighted shuttlecock that can be kicked around between players.
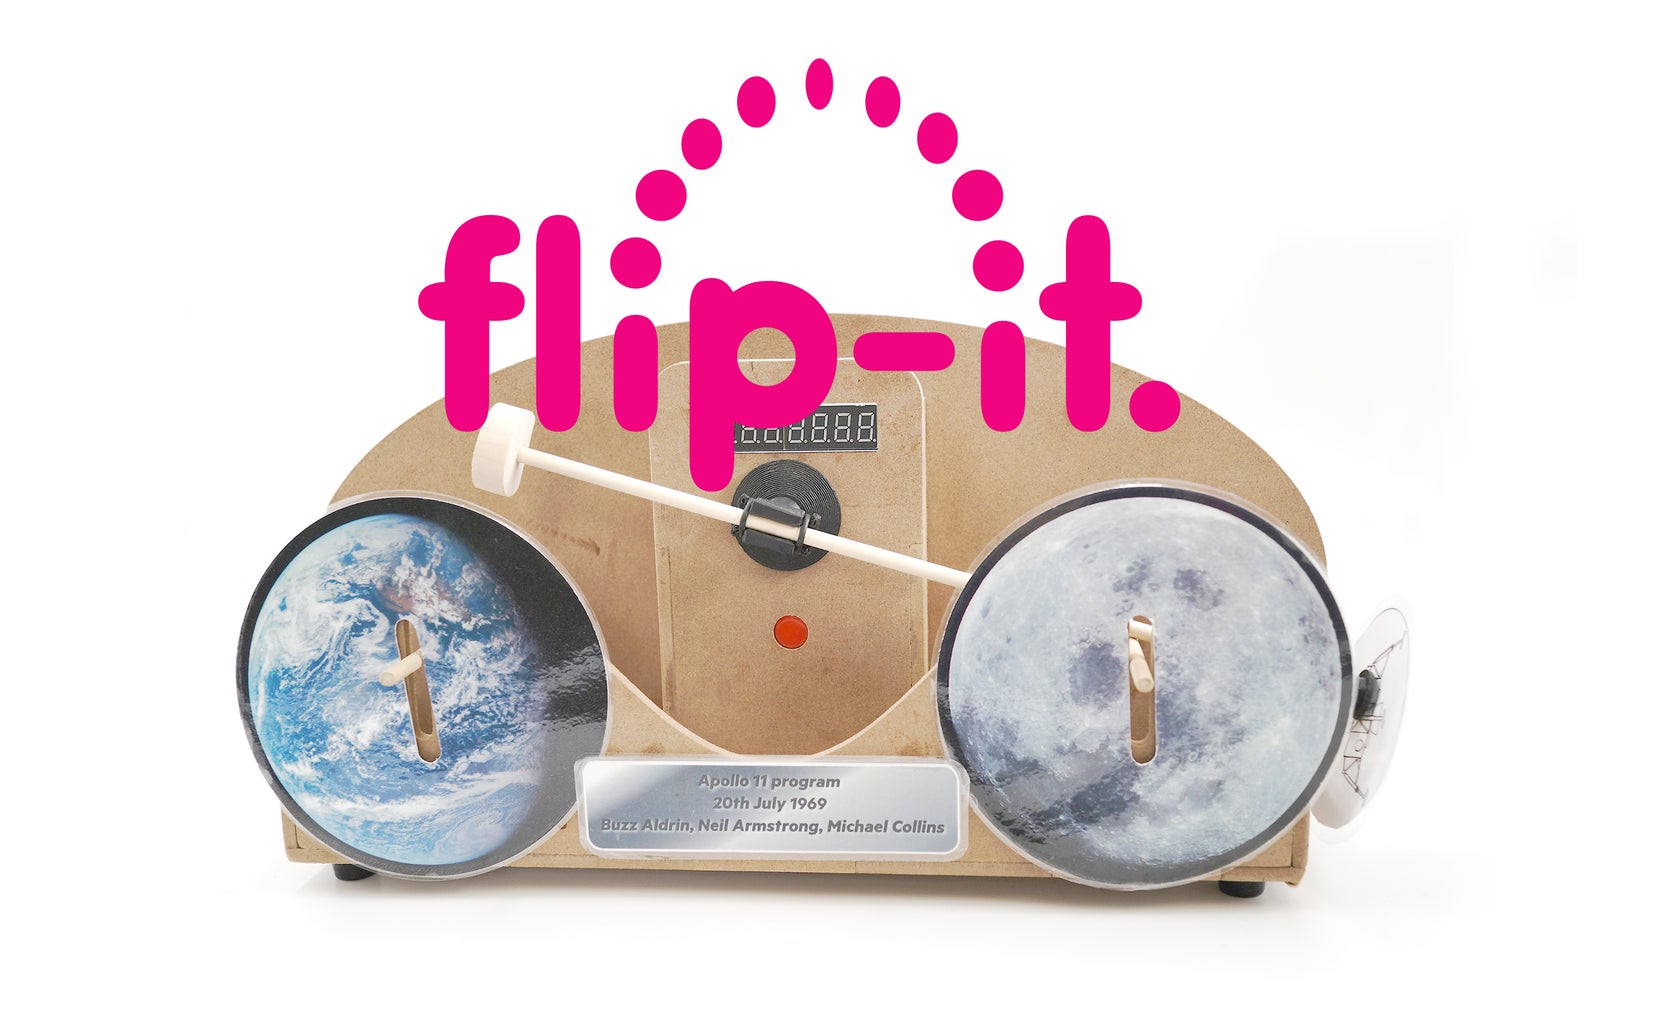
The theme in this example shows the Apollo 11 lunar module flipping between Earth and the Moon.
Getting all the parts together is quite a lengthy process, so I would also encourage anyone interested to use the dimensions to make a simple version in cardboard. This can be done very quickly and the game is just as fun. The only part that is essential is the 5mm neodymium magnet. We have used spherical ones which are what you find in the construction toys or 'executive toys' where you can make shapes with multiple magnets.
In this version I use springs to provide the 'lift' or flipping power, but in earlier versions I also used rubber bands with just as much success.
The electronic scoreboard was a fun exercise in coding. The detection system relies on two IR magic eye reflective sensors. These allow the Arduino to determine when the card has been 'flipped' and when it is likely to have fallen off. These, along with an interrupt button, are the only inputs to this game. The outputs are a 8 digit 7-segment display and a piezo buzzer. I tried to do as much as I could with this simple set up but there is lots of room for customisation and improvement. This is only the third or fourth project that I have coded and it is as rough and messy as you would expect. I hope i have put enough notes in to assist with anyone who wants to work out what is going on. I developed a couple of sound effects and a fanfare for the game, but for much of the sound elements including the Mario Bros theme I am indebted to Dipto Pratyaksa and Prince Stevie-Ray Charles Balabis from Princetronics.
Also included here are the 3d print files for the various joint and bearing components. I am very grateful to Mike and Per Widing for their help in refining the design and printing these for me.
The movie shows all the relevant steps but I will describe them here in more detail.
Supplies
To construct the game:
Use the attached file to CNC or laser cut a set of parts
Use the attached file to 3D print the connecting elements
O-Rings or rubber bands
Extension spring external dia 7mm Internal dia 5mm
Wooden dowel 5mm
Wooden block 28mm round, drilled 5mm (for counterweight) - does not need to be round
5mm spherical neodymium magnet (the same that are found in magnetic construction toys)
To construct the electronic scoring element:
9v Battery holder and lead
9v battery
Arduino Nano (I used a clone)
Nano breakout board
12mm Push button switch
8 x 7 segment LED display module
Passive buzzer
2 x IR reflective sensor modules
Female to female Dupont cables
Step 1: Cut Out and Assemble Parts


Use the attached files to cut out the pieces in 5mm MDF
Assemble as shown in the video using wood glue and leave to dry
Attachments

Step 2: Cut the Dowel and Springs to Size


Use the cutting guide to cut the dowel and springs to size.
Install the spring mounts to the back board of the case with wood glue.
When dry, push and twist the springs onto this and then finish with the other section of dowel.
Attachments
Step 3: Assemble the Flipping Mechanism


The flipping mechanism is constructed with the 5mm dowel and a series of 3D printed components.
These parts were developed with Mike and Per Widing and they did a great job to refine them.
The 'bearing' part (called 'dome' here) should be reamed with a 5.2mm drill in order for the dowel to run smoothly. This then attaches to the back board of the case with hot glue.
The other components are held in place with 6mm O-Rings, but small rubber bands work equally well.
These allow the arm to be adjusted for optimum play performance!


Step 4: Wire Up the Components


Attached is a wiring diagram showing how to assemble the components with the Arduino Nano.
The IR sensor modules send a digital signal to the arduino (on/off). Their sensitivity needs to be adjusted with their potentiometer so that it can accurately detect if a token is in place.
Attachments
Step 5: Upload the Code

This is the code that I developed for the game.
As mentioned previously, this is a fairly amateur attempt and I am sure it can be improved upon. But it does work for me.
Essentially the IR detectors determine where the token is in order to start play and then test whether or not it has been successfully 'flipped.'
Each successive 'flip' contributes to a rally tally.
This tally is added to the winning player's score when the token is dropped.
The players lose a life each time a token is dropped.
When either player has lost 5 lives, the game is over.
Attachments

Step 6: Customise the Game


The example theme shown here is of the lunar module travelling between Earth and the Moon. I made this because of the the 50th anniversary of the Apollo11 mission.
It is made out of some simple printed parts, but the idea is that the game can be completely themed with paints and additional parts.
The 'token' part should be about 70mm diameter. We found that two or three staples glued between two sheets of paper and then laminated were about the right weight and magnetic strength, but this is something that needs some experimentation.
Step 7: Examples


Here are some examples of Flip-it! that we made at a recent workshop.
All these examples feature the scoring wheel rather than electronic scoring.
Both are as fun, dumb and addictive!

Runner Up in the
Games Contest

![Tim's Mechanical Spider Leg [LU9685-20CU]](https://content.instructables.com/FFB/5R4I/LVKZ6G6R/FFB5R4ILVKZ6G6R.png?auto=webp&crop=1.2%3A1&frame=1&width=306)


