

Introduction: Halloween Hooty Candy Chute


Every year I like to try and add one new element to our Halloween display. This year I wanted a candy chute because I feel bad making trick-or-treaters climb our 100 year old steps.
I acquired a long shipping tube and started brainstorming ideas: Serpentine dragon? Gargoyle? Snake?
Then I remembered I always wanted a Hooty owl for our front door and this is the next best thing! He's a wormy demon owl that throws up all kinds of helpful things so why not candy? I tend to decorate in a more fun and campy way and not actually scary so a recognizable cartoon creature is perfect and he is still exceptionally creepy.
For this build we are going to sculpt a 3D face and overlay a squiggly duct over the cardboard tube. The wiggle is an important part of the visuals of Hooty so the cardboard chute alone won't do! I don't trust candy to survive the trip down with curves of the duct without the shipping tube so I deemed both necessary to the design.
I confess I decided to start this project the day of Halloween so it was a bit rushed. However, it lets you know you could pull it off in a day if you needed to! Some elements got cut in the interest of time to get it installed before the trick-or-treaters came by so certain aspects of the build I hope to improve in the future.
Let's gather our supplies and begin!
Supplies


3in x8ft shipping tube
Velcro or zip ties
6in x8ft semi-flexible duct
6in foam half sphere preferred (7.8in was the closest I could find so close to Halloween)
Foam clay
Paint: brown, tan, black, white
Hot foam wire cutter, knife, or saw
(Craft foam is pictured that I was planning on using for some feathers but the Hooty didn't need it)
Step 1: Prepping the Duct "body"


Be careful handling the duct! Wear gloves because the edges are cut raw and are very sharp!
After stretching out the duct as far as it will go I needed to turn it from silver to brown. I chose to color it with copper because it gives the look of brown but with a metallic brightness. I was afraid an actual brown color would go too dark and would visually disappear at night; meanwhile the copper will still pick up color from nearby light.
After the paint dries we ended up cutting the tube down the middle so it could wrap around the shipping tube and the railing. I did this for two reasons: firstly, the cardboard tube stuck to the railing the best without the duct in the way, secondly, hiding the railing made it look a little more magical!
Step 2: Making Things Complicated With Tube Angles!

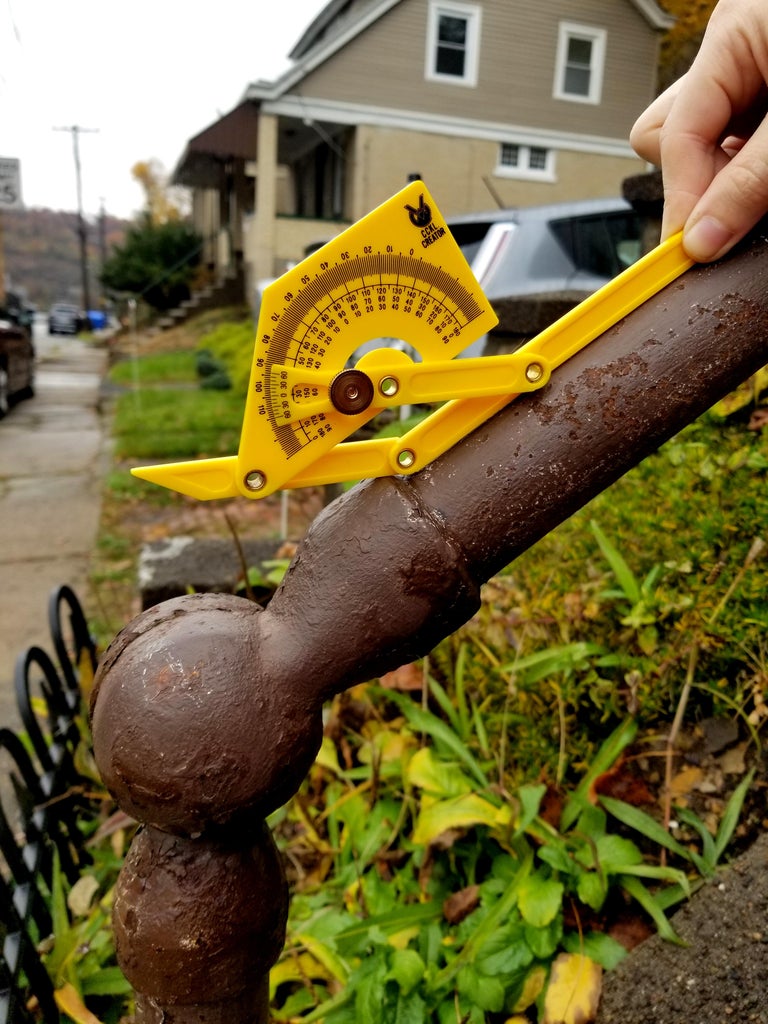


You could just have the chute drop the candy straight down the tube the way it's angled on your railing. Nothing wrong with that at all! However... I wanted kids to be able to see Hooty better and not have all my face details looking down at the ground.
I'll let my pictures tell most of the story of me trying to find angles. Here are the details of what I learned through my process:
- I measured 3.5in from the end of the cardboard and cut the angle so it would fit into the foam Hooty face.
- I thought cutting a 30 deg angle and then turning the tube it would create a 60 deg angle (if you cut a 45 deg angle and turn it it'll create a 90 deg corner). It might have worked that way if my chop saw was more accurate but as it was....it did not make the angle I planned. I think maybe I needed a 15 deg cut instead? I'm not great at geometry but I tried.
- Test! Test! Test!
- Upon testing I learned that candy coming straight out at a person is a little aggressive and hits them in the stomach and does not drop into their bag.
- I ended up creating my own slightly upward angle to slow the candy and allow it to pop up and fall down into a bag with more of an arc. I held the angle in place with a ton of masking tape instead of cutting new angles on the chop saw. Much less room for error that way!
TL;DR: Cut the tube and create your own angle by testing and don't worry about measurements.
Step 3: Cutting the Foam Face Base


I used a marker to draw out my tube placement and planned my facial features onto the foam before cutting. In the future I will find a new color marker to use every time I change my mind. My planning chaos made it confusing for me later and it does make my pictures harder to follow. If you look closely you'll see I designed the mouth to take up the lower half of the face instead of right in the middle to give me more room for the eyes.
I did my foam sculpting with a hot knife but any saw or knife should be able to do the same thing.
If you use a hot knife WEAR A RESPIRATOR!
I roughly cut my 7.8in circle down to 6in so it can fit inside of the duct and cut out a 3.25in hole for the mouth that would fit around the cardboard tube. I wanted the face to be a little more sculptural and 3D so I cut the eye areas flatter like you would see in a real owl. Clean up your edges with a hand file or sandpaper and test fit everything. Don't worry about making it perfectly smooth since most will be covered by the foam clay.
If it all fits well then you are ready to start sculpting!
Step 4: Sculpting the Face


I wanted the face to be light and weather resistant. I decided to try using Model Magic foam clay. It was a little fiddly to work with as you can't ever get it completely smooth. I tried water but it started making a goopy mess. This was a rapid 1hr sculpt on my part and I'm pretty happy with how it turned out. I just kept on referencing pictures of Hooty and did my best.
Since its hard to get rid of every lump and spread in the texture it looks really fleshy like a close up scene from "Ren and Stimpy". Don't panic, paint helps a lot! Trust the process!
Tips:
- I used a bottle cap to cut out perfectly round and perfectly sized eyes.
- Leave as much of the tube opening clear from sculpting clay as possible to avoid candy clogs.
- It does technically take at least 12hrs for the foam to actually air dry. (I put mine out undried and it survived well but just be warned that after 12hrs my sculpt was full of cracks. I don't know this material well enough to know how to prevent that. Did I go too thin? Too thick? )
Step 5: Painting the Face


Luckily Hooty's face is pretty simple with only a few colors. I chose a beige and brown for the face and black and white for the eyes.
Pro Tip: if you are doing this at the very last minute like I did, a heat gun on low heat or hairdryer is a great way to get your paint to dry faster!
Step 6: Final Assembly


I stuck the freshly sculpted Hooty Head onto the cardboard tube that was already taped into it's final angled position. I used velcro straps to hold the cardboard tube to the railing but zip ties would work well too. Then we wrapped the duct tubing around everything. It was difficult to get the duct pulled open enough to drop over the chute and railing so its best if you can have a helping hand.
Remember to wear gloves, metal edges are sharp!
And done! I got everything setup just in time with only about 10min before kids started showing up for candy.
Step 7: Final Thoughts and Ideas for Improvements


Throughout the night we learned M&M and Skittle bags needed to be folded up or else they would get stuck in the tube because they are both very light and very wide otherwise. On the other hand, Snickers bars fly out like a rocket!
I wish I had made a sign or a spot on the ground indicating where to stand to tell kids that candy was going to come from the creepy owl mouth. Most trick-or-treaters didn't get it right away and needed to be directed before they tried coming up the steps.
We sat out on the steps all night since that is as far as an 8ft tube would go, it would have been more magical if I made a faux door and a longer tube for Hooty to be attached to.
I also wanted his mouth to operate like a nut cracker and only open when candy was coming out. Maybe next year I'll attempt this but his current gaping mouth is plenty effective!
Happy building and Happy Halloween!

Runner Up in the
Halloween Contest


