

Introduction: How to Manually Inspect a PCB


In this Instructable you will learn how to properly set up for manual visual inspection of a printed circuit board.
Step 1: Review the Inspection Criteria

Review the inspection criteria that the customer has asked for. The default would be the IPC-A-610 for the electronics assembly class being inspected.
Step 2: Remove PCB From Static Shielding Bag

Remove the PCB from static shielding bag. Make sure that you are properly grounded and that the work space is outfitted per the EOS/ESD 2020 guidelines.
Step 3: Workspace Lighting

Make sure the area is properly lit. The IPC-A-610 guidelines call for 1000 lm/m2 (approximately 93 foot candles). Usually there is room, workstation and task lighting, A simple downloadable phone app will work as will a calibrated light meter when required.
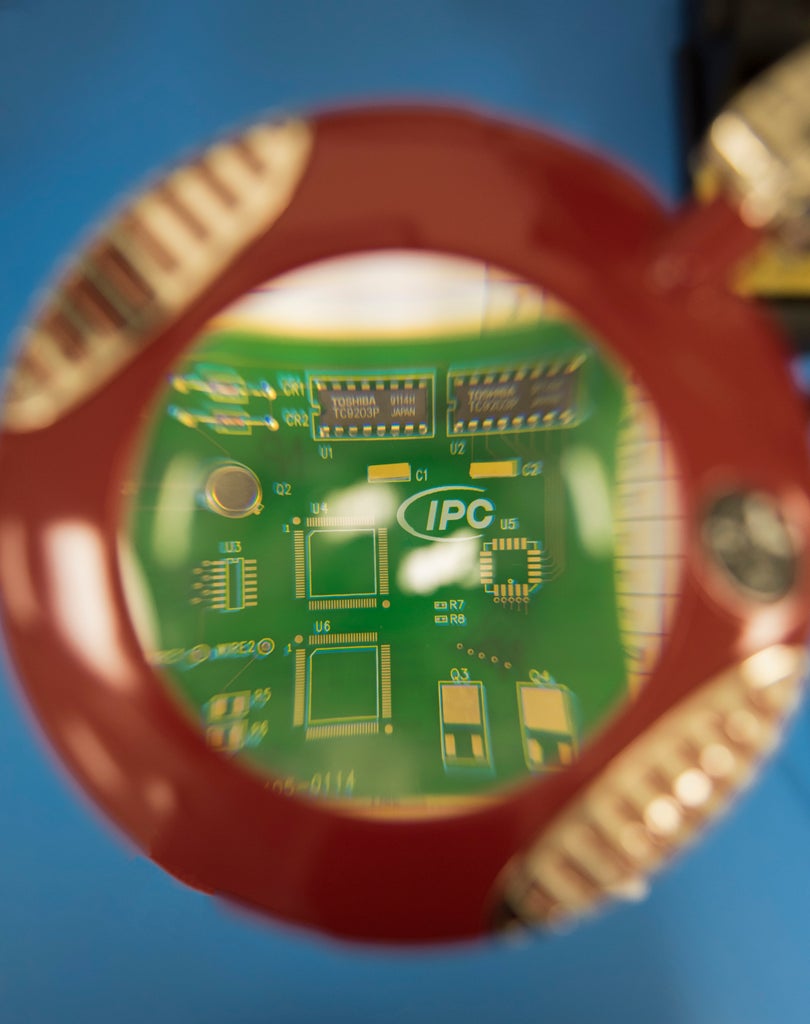
Step 4: Magnification


Use the proper magnification based on the specifications and inspection criteria. Eye loops, ring lamps and microscopes are the most common aids in inspection.
Step 5: Inspection and Rework

Inspect the board or area of interest per the inspection criteria. Use rework labels to mark any anomalies.


