

Introduction: How to Make an Easy Audio Amplifier


Who doesn't like music? Music is an art, music is the soul, music is a dream... OK, I'm exaggerating. Whatever, there's always the need of an audio amplifier. I needed one because the speaker in my phone is getting damaged playing loud music. I don't hear music alone you know, I make sure my neighbours listen to it with me. Hope you understand what I mean :p
There are lots of audio amplifier circuits in the internet, so you might ask what's the need of this instructable?
Frankly, I am unable to build any circuit from the internet. The circuits are really tough to build (don't see me like that, I'm not an engineer yet). I know there are lots of people around who know only basics in electronics (like me ; ) ) and are unable to build those complex circuits.
Don't worry, you'll be able to build this one. This instructable is for beginners and no soldering is required. A secret, even I'm a beginner :p
Step 1: Components and Materials

LM386 IC
Audio jack
Battery
Cardboard
Wires
Tape
That's all! Sorry, I couldn't attach an image of the components because I'm writing this instructable after making the circuit.
Step 2: The Circuit

See the diagram. Looks simple right? It is really simple. While I was surfing through Google images of audio amps, I found this little diagram somewhere in a corner. Without visiting the link, I tried it out. Guess what, it works great!
OK, enough of talking, lets get making.
First see which legs of the IC are used. Connect wires to each of them. If you're like me, you would find connecting wires to those small pins next to impossible, OK I'm exaggerating again. I will teach you a simple trick.
Step 3: The Trick
Take a thick electrical wire. Remove the insulation from one corner. Now, pull out all the copper inside. These thin strands are really easy to connect to such small electrical components.
Just wind one strand around a leg of the IC carefully. Make sure it doesn't touch the next leg.
Step 4: The Connections
Similarly, connect all the components using those thin strands. Make sure they don't touch each other, since they are bare wires, it may cause a short circuit.
After its done, test it by inserting the jack to the music output from a mobile.
The output of the circuit can be connected to any speaker. (If you don't have a speaker, please let me know. I shall write an instructable on how to make one yourself).
Is it working? If yes, hi-fi. If no, hi-fi again, because it didn't work for me either in the first attempt ; ). Check your connections again. May be there are some wires touching each other (short circuit)
Step 5: Final Assembly
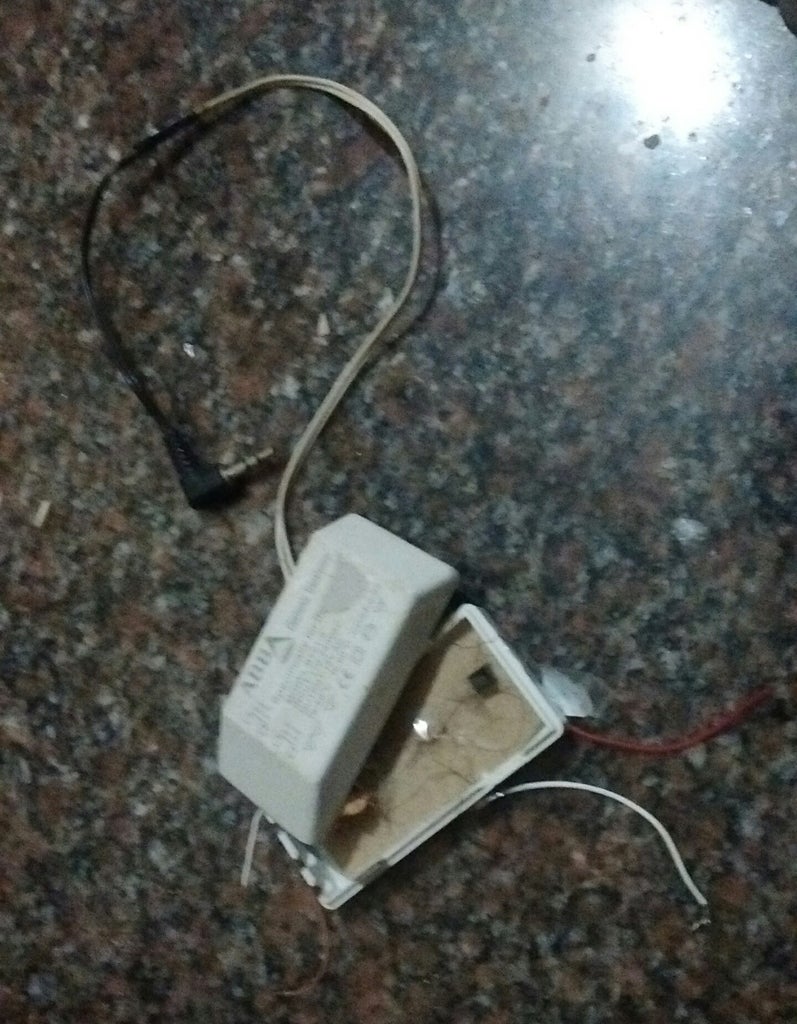
If it's working (mostly it will work because its a simple circuit), place everything on a cardboard and stick all components and wires to the cardboard using transparent tape. Again, make sure no wires/components are touching each other. I've kept the circuit inside a small box so that it doesn't get damaged (I use it too much actually). It works great with a 6v or a 9v battery. A 3.7v battery should also work fine.
Step 6: Last But Not the Least

This is not a step, this is rock n roll! Plug in the circuit and get dancing. (Make your neighbours dance too! ). Please ignore the image,
Let me give you a hint about its sound.
It sounds a little louder than a Samsung smartphone in full volume. Great for such a simple circuit right? If yes, another hi-fi.
Hope you liked it. See you later with another instructable.


![Tim's Mechanical Spider Leg [LU9685-20CU]](https://content.instructables.com/FFB/5R4I/LVKZ6G6R/FFB5R4ILVKZ6G6R.png?auto=webp&crop=1.2%3A1&frame=1&width=306)


