

Introduction: How to Make a Keyblade From Kingdom Hearts ( Cheap )


I recently posted a photo instructable but the community insists that turn it into a step by step intructable detailing the build process. Heres my attempt to make an instructable for the Keyblade from Kingdom Hearts. First things first; materials.
Step 1: Materials


Materials:
1. Foam Board ( The kind you get from Staples, get lots of it like 3 or 4 boards )
2. Spray Adhesive
3. 1/2 inch PVC pipe ( get at least 4 feet )
4. Hot Glue
5. Super glue
6. 1 inch PVC pipe ( get like a 1 foot or 2 feet )
7. Plumber's Tape ( its not what you think its for )
8. Large Cap
9. Drywall Spackle
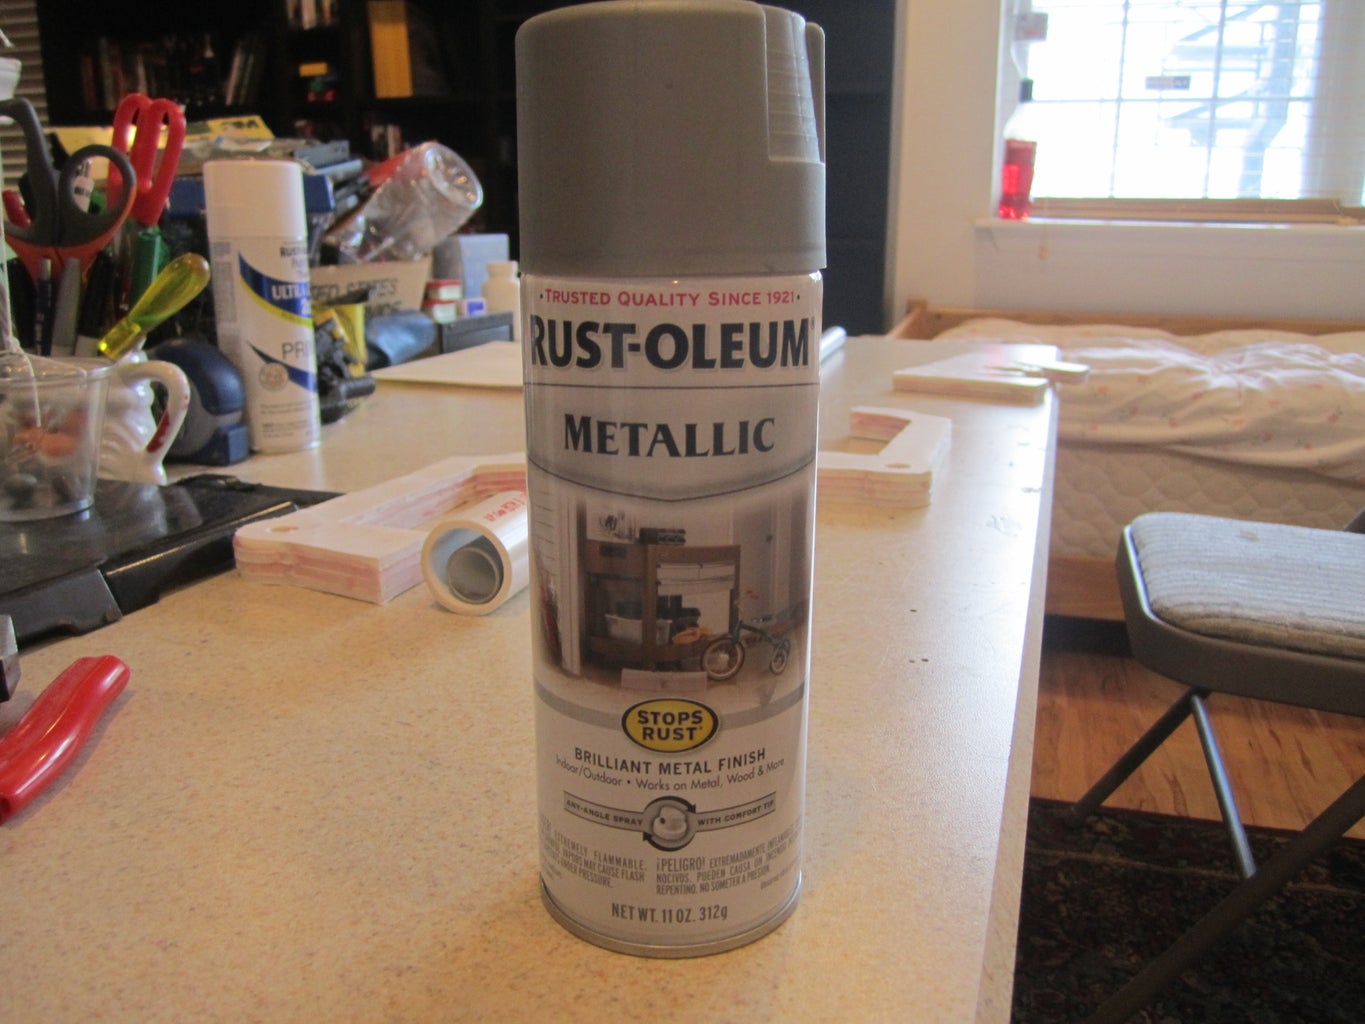
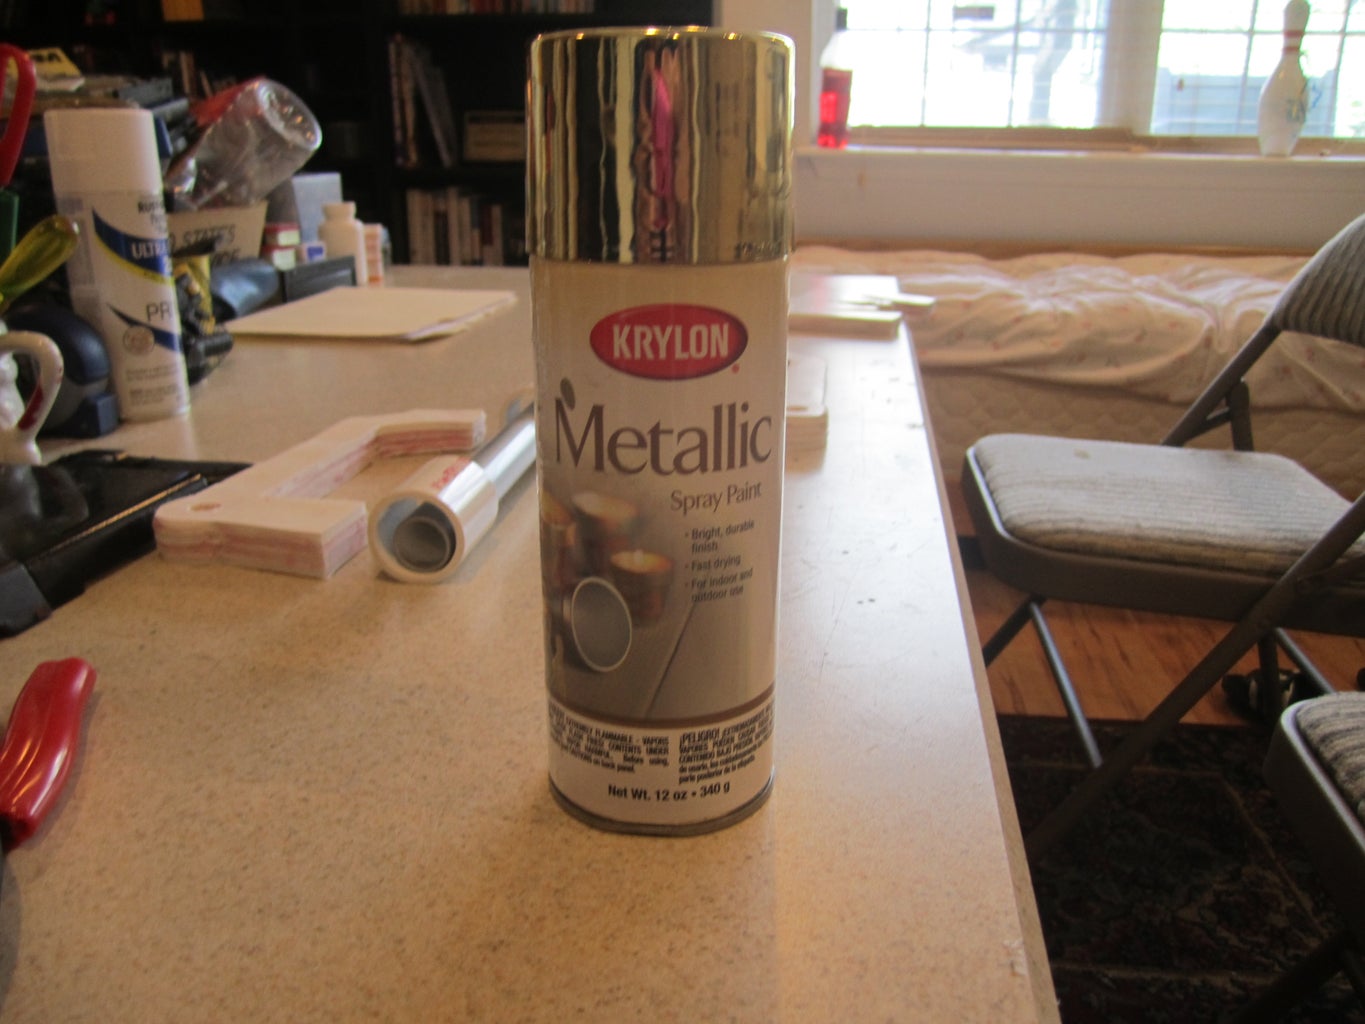
10. Metallic Spray Paint
11. Gold Spray Paint
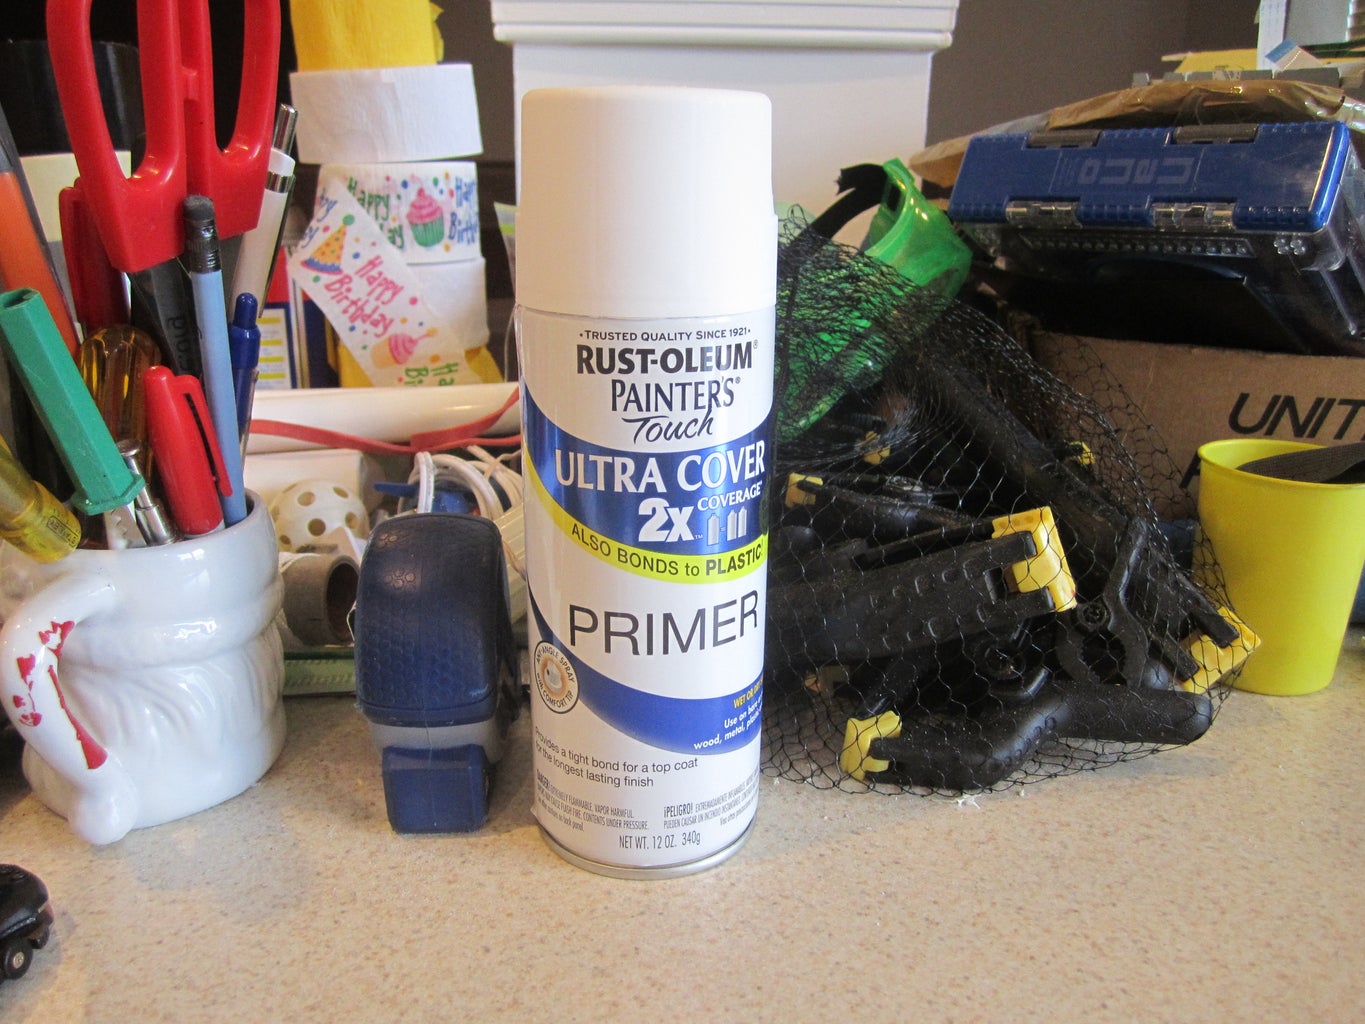
12. Filler Primer
Step 2: Get Outline of the Parts


Here is a picture of the keyblade parts. There is the handle, the key, and the mickey head. Save this picture and put it onto a Word Document. After that Enlarge it and print it out. It should come out like this. I reinforced the paper with masking tape so i can trace the outline better. The little circle on the handle is actually indented but dont worry about that part yet.
After you cut it out it should look like this- ( 2nd and 3rd picture )
Step 3: Cut Out the Foam Board and Glue It Together.


Use the cut outs to cut out 4 layers of foam board for each part. Remember that you have to cut out the handle twice, meaning 8 boards instead of 4.
After you cut it out glue 4 layers together for each part with spay adhesive. After the glue dries, sand it smooth with fine grain sandpaper. I already painted the PVC in this picture. I indented the handles by drilled a 1/2 inch wide hole that went through the first layer.
Step 4: Spackle the Parts.


Most high end prop makers use bondo and other expensive stuff but my budget was really limited so i used stuff from around the house. If you dont want to put spackel directly on top of the foam board then paper mache the handle and key before you put spackle on. Spackle works in the same way as bondo, it fills in cracks and holes and gives the part a nice "sandable" coat. Use your fingers to put on the spackle, it is a lot easier and you get more coverage. Let the spackle dry for 24 hours. After you sand it, if you still have roughness or gaps then make sure you put on another coat.
Sorry i dont have pictures of the spackling and priming process.
Step 5: Priming the Handles and Key.


After you sand the spackle the next step is priming the piece. The primer will make sure the final product does not feel like spackle. I primed each part twice just for an extra coat.
Step 6: Cutting the 1 Inch PVC for the Handle.


The first guard is supposed to be just a little shorter than the second.
Step 7: Plumber's Tape Cartridge

I needed a way to attach the 1/2 inch PVC to the 1 inch PVC and i stumbled across plumber's tape. The hole in the middle holds 1/2 inch PVC perfectly so i took 2 cartridges and cut it in half so i had 4. ( 2 for the first guard and 2 for the second )
Step 8: Paint the 1/2 Inch PVC


I painted it metallic. I put a bottle cap i found on the end to finish the pipe.
Step 9: Paint the Handles and Key.
I painted the handles gold and the key metallic.
Step 10: Paint the 1 Inch PVC and the Plumber's Tape Cartridge
I painted both gold.
Step 11: Building the Keyblade
The 1/2 inch PVC fit perfectly into the plumber's tape cartridge so I super glued the cartridge onto the 1/2 inch PVC. Then i hot glued the 1 inch PVC guard onto the cartridge. Then i super glued the second cartridge on and hot glued it onto the back of the guard. I did this procedure again for the second guard.
After the guard was finished I glued on the painted handles with hot glue. Then I glued the key onto the shaft with hot glue.
After the handles and the key were done i wrapped the part of the shaft within the handles with athletic tape.
Step 12: You're Done!!


Thats pretty much it. I did some touchup here and there and i put the keyblade in my room.

Participated in the
Halloween Props Contest

Participated in the
Hurricane Lasers Contest


