

Introduction: How to Program ATtiny85 With Raspberry Pi?


A long time ago i wrote "How to program ATtiny85 with parallel port", but parallel port is OUT
So i decided to make a new tutorital!
You need:
- Raspberry Pi(any)
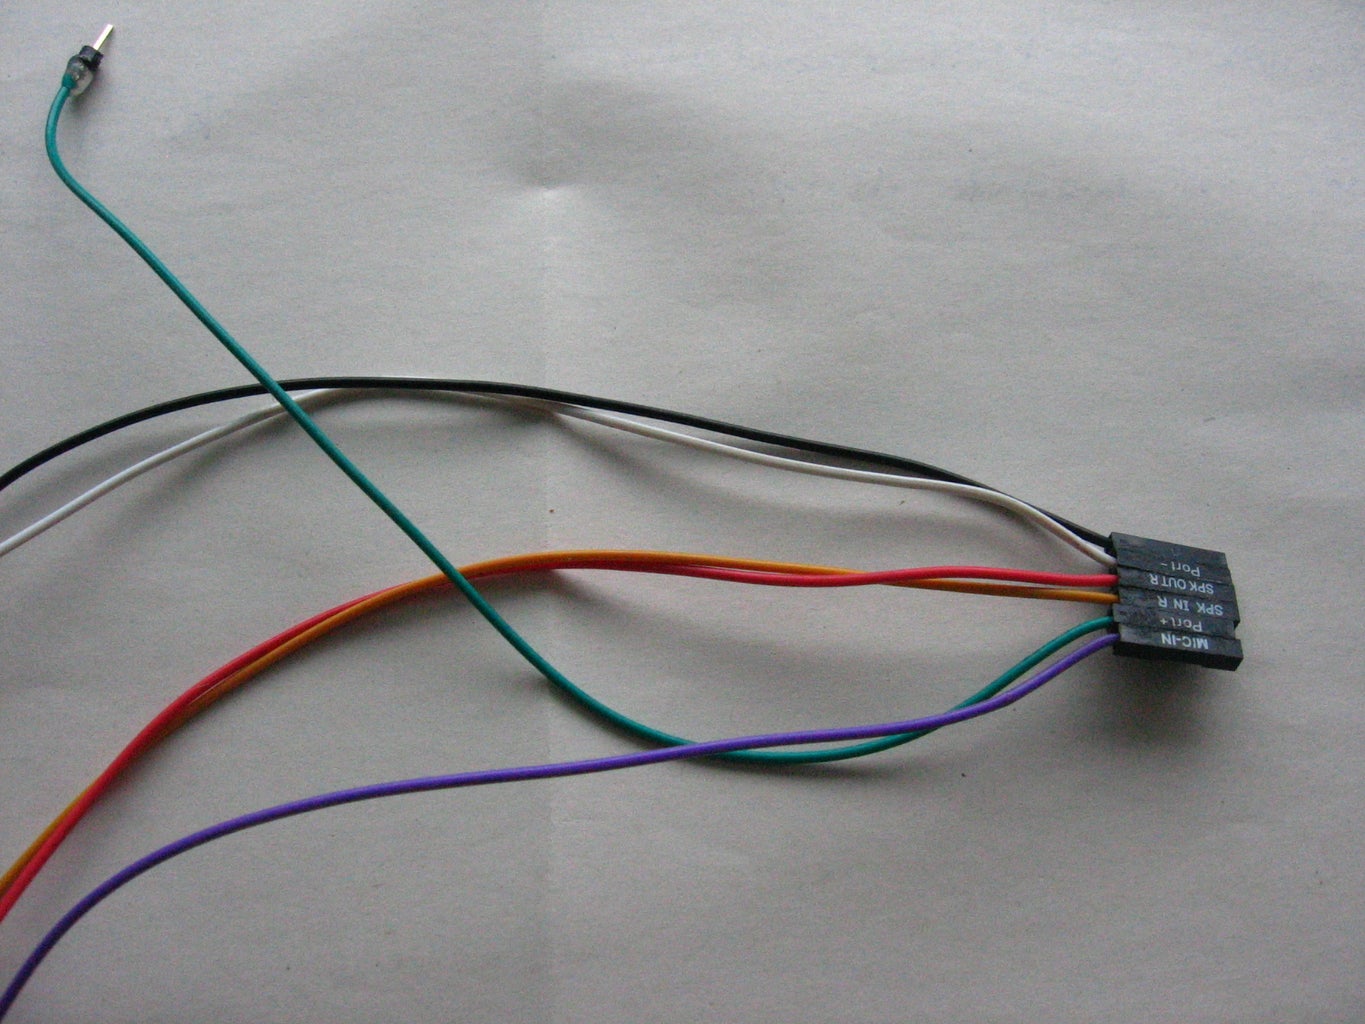
- Some jumper cables(pins to breadboard)
- one gpio pin(optional, but it makes your life simpler)
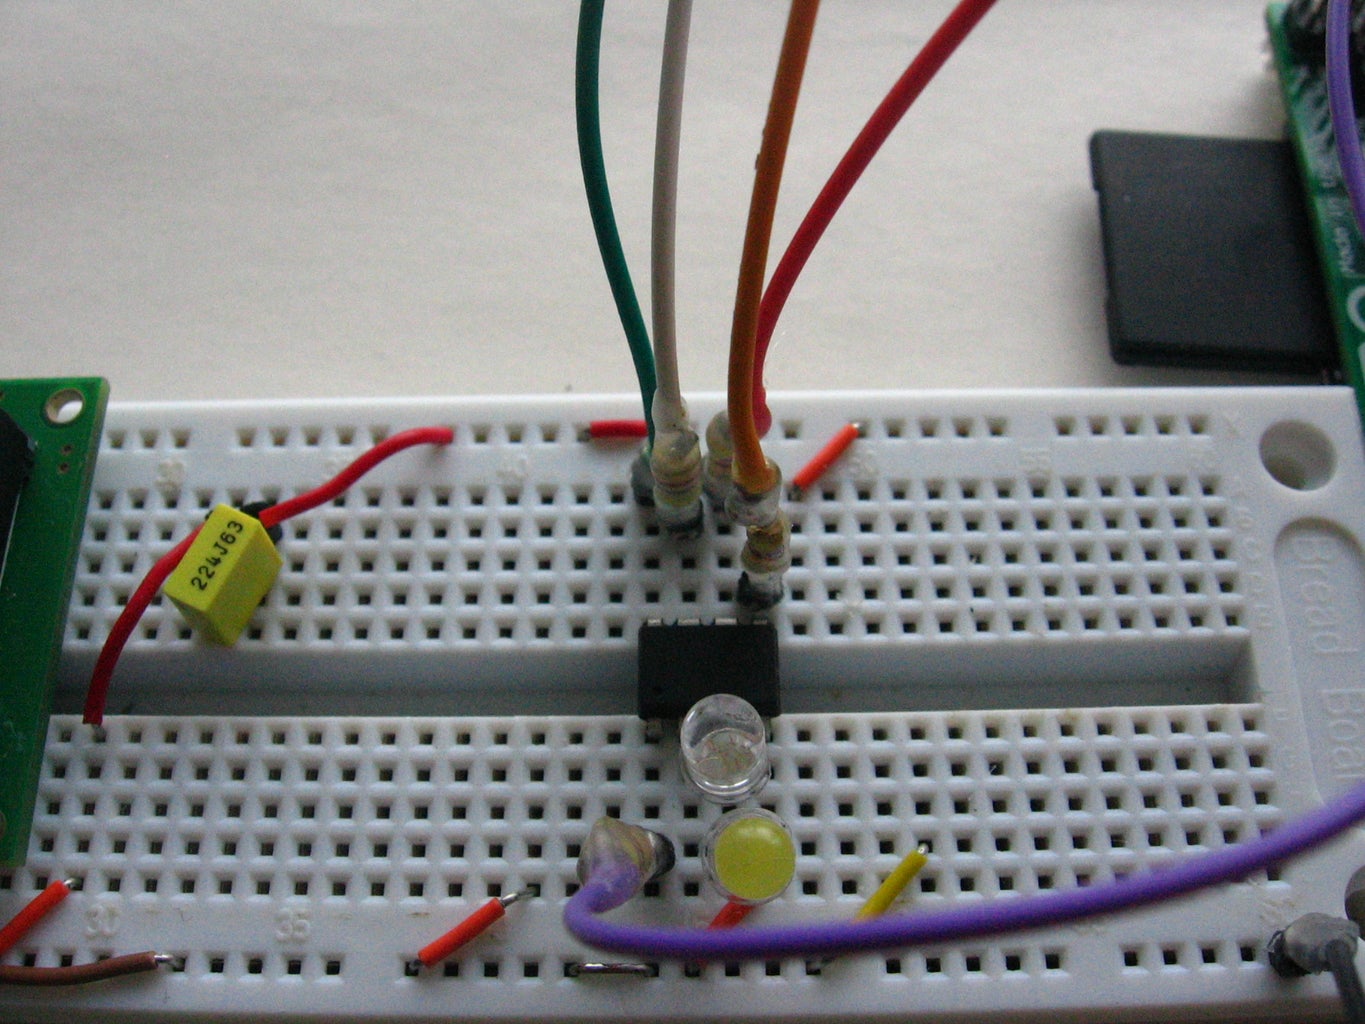
- Breadboard
- ATtiny(25/45/85)
- maybe 4 x 400 ohm resistors(to avoid errors)
I used Arch Linux on my rpi
Now do the following commands:
I MADE STUFF EASYER FOR ARCH LINUX USERS, YOU CAN USE YAOURT NOW(yaourt -S avrdude-rpi)
[mark@berryterminal ~]$ sudo pacman -S bison automake autoconf flex git gcc
[mark@berryterminal ~]$ sudo pacman -S avr-binutils avr-gcc avr-libc
and clone custom avrdude from https://github.com/kcuzner/avrdude
[mark@berryterminal ~]$ git clone https://github.com/kcuzner/avrdude
[mark@berryterminal ~/avrdude]$ ./bootstrap && ./configure && sudo make install
Now download Makefile from here: http://db.tt/W0MyDOXn
and now connect cables to breadboard. I use this pinout: http://elinux.org/File:GPIOs.png(yeah, 1-26)
Try to probe attiny85:
sudo avrdude -p t85 -P /dev/spidev0.0 -c linuxspi -b 10000
If it works then you're done! Happy programming =)


