

Introduction: InkyDash - Minimalistic E-ink Calendar With Weather Info!


Recently I was renovating my tiny room into a more minimalist Japandi style. After my new desk setup is completed, I feel like something is missing - a calendar. So I tried to look for one that is digital and minimalistic. The issue is that most of the calendar I found are either
- Made with paper, which I need to swap page every month
- Using a small LCD black and white display which are hard to read when placed at the far end of my desk
- With a TFT display which grows in dark (as I also sleep in the same room, that is not quite suitable for me)
That is why I started to look into e-ink based solution. One of the project I found was the InkyCal project by Aceinnolab. His design is great but the only issue with their design is that it uses a Raspberry Pi zero w which use a bit too much power than I prefer and the use of black / white / red eink display is a bit off from my design sense.
After some tinkering, I decided to use most of his hardware design except replacing the Raspberry Pi zero w with an ESP8266 for power saving. In this instructable, I will guide you how to make my own version of InkyCal which I will call it the InkyDash Calendar!
Supplies
The part list is quite simple. For starter, you only need
- A ESP8266 (e.g. Wemos D1 mini)
- A 7.5inch e-ink display with SPI adapter board
- A picture frame that is large enough to fit the eink display (7 - 8 inch)
And if you go with the tech-maker route like me, you also needs
- A PCB
- TP4056 charging IC with surrounding components
- ESP12F and CH340C with surrounding components
Details of the build, including all 3D model files and PCB files can be found on my git repo.
Step 1: Choose a Setup (Battery / External Powered)

As this device will be sitting on my desk, in theory you do not need a battery to make it works. The reason I decided to add a battery is that the only power source around my table is my PC, and I don't want to have a spare USB charger occupying another wall socket space.
In my setup, the calendar is plugged into my PC USB port with a USB extension cable of around 1.5 meters. A standard USB port output around 5V 500mA (and probably less with a cheap USB extension cable). A 3.7v 1000mAh LiPo inside the eink calendar can act as a power buffer. Hence, the system won't goes under voltage during the eink refresh (eink only consume power when the screen refresh) . This design also comes with a benefit for my use case as well for continue powering the e-ink calendar at night and in early morning when my PC is not turned on.
That being said, build-in battery is optional here and your eink calendar will work perfectly fine without one.
Step 2: Wiring the MCU to Your Eink Display

If you go with the hacker route, you can wire your ESP8266 (Wemos D1 mini) according to the following table.
- BUSY -> D2
- RST -> D4
- DC -> D3
- CS -> D8
- CLK -> D5
- DIN -> D7
- GND -> GND
- 3.3V -> 3.3V
The left side is the e-ink SPI adapter pins and the right side is the Wemos D1 pin. As the Wemos D1 pins are design for general purpose usage, after wiring you will get a wire spaghettii like the one I show in the photo.
Step 3: Make a PCB (Optional)


If you are like me and go for the technical-maker route, you can use the following gerber files and get a custom PCB made. You can find the PCB Gerber files here.
https://git.imuslab.com/TC/InkyDash/src/master/pcb
This board is basically a TP4056 module and a Wemos D1 integrated into one. Then I route the SPI required GPIO from the Esp12F and make connection to the adapter board easier. In term of circuitry and connections, it is basically identical to the previous steps with an extra switch for controlling if the battery is used for powering or the USB port is use for powering.
Step 4: 3D Print the Back Plate Holder

This step depends on your picture frame and how you decided to fix everything in place. In my case, I designed 2 3D printed parts to fix the back cardboard plate in place so the display won't fall out. You can also glue it close with hot glue or tape. As soon as it works, it will be hidden behind the picture frame and no one will notice what hacky method you use to seal it up.
If you are using the PCB build, remember to drill a hole to fit the vertical type C charging port.


Step 5: Flash the Firmware


The firmware is written in Arduino with board Wemos D1 mini. You can get the Arduino code on my git repo and download all the ino files below. The timezone and weather geolocation can be changed in the following locations
// InkyDash.ino line 170, default to GMT+8
ntpClient.setTimeOffset(28800);
// weather.ino line 13, 14. Set this to your location for weather forcast
const String lat = "25.0478";
const String lon = "121.5319";
If you are using the custom PCB I designed, make sure to use the internal USB type C port for flashing. The vertical / external one is for charging and powering only.
Step 6: Final Check

If everything is done right, when your InkyDash powers up, it will show an interface like this guiding you through the WiFi setup process. Then you can unplug your InkyDash and start sealing everything up.
Step 7: Your InkyDash Is Now Completed!


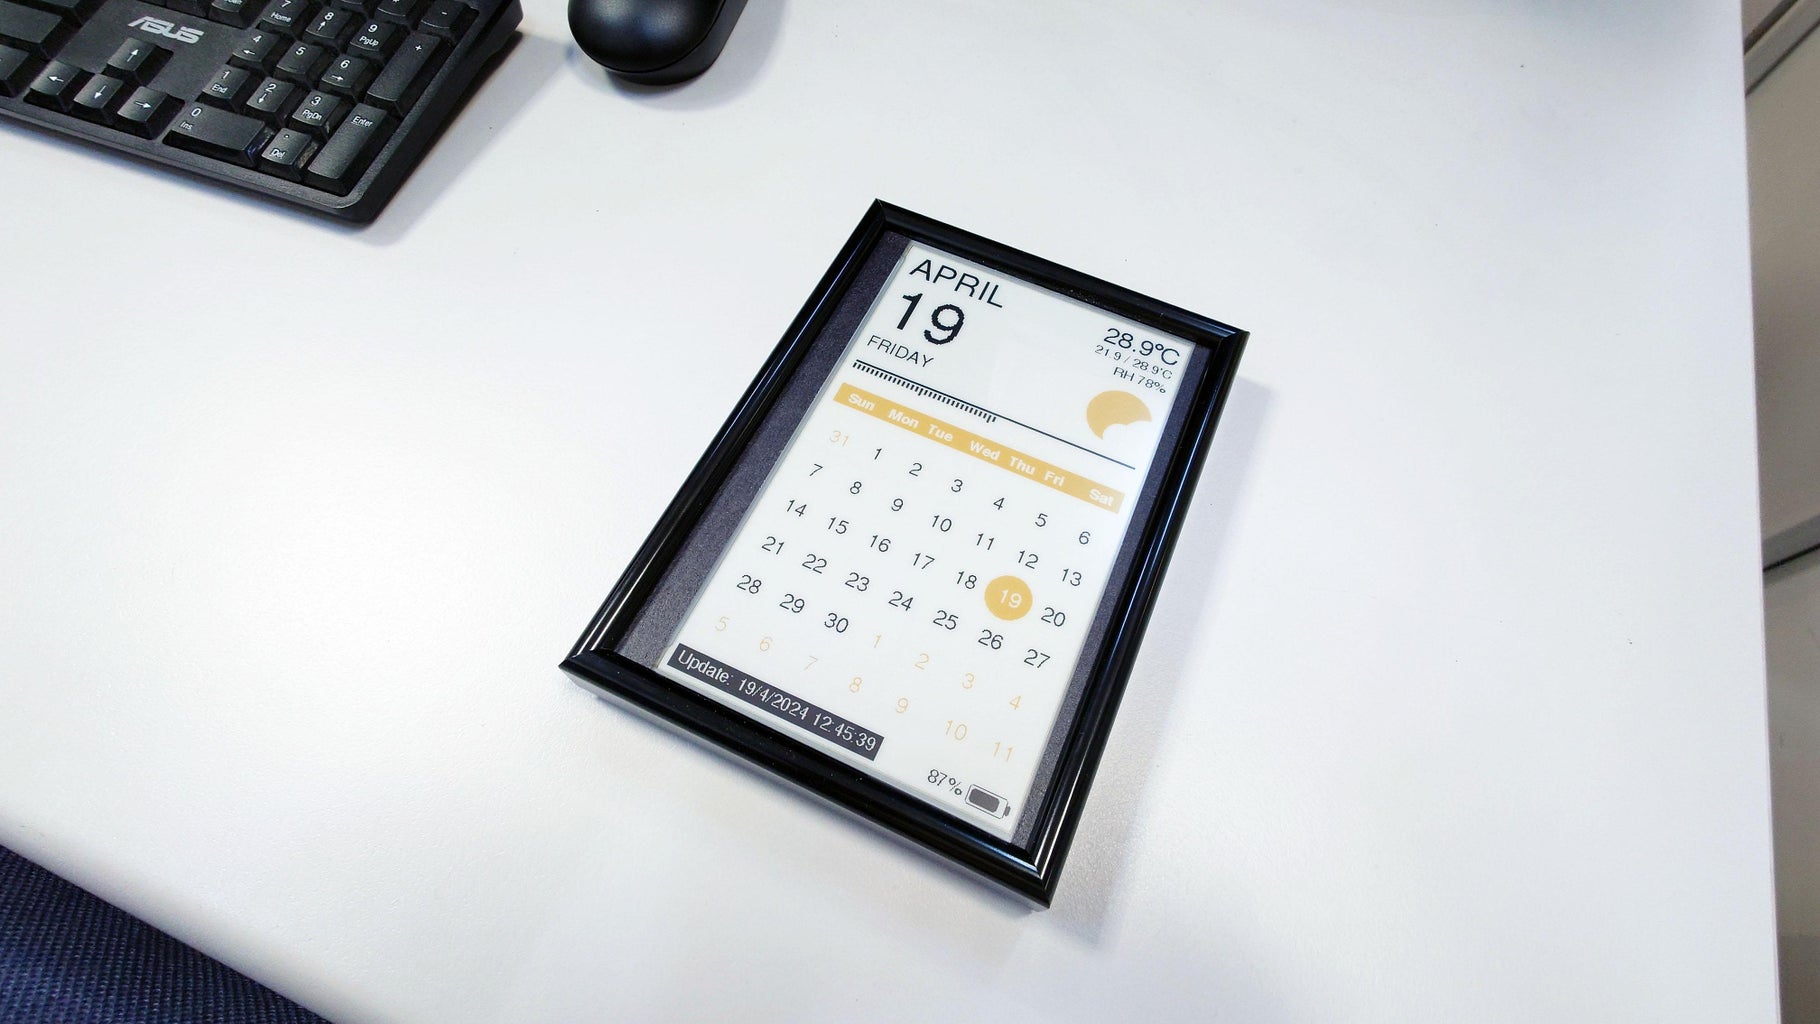
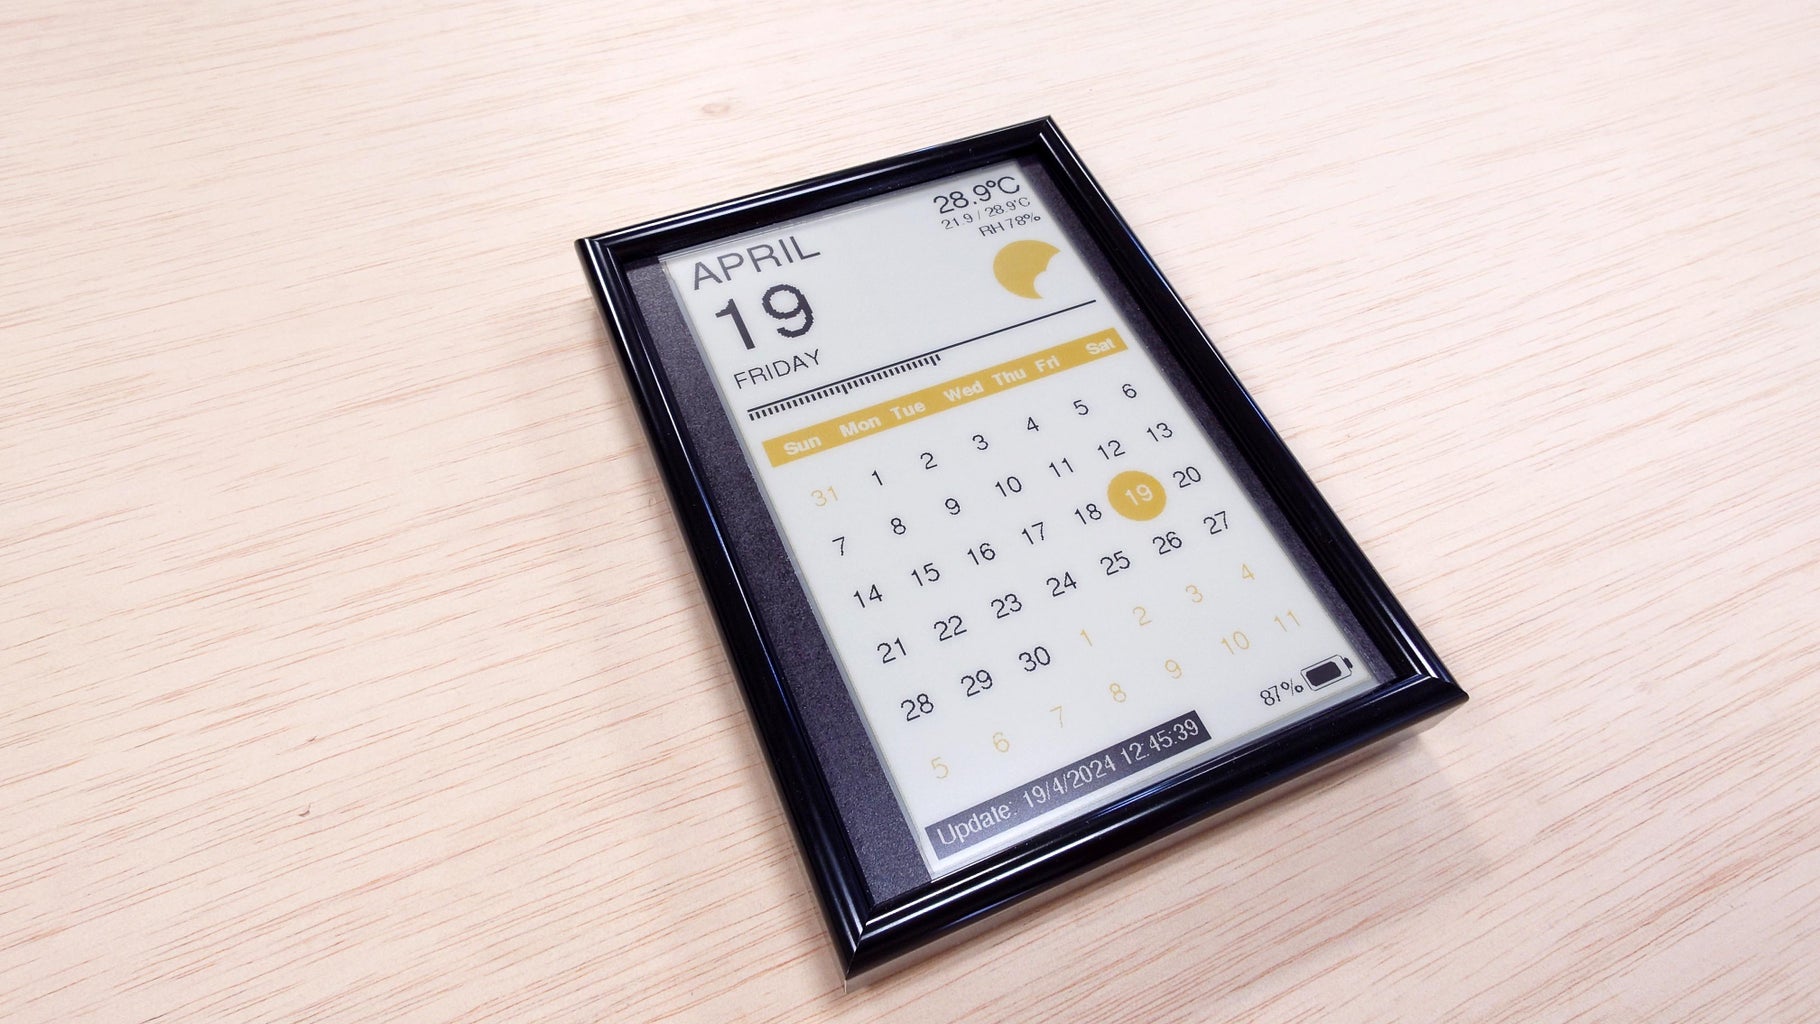
Now you got yourself a picture frame e-ink calendar that will also report weather forecast and time as a daily progress bar!
The daily progress bar shows how many percent of day has passed. So it kinda tell time in an indirect way and also help you to make sure the eink calendar is working (you really can't tell if a e-ink device is dead just by looking at a static e-ink screen).
By default, the firmware refresh the eink display every 15 minutes and the 1000mAh LiPo drains in about 2 - 3 days (which is fine as I usually turn on my PC when I work and it will charge it back up to 100% before I am turning my PC off). But you can extend the battery life by using a larger battery with a longer interval between updates, it is really up to your use cases.
That is all for this Instructable. Feel free to build this for your own needs and have a nice day!

This is an entry in the
Making Time Contest

![Tim's Mechanical Spider Leg [LU9685-20CU]](https://content.instructables.com/FFB/5R4I/LVKZ6G6R/FFB5R4ILVKZ6G6R.png?auto=webp&crop=1.2%3A1&frame=1&width=306)


