

Introduction: Raspberry Pi & Arduino IOT Automation


i,m back with one more IoT project. this time with arduino and respberry pi 2 B+.
as we know Rpi have great processing power, connectivity and display option in comparison with arduino but arduino have great i/o controls, much easier than raspberry pi. so i just combined both to get work done.
in this project i have developed a python script to control the Raspberry pi and arduino over USB. i found it easier than in-built UART of Rpi.
you can check my previous IoT instructables here:
https://www.instructables.com/id/Arduino-IOT-Automa...
it was based on arduino uno+ ESP8266.
Step 1: Stuff Needed:


we will need following things to make our IoT automation.
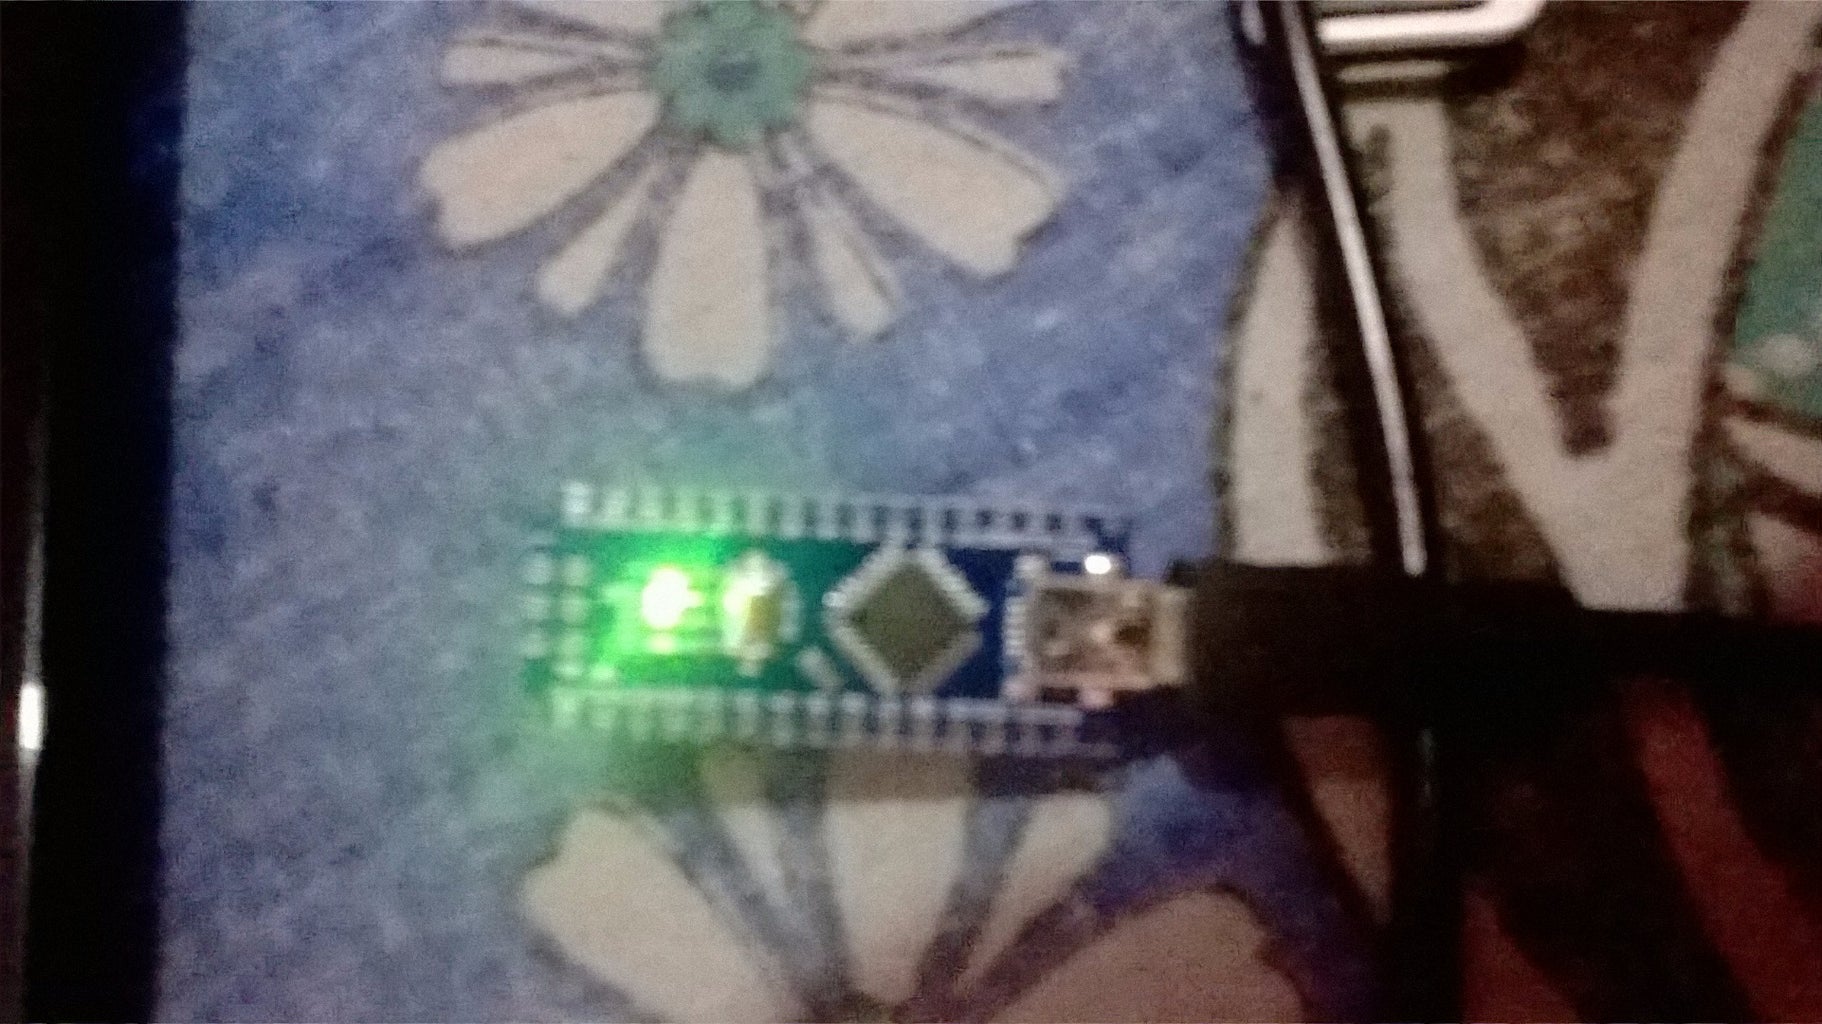
1. Arduino nano
2. Wi-Fi adapter for pi
3. Raspberry pi B+ 2 (any model will work)
4. 2 amp 5v power supply for Raspberry pi.
5. 4 GB SD card (larger amount with faster class will be better)
Step 2: Preparing Your Pi


first we need to prepare our raspberry pi. download the os from http://www.raspberrypi.org
you can choose between installing from NOOBS or directly loading Raspbian image to your SD card. if you choose NOOBS, then download the zip file , extract it to a folder on your pc. now download "SD FORMATTER" tool to format your SD card. plug-in your SD card to your pc using SD reader or adapter and format it with SD FORMATTER tool. don't forget to turn on SIZE ADJUSTMENT option. and format your SD card. once Format is completed ,copy and paste the contents of the extracted folder (NOOBS) to your SD card. then plug in your sd card to your pi, connect the monitor and other accessories (e.g mouse, keyboard etc.) and power on the pi. it will be booted to NOOBS installer. select the Raspbian to install and click on install, then wait for installation. once completed your pi will be booted to Raspbian desktop.
if you are directly installing Raspbian then just download the Raspbian OS from above website, extract the zip, download the image writing software named ' win32 Disk imager ' .format your SD card with above tool and write the image to your card using the win32 disk imager. select the raspbian image i.e. img file as image and your SD card as disk, then click on write. software will write the image to your sd card. please double check that disk you are writing the image. make sure it is your SD card. otherwise you may damage your physical disk of pc.
after that plug-in your SD card to Raspberry pi, connect accessories, and plug in power. it will directly booted to Raspbian desktop. your Pi is ready now.
Step 3: Programming Time:


now this is the time to program The Raspberry pi and arduino nano , so they can talk to each other.
i assuming that you know arduino programming, so i,m just mentioning the important stuff here as arduino program can be highly modified to fulfill your needs.
set baud rate to 115200
read the serial and look for the specific commands, it will be good to have single character commands for starting.
Respond the arduino according to the command.
CODE:-
///////////////////////////////////////////////////////////////////////
//code starts here
led=13, //using on board led
char d; // variable to store the command
//Setting up the arduino
void setup()
{ Serial.begin(115200); // configuring Serial port
pinMode(led,OUTPUT); // setting led pin as output
}
//loop starts here
void loop()
{
if(Serial.available()) // execute if something available on serial
{
d=Serial.read(); // store the command to our variable
}
digitalWrite(led,d); //Turn led on/off
}
//code ends here
/////////////////////////////////////////////////////////////////////////////////////////////////////////
Raspberry pi programming:
i have used python script to control my Pi and communicate with arduino. open the python 3 IDE and click on file and open new window. now copy the below code and paste it there.
NOTE:- connect arduino nano in one of the USB port of Pi. do this before starting the Pi. Not to forget your Pi should have internet connectivity as wi-fi or LAN.
### CODE STARTS HERE:-
#! /usr/bin/python
# This code is written by Abhianv verma.
# This code reads the API and writes the important data to the serial port
import urllib
from time import sleep
from urllib.request import urlopen
import serial
arduino = serial.Serial('/dev/ttyUSB0',115200,8,'N',1,'NONE')
arduino.isOpen()
on='H'
off='L'
url="http://your_api_read_address_here"
html=urlopen(url)
while True:
d=html.read()
temp=d[354]
if(temp==on):
arduino.write('H'.encode())
print("LED on")
if(temp==off):
arduino.write('L'.encode())
print("LED off")
print("Data Recevied:")
print(d)
sleep(10)
#### CODE ENDS HERE
now save the script with desired name e.g. IoT_automation. and run the script, you can see the output in python shell.
HAPPY AUTOMATION

Participated in the
Raspberry Pi Contest 2016


