

Introduction: Jenkins CI Traffic Light


So I have an Arduino Uno lying around and I could not think of any projects except for the ones bundled in the software.
I decided to build a traffic light instead, the catch is that instead of the normal timed change of LED's, I wanted to read the status of our continuous integration server (Jenkins).
Of all tutorials I found on the www, not a single one worked out of the box, so I decided to break it down to it's simplest form and take it from there.
Step 1: Required Items


HardWare.
- Arduino (I made use of the UNO V3 but any should work. {Please correct me if I'm wrong.})
- Bread Board
- Bread Board Jumper Cables
- LED's (Red, Yellow, Green)
- Resistors (180 Ohm is perfect. {Bands: Brown, Grey, Brown})
Software.
- PyCharm (by Jetbrains)
- Arduino
Please follow the individual applications install details as set out on their respective websites.
Step 2: Creating the Python Script (PyCharm)
Once PyCharm has been installed on yout computer, copy and paste the following code:
>>> Copy everything below this line <<<
import json
import sys
import urllib2
import time
import serial
# Configurations
ping_server = 30
jenkins_jobs=["Your Job Name Here"]
ser = serial.Serial('COM3', 9600)
# Arduino Configuration
SUCCESS = 'b'
FAILURE = 'r'
BUILDING = 'a'
UNSTABLE = 'y'
time.sleep(5)
def get_status(jobName):
    jenkinsUrl = "http://Your Jenkins Server:Port/job/"
    try:
        jenkinsStream   = urllib2.urlopen( jenkinsUrl + jobName + "/lastBuild/api/json" )
    except urllib2.HTTPError, e:
        print "URL Error: " + str(e.code)
        print "      (job name [" + jobName + "] probably wrong)"
        sys.exit(2)
    try:
        buildStatusJson = json.load( jenkinsStream )
    except:
        print "Failed to parse json"
        sys.exit(3)
    return jobName,buildStatusJson["timestamp"], buildStatusJson["result"],
while(1):
    for job in jenkins_jobs:
        status = get_status(job)
#        print status[0], status[2]
        if status[2] == "UNSTABLE":
            ser.write(UNSTABLE)
        elif status[2] == "SUCCESS":
            ser.write(SUCCESS)
        elif status[2] == "FAILURE":
            ser.write(FAILURE)
        elif status[2] == None:
            ser.write(BUILDING)
        time.sleep(ping_server)
Notes:
On Windows 7, the Arduinos COM port number can be seen under the device manager.
Step 3: Creating the Arduino Script (Arduino)
Simply copy and paste the following code into the Arduino Application and upload it to the device.
int incomingByte = 0; // for incoming serial data
void setup() { // Green pinMode(12, OUTPUT);
// Yellow pinMode(11, OUTPUT);
// Red pinMode(10, OUTPUT);
Serial.begin(9600); // opens serial port, sets data rate to 9600 bps }
void loop() {
if (Serial.available() > 0) { incomingByte = Serial.read(); } if (incomingByte == 'b') { green(); } else if (incomingByte == 'y') { yellow(); } else if (incomingByte == 'r') { red(); } else if (incomingByte == 'all') { all(); } }
void green() { digitalWrite(12, HIGH); digitalWrite(11, LOW); digitalWrite(10, LOW); delay(1000); }
void yellow() { digitalWrite(12, LOW); digitalWrite(11, HIGH); digitalWrite(10, LOW); delay(1000); }
void red() { digitalWrite(12, LOW); digitalWrite(11, LOW); digitalWrite(10, HIGH); delay(1000); }
void all() { digitalWrite(12, HIGH); digitalWrite(11, HIGH); digitalWrite(10, HIGH); delay(1000); }
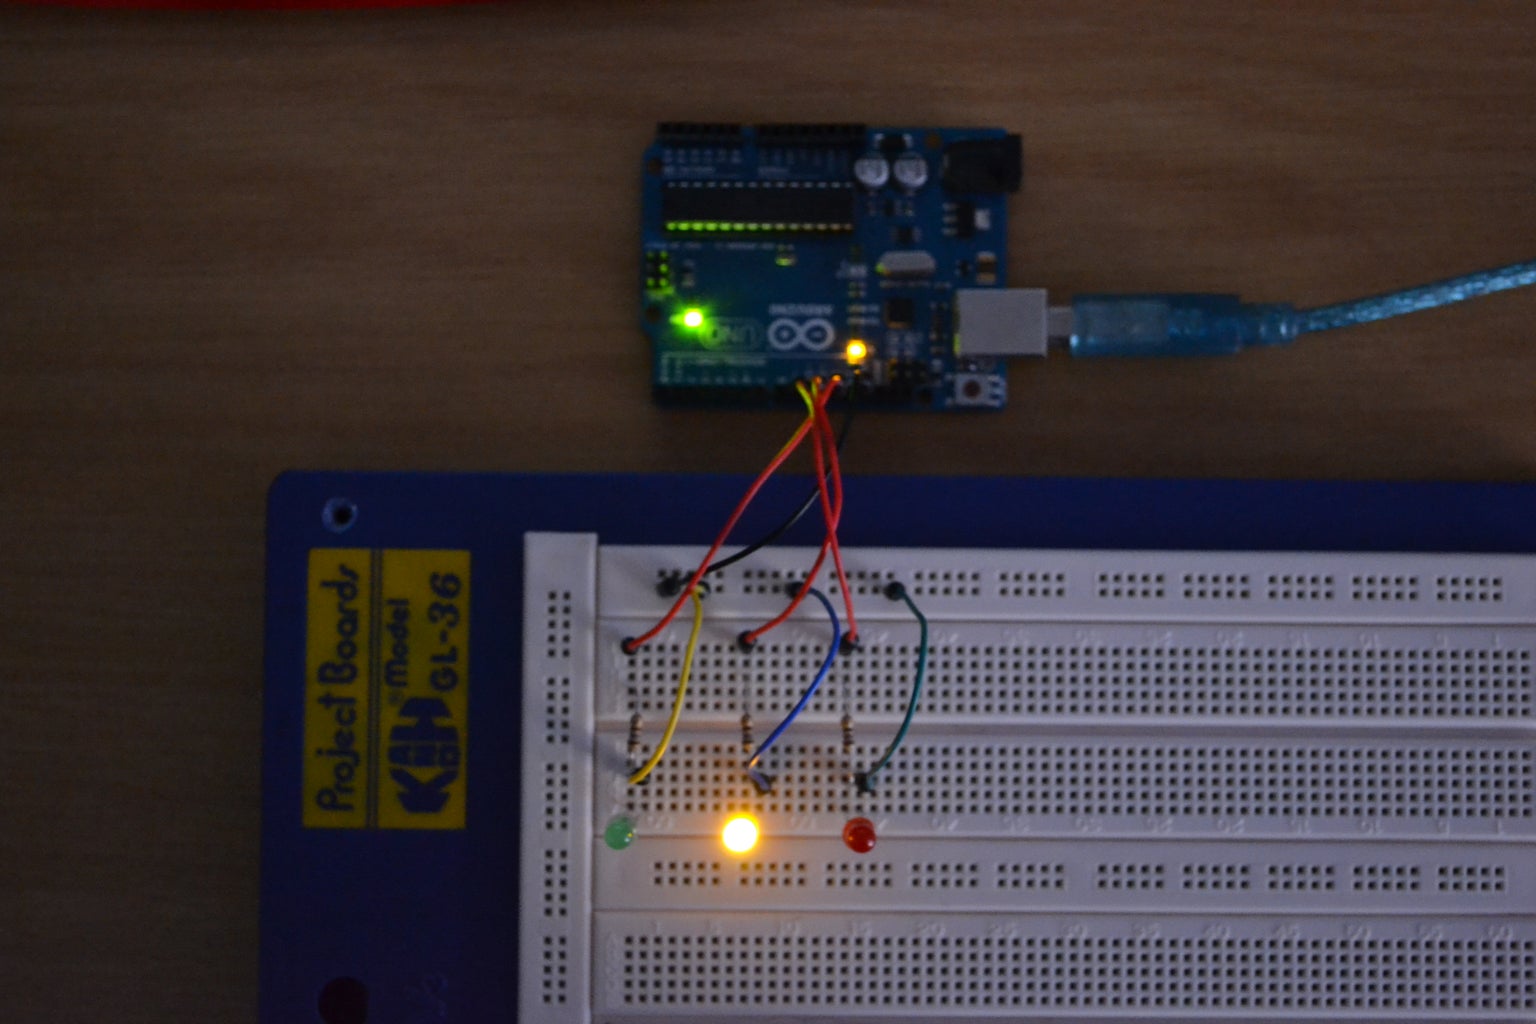
Step 4: Connecting the Hardware
Following the diagram should suffice. :)
Step 5: Setup in Action!


If the build Passed, The green LED is activated
If the build Passed but had issues of any kind making it unstable,, The Yellow LED is activated.
If the build failed, The Red LED is activated.
If the build is currently being built, All LED's are activated.
And that's it.
My views for the future on this project is to make a custom mould to house the Circuitry.
I hope you will have as much fun as I had with this project.
Orrin.


Participated in the
123D Circuits Contest


