

Introduction: Keyboard Encoder for MAME Arcade


Here I will show you how to make an encoder for a MAME arcade (or similar) from an old USB keyboard that you most likely will have laying around in that pile of stuff you'll never use (I've got 3)
I recently made and published an instructable on a home made arcade machine using a raspberry pi as the brains. I had a couple of questions about the keyboard encoder that I used. Initially I had planned to write a program that would boot to a list with a selection of games to play and the user would use the joystick and buttons to toggle through the list and select a game.
This turned out to be a hell of a lot trickier than I first thought, mainly due to the fact that the keyboard encoder I bought wasn't spitting out any thing that I could easily read in Linux. So I decided to "build" an encoder that would.
Step 1: What You'll Need

An old USB keyboard
Lots of different coloured wires
Soldering iron and solder (optional I'll explain later)
Some sand paper (150grit or higher is ideal but use whatever you have)
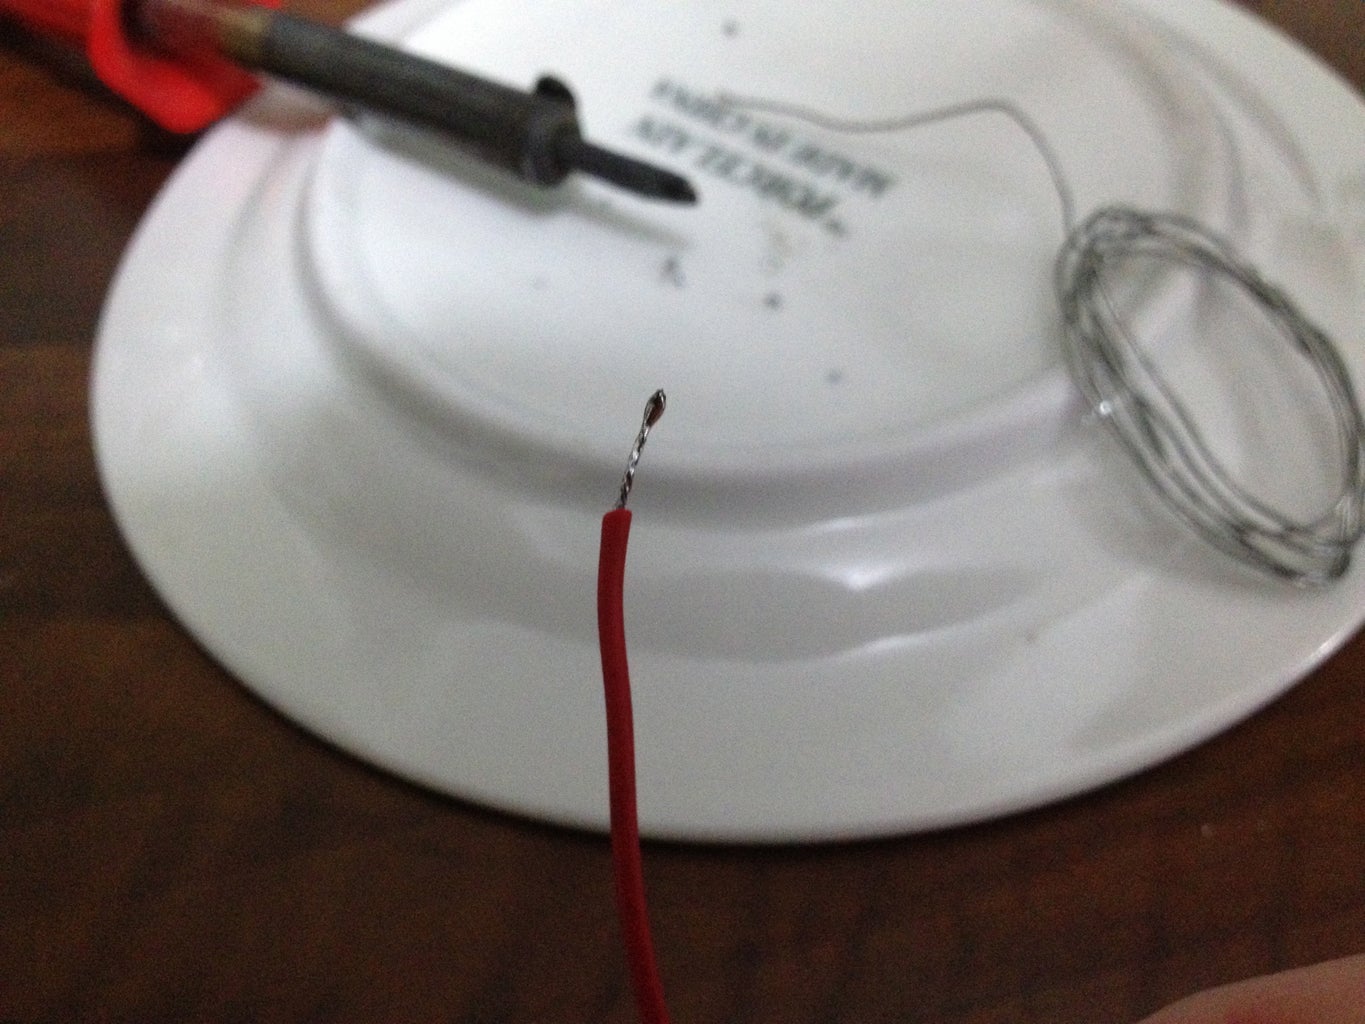
Multimeter (optional, but highly recomended, again will explain later)
General tools (screw driver, wire cutters, scissors etc.)
Step 2: What Is the Encoder
Inside every keyboard there will be a little circuit (the encoder) that takes key presses, turns it into a signal the computer understands then shoots it down a wire so the computer can use it. It does this by using a matrix type setup. The way I think about this type of setup is that it's one that has multiple grounds (that are independent of one another) and multiple highs (which are also independent of one another), they are linked together in a way that produces many different combinations. the advantage is you don't need many I/O's to have a large array (say something like all the keys on a keyboard) of switches. This is probably an inaccurate description of how it works but it helps me wrap my head around it and understand it.
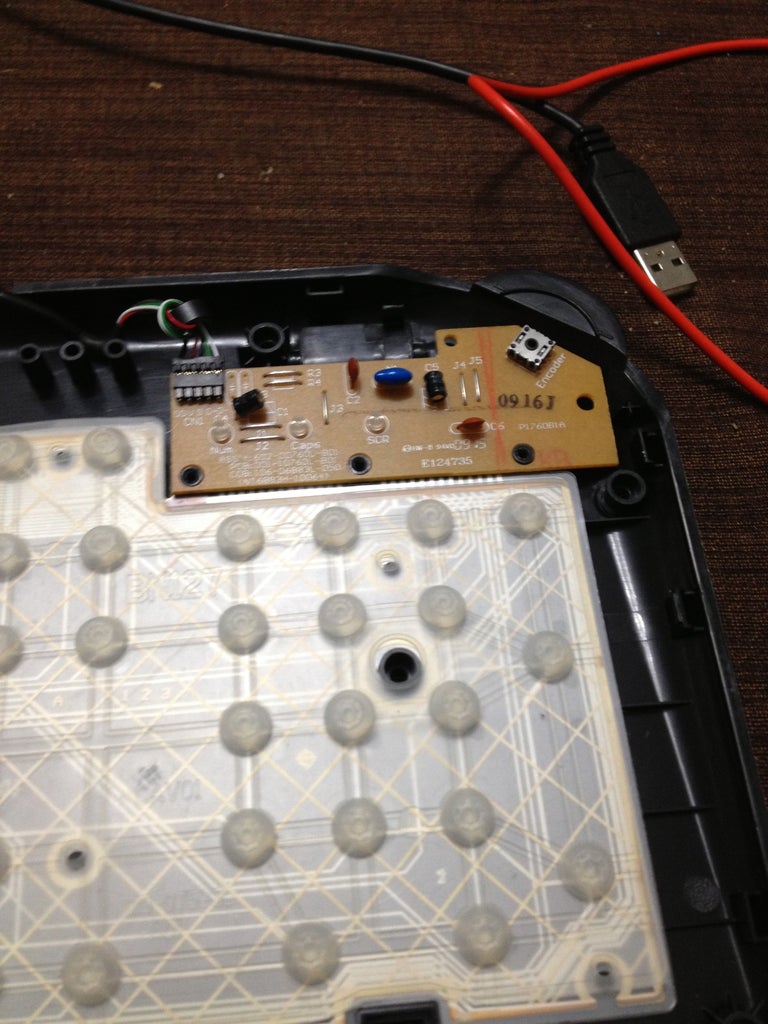
Step 3: Getting to the Encoder

You will nee to dismantle the keyboard by removing every screw you can find. Sometimes electronics snap lock clips, if so pry it gently with a screwdriver until you've taken it apart. The encoder will be located usually in the top right hand corner (or wherever the lights are for caps etc).
Step 4: Mapping the Keys You Need


Ok this is where I recommend you use a multimeter as doing it by eye can be damn near impossible (well not impossible but just really really really really annoying) you could also use a battery, wires and a light for this but the multimeter makes life really easy.
Inside the keyboard you'll also notice that there are two bits of plastic film that kind of look like a PCB separated by another bit of film (usually stuck to one of the others).
There should be dots and lines all over it and you'll need to identify which dots correspond to which keys. the easiest way to do this is to count. So the A key on my keyboard 4 down, 2 across (ESC being 1, 1). so get the position of the keys and then count the dots.
Then use a multimeter to find out where these keys joined up to the contacts. Set your multimeter to conductivity mode (set the beep if you can) place on of the terminals on the dot (say for the A key) and run the other terminal along the contacts until it beeps or acknowledges conductivity. Make a note of which contacts they are. I labeled mine 1 - 13 and A - N and just wrote it down. it also helps to mark out the keys with a marker so you don't forget any.
Step 5: Prepping the Encoder


There is sometimes black conductive stuff over the metal of the PCB. This will need to be removed CAREFULLY with sand paper. Once the metal is exposed clean it up with some paper towel as best you can. You should then go along and tin these with a small amount of solder. You will then need to prep your wires in the same way, i.e strip them then tin them
place the tinned wire on top of the tinned contact and press the soldering iron on it gently, wait until the solder liquefies, remove the iron and hold the wire as steady as you can until id hardens again.
If you're not confident in soldering and don't want to do this you could always use conductive adhesive (eg. WireGel). But I reckon solder would be the better and quicker option as most contact adhesives need to cure overnight.
Step 6: Finished Product
I probably wen a little bit overboard with the wires but I do plan to run a number of buttons and controls. you really only need wires for buttons you intend to use.
In the case of mame up, down, left right for directional controls, Z,X,C,V can be used for buttons and Tab so you can get into options (you might also wanna put in a button for credits)
now all you need to do is hook it up to your buttons as you would a regular encoder. For more information on that you can look here at step 3.


