

Introduction: LED Video Array (the Easy Way)


A few years ago I was browsing a project on a forum and came across Paul Stoffregen octows2811 library took a quick look and bookmark the page. A couple of months ago one of my friends who happens to be a DJ was commenting on buying an LED bar that cost an outrageous amount of money, so I said I can build you one for less than half the cost, he was skeptical but agreed a month later i had a working ws2811 led bar with 420 LEDS my friend was impressed.
Two weeks ago he call me again to see if I could build him a big LED array that could display text ( of course I said yes). I learn a lot of things when building the LED bar that I am going to use on this build, so lets get started...
Step 1: Intro
Note: This library was created by Paul Stoffregen a few years ago and he has some examples on his website and are included in the library I will post links in their appropriate step. I am not taking any credit on this Instructable because Paul deserves all the credit for always giving to the community however if you have any questions I might be able to help and answer them since he already moved on.
Warning: We will be working with 120 AC Mains voltage if you are unsure of anything please ask for help Mains voltage is really dangerous and can kill you.I am in no way responsible for any damage or loss that results from this instructable.
Step 2: Materials


Materials Needed:
Teensy board. For big projects I recommend to use teensy 3.2 since it can drive around 6000 LEDs
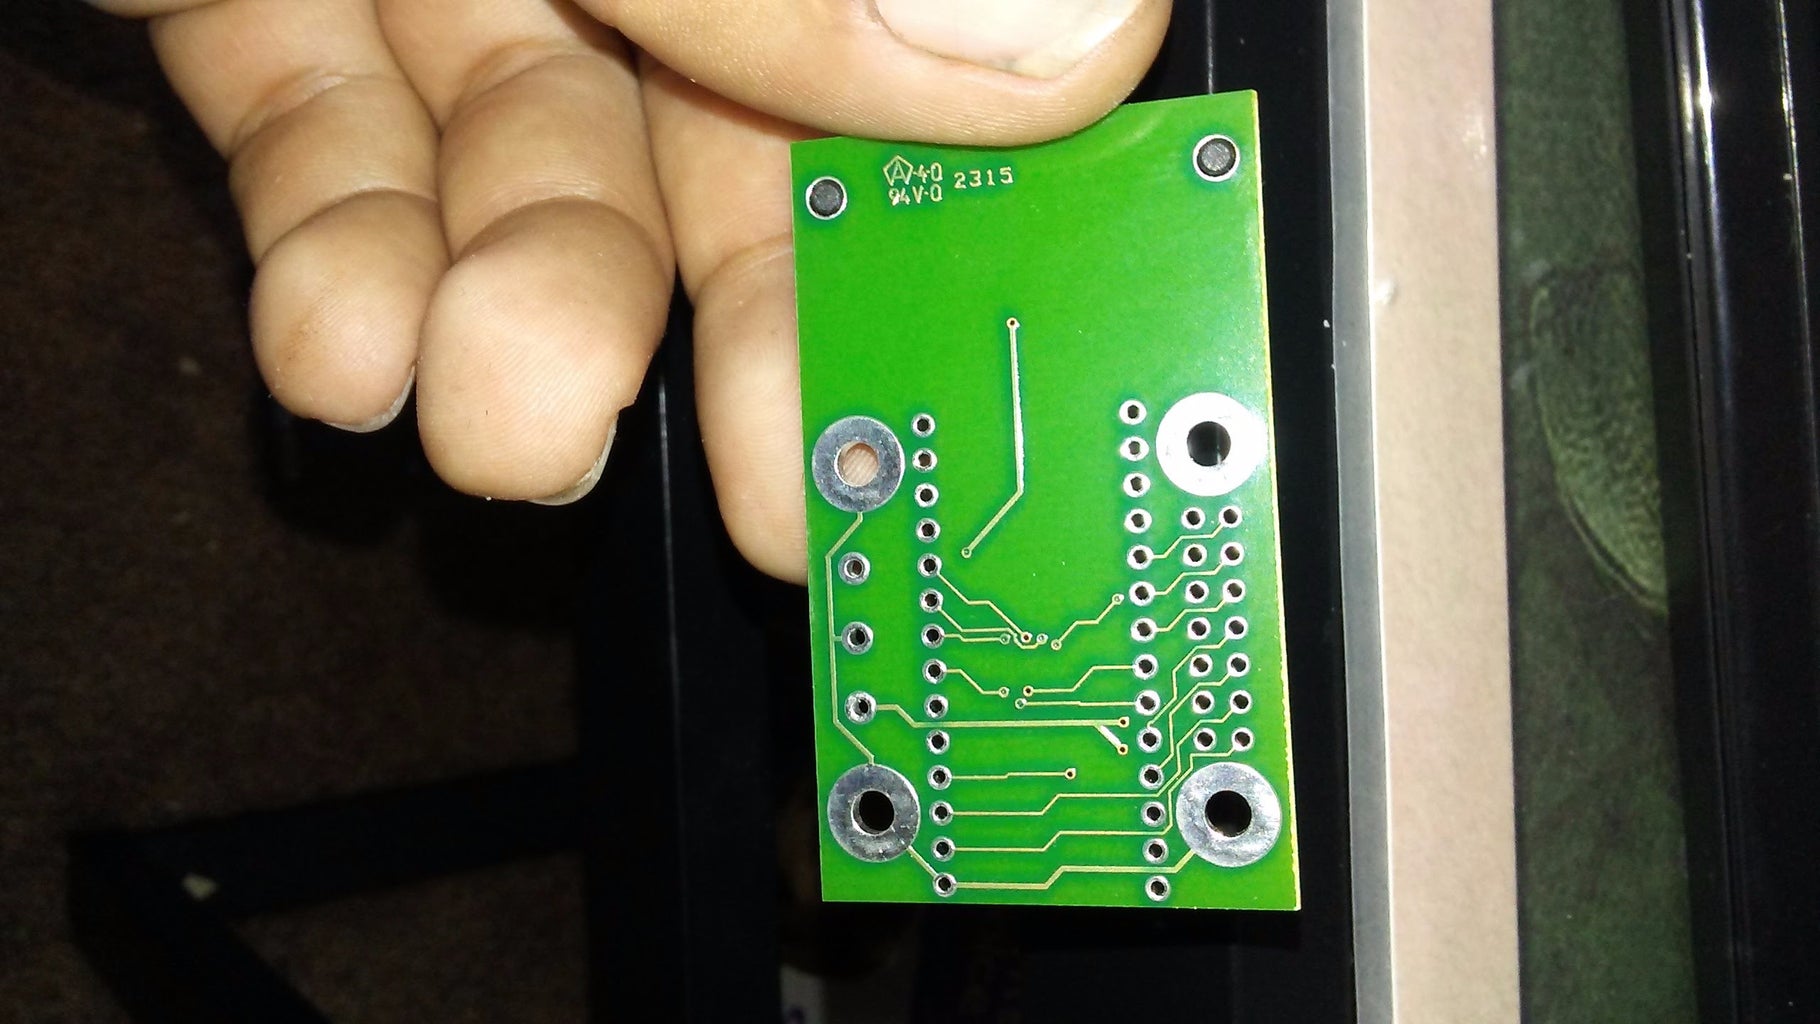
OctoWs2811 Adapter. It makes it really easy to connect your teensy board to your LEDS
Note: The teensy boards and the octows2811 adaptors are availble from Paul here and here.
WS2811 LED Strips. You are going to needs lots of LEDs I am using 5V LEDS please make sure to order the correct LEDS and power supply.
Power supply. Depending on the size of the array we will calculate the power requirements
AC Power Cord. depends on the power supply you buy most don't come with one
Rolls of wire. At least 3 different colors
Heat shrink tubing. Not really needed but very use full
Header Pins. For attaching teensy to octows2811 adapter
Board: To attach your LEDS since the array that I am building needs to be very rugged I am using 1/4 particle board with an aluminum frame and an acrylic diffuser
Software needed:
Arduino Software. Download Page
Teensyduino. Download Page
Octows2811 LED Library. It is included in teensyduino but the updated version with the samples can be found here.
Processing. Needed to run movie2serial. Download Page
Step 3: Design and Dimentions
First we need to figure out ow many LEDS we need and our power requirements.
I am building an array that will measure 80x48 = 3,840 LEDS but my array will be constructed in two sections that will be identical. To make this easier we will be only talking about a single array. so we are going to be constructing an array 80x24 = 1,920 LEDS so if I buy 5m rolls of 60 LEDs per meter I will only need 7 Rolls.
Power requirements a strip of 1 meter draws about 3 amps of current we are using 1920/60 = 32 meters so 3x32 = 96A we will need to supply 96 Amps.
Note: I have bought several power supplies in the past from ebay and amazon an have had very bad experiences they don't deliver what they say. The power supply that i have been using now is one that I have purchase from an amazon seller it has performed very well.
SMAKN® DC 5V 70A 350W
Step 4: Getting Power


The first step is to get you power supply working and adjusted to run your LEDs. I decide to put this before anything else because its a good idea to test all your LED strips before mounting them, out of 20 rolls that I have bought 1 roll was completely dead when i tested it.
Warning: We are working with 120 V mains please be careful if you do not know what you are doing please ask for help Mains power can kill you.
1. Make sure you set your power supply to your correct input voltage, in my case 110v. my power supply has a switch on its side where you cat set the input voltage.
2. Connect you power cord, you will need to do your homework here to figure where your wires go depending on the cord that you have there are many colors and many configurations from manufacturer to manufacturer that I just cant cover. In my case I wire it as follow
GREEN is GROUND
BLACK is NEUTRAL
WHITE is LINE
3. Once you have your input voltage set and your power cord attach, connect your power supply the green light should turn on and you should have 5 volts in my case 5.25v we need to adjusted to 4.8v-5.0v . there is a trimmer pot on the power supply where you can adjust the voltage. connect your meter and adjust till you get 4.8v- 5.0v
Once we have the appropriate voltage we are ready for the next step.
Step 5: Getting Teensy Working


Parts needed:
1xTeensy board
1xOctows2811 adaptor
2x 14 pin male headers
1 CAT6 cable
1. First we need to solder our teensy with our octows2811 adapter
Note: before we do that we will need to cut the 5v pads to use Vin we want to power our board with our power supply instead of the usb connector.
To get teensy to work we need to install the arduino IDE that can be found here just follow the instructions. we also need to install teensyduino, Paul has a great guide on how to install teensyduino here.
Once you have all the software install, its time to upload our sketch to check the led strips
you will need to open arduino and go to File>examples>OctoWS2811>Basic test and upload to teensy, you do not need to modify the code unless your LED color configuration is diffrent from the default witch is rgb and 800khz on the timing.
you will need to cut your CAT6 cable to connect your LED strips, one side connects to your Octows2811 adapter and the other side is where you connect your led strips if you look at the chart LED Strip Data connection is going to be your Orange wire.


