

Introduction: Lipo-battery Powered Arduino


I've always wanted to use cheap lipo battery used in drone and RC car to power my arduino, but since I didn't found any tutorials about it, I thought this was probably a bad idea.
Anyway, that didn't stopped me trying it, but since my knowledge of batteries is limited, please drop a comment if i'm doing something wrong.
Obviously, this will probably void the warranties of your battery since this isn't how it is supposed to be used.
Please be extremely cautious when soldering / charging battery , I'm not responsible if something goes wrong.
As always, this tutorial is available in english/french on github, all schematics are CC-by so feel free to reuse it!
Github
Step 1: Components

First we need to buy our components, we will use an arduino mini pro 3.3v so we doesn't have to step up the battery to 5v.
- Arduino mini pro 3.3v
- TP4056 Battery Charger
- 260 mah 1 cell battery
- 3pin Switch
I recommended that you try to find a genuine TP4056 charger, as non-genuine charger can have erratic behavior
Source : http://blog.koepi.info/2015/05/beware-of-fakeclone...
Photo source: http://jimlaurwilliams.org/wordpress/?p=4731#comme...
Official TP4056 charger as a F logo.
You should also buy batteries from a reputable brand. Don't buy noname battery.
TP4056 can only charge 1 cell battery and one battery at a time.
The number of cell on a battery is represented as S
Example : 1S = 1cell , 3S = 3 cell.
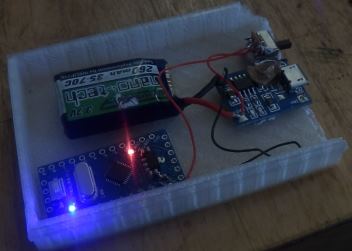
Step 2: Wiring
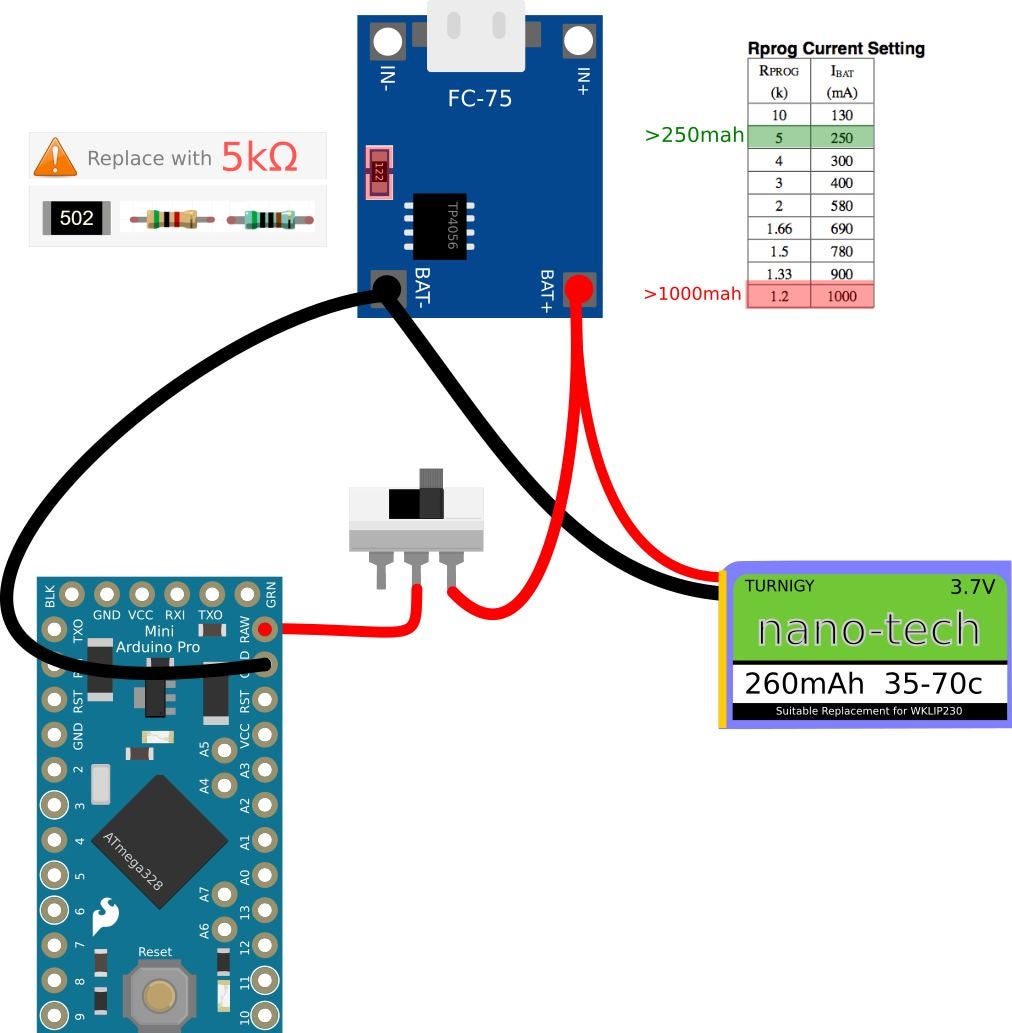
First we need to set the TP4056 to charge a 260mah battery.
As you can see on the RPROG table, by default an tp4056 charge at 1A.
We can charge our battery at 260ma max, so we need to change the resistor or it will damage the battery.
- Remove the 1.2kΩ resistor
- Replace it with a 5kΩ (or higher) resistor.
- Isolate the resistor from the circuit.
Then we need to connect the battery to the battery charger.
You can either use a battery connector, or directly solder the battery to your battery charger.
If you need to cut the battery connector, take your time, the positive / negative should never be in contact.
Afterward connect your arduino GND to the battery, since we are using a 3.3v arduino we don't need a step up circuit.
Finally connect your battery + to a switch and then to the arduino RAW (Don't solder it on VCC, as we need to step down the current from 3.7v to 3.3v using the voltage regulator on the arduino)
Step 3: Conclusion
I hope you found this tutorial useful, I made it to have your advice on it. Is this a good idea to do this ?
This seems like the cheapest way to power an arduino but since I never found any tutorial on this, I really wonder if I miss something.


