

Introduction: LoRaWAN Tracker 101:Visulizue Data on Ubidots Via TTN


SenseCAP T1000 is a compact LoRaWAN® tracker that utilizes GNSS/Wi-Fi/Bluetooth for precise indoor & outdoor location tracking. It boasts self-geo-adaptive capabilities, local data storage, and an impressive months of battery life. Additionally, it is equipped with temperature, light, and motion sensors, making it ideal for a variety of location-based applications.
SenseCAP T1000 Tracker is now live on KICKSTARTER at an exclusive price of $29 until September 9, 2023, 11:00 PM China Standard Time. Join us to support this exciting project!
![]()
The Things Stack(TTS) is an enterprise grade LoRaWAN network server, built on an open-source core. The Things Stack allows you to build and manage LoRaWAN networks on your own hardware or in the cloud.
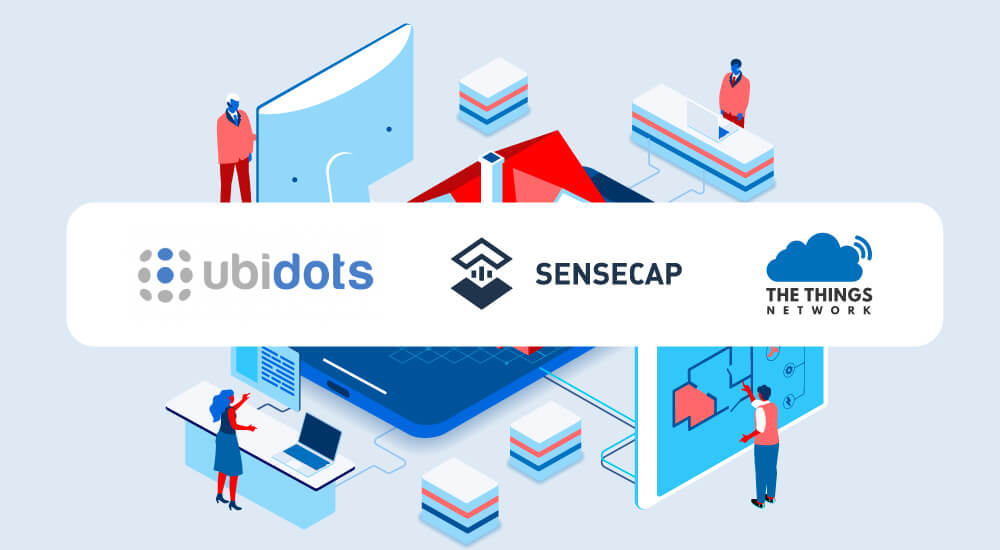
Ubidots is a low-code IoT application development platform that enabled rapidly assembling and launching IoT applications without having to write code or hire a software development team. Nowadays, over 40,000+ applications already connect the dots with Ubidots.
To meet the growing need for building IoT applications, we’ve been cooperating with Ubidots and supporting the community to add SenseCAP T1000 Tracker easily to Ubidots through The Things Network.
Step 1: Device Configuration
Before connecting to the TTS, you need to configure the basic parameters of your device on SenseCAP Mate APP, check Get Started for more details.
- Set the platform to TTN, and then copy the Device EUI/APP EUI/APP Key.
![]()
Step 2: The Things Network
To begin, register an account on The Things Network.

Create an application
Navigate to Applications page, click "+Create application".

Enter an Application ID, click Create Application to save your changes.

Register the Device
We uploaded a template for users,you only need to select the product model to quickly set up. Select the input method to 'Select the end device in the LoRaWAN Device Repository'
INFO
End device brand:SenseCAP
Model:SenseCAP T1000 Tracker A/B
Select the frequency plan according to your device.

Paste the Device EUI/APP EUI/APP Key of your device, and then click 'Register end device'.

Check the data
When the device tries to connect to the network, the breathing light will flash. If the device joins the network successfully, the breathing light will flash quickly, and there will be a light and cheerful melody.
Then you can check the data on the TTS console.

Resource
Step 3: Configure Ubidots
To get started, create an account with Ubidots.
Log in to your Ubidots account and find the Devices tab in the upper part of your dashboard. In its drop-down list, choose Plugins.
Ubidots Plugins
Click on the + or on the Create Data Plugin button to create a new plugin.

When you are presented with available plugins, select The Things Stack plugin.

Next, you need to select a Ubidots token. You can use the Default token, also can create a new token.

To create a new token, first click on your avatar in the upper right corner and select API Credentials. Then select More below the Default token and add a new token within the API Credentials page.

Select > to continue and then hit the checkmark to finish.

Configure the Decoder
Once created the plugin, go to the decoder section, delete all the code and replace it for the following:

const HOTSPOT_INFO = false;


function handleErrorIfExists(data){
    const error = 'error' in data;
    if (error) {
        const errorMsg = { "error": { "value": data.errorCode, "context" : { "reason": data.error } } };
        return errorMsg;
    }
    return false;
}


function addLat(lat, ubidotsPayload){
    ubidotsPayload.position.context.lat = lat;
}


function addLng(lng, ubidotsPayload){
    ubidotsPayload.position.context.lng = lng;
}


const coordinateActions = {
    "Longitude": addLng,
    "Latitude": addLat,
}


const assignPayloadKeys = (data, ubidotsPayload) => {
    const { type, measurementValue } = data;


    if (type === "Longitude" || type === "Latitude") {
        if (!ubidotsPayload.position) {
            ubidotsPayload.position = { "value": 1, "context": { "lat": undefined, "lng": undefined } };
        }
        coordinateActions[type](measurementValue, ubidotsPayload);
    }
    else if (data.type === "Timestamp") {
        ubidotsPayload.timestamp = data.measurementValue;
    }
    else {
        ubidotsPayload[type] = measurementValue;
    }
};


function buildUbidotsPayload(data){
    const ubidotsPayload = {};
    data.forEach(innerData => {
        innerData.forEach(innerInnerData => {
            assignPayloadKeys(innerInnerData, ubidotsPayload);
        });
    });
    return ubidotsPayload;
}


async function formatPayload(args){


    const data = args.uplink_message.decoded_payload.messages;
    let ubidotsPayload = {};


    const error = handleErrorIfExists(data[0][0]);
    if (error) return error;


    if (HOTSPOT_INFO) {
        const { hotspots, port, fcnt } = args;
        const { snr, rssi } = hotspots[0];
        Object.assign(ubidotsPayload, { SNR: snr, RSSI: rssi, port, 'Frame Counter': fcnt });
    }
    ubidotsPayload = buildUbidotsPayload(data);
    console.log(ubidotsPayload);
    return ubidotsPayload;
};


module.exports = { formatPayload };
Step 4: Configure the Things Stack
When you have prepared the setup on Ubidots, then you need to create a Webhook integration on The Things Stack by using the Ubidots Webhook template.
On The Things Stack, navigate to Integrations → Webhooks, and click Add Webhook.

Choose the Ubidots Webhook template.

Name your integration by filling in the Webhook ID, and paste the Plugin ID and Ubidots token values.

INFO
To find the plugin ID, click on your newly created plugin and navigate to the Decoder tab on the left. The plugin ID is available as part of the HTTPs Endpoint URL (as highlighted on the image below).

Step 5: Monitor Your Data
After you have completed the integration, navigate to Devices menu. You will see your end device appearing in the end devices list as soon as it sends an uplink message.


